Installing a door frame correctly is about more than just filling a hole in the wall. It’s about building a perfectly plumb, level, and square foundation for your door. Getting the measurements, shimming, and fastening right is critical for preventing future headaches like sticking doors, drafts, and uneven gaps.
This guide provides builders, contractors, and remodelers in the Bay Area with the essential steps for a professional-grade installation. We'll cover everything from selecting the right materials at a trusted Berkeley building materials supplier to the final finishing touches.
The Importance of a Perfectly Installed Door Frame

A door is only as good as its frame. For projects across the Bay Area—from historic remodels in San Francisco to new builds in Oakland—a meticulously installed door frame is the bedrock of a successful outcome. A poorly installed frame can lead to significant issues that affect both aesthetics and performance.
Common Problems Caused by Improper Installation
A frame that isn't perfectly installed can cause a variety of frustrating issues. These problems go beyond looks and directly impact the door's function and longevity.
- Sticking and Binding: A frame that isn’t plumb will cause the door to swing on its own or bind against the jamb.
- Uneven Gaps: An out-of-square frame results in unsightly, inconsistent gaps around the door, compromising its appearance and seal.
- Poor Latching and Security: Misalignment is a primary cause of the latch not engaging properly with the strike plate, which can be a security risk.
- Energy Inefficiency: Gaps around the door allow for drafts, which can increase energy bills—a major concern with California's strict energy codes.
Industry Trends and Material Choices
The demand for high-quality door installations is growing. According to a report by Grand View Research, the global door systems market was valued at USD 349.5 billion in 2022 and is expected to expand, reflecting the importance of both function and style in modern construction.
Before installation, understanding choosing the right windows and doors for your home can provide valuable context for your project.
Essential Tools and Materials for Door Frame Installation

A professional result begins with having the right tools and materials ready. An organized setup saves time and ensures the job proceeds smoothly. For a precision job like this, having the correct tools is non-negotiable.
A high-quality 6-foot level is essential for any door frame installation. While a shorter level can check small sections, only a 6-foot (or 8-foot) level can verify that the entire hinge-side jamb is perfectly plumb. This single tool helps prevent a door that swings open or closed on its own.
Your Professional Toolkit Checklist
To ensure a smooth and efficient process, have these essential tools and materials on hand. This checklist will help you prepare for a successful installation.
| Item | Recommended Type/Size | Pro Tip |
|---|---|---|
| Level | 6-foot or 8-foot I-beam or box level | A long, accurate level is your most important tool for getting jambs perfectly plumb. |
| Tape Measure | 25-foot steel tape | A quality tape with a clear, easy-to-read blade is essential for checking diagonal measurements. |
| Shims | Cedar or composite shims | Composite shims are ideal for exterior doors, especially in damp Bay Area climates, as they won't rot. |
| Fasteners | 8d or 10d finish or casing nails | These provide strong holding power with a small head that’s easy to cover for a clean finish. |
| Hammer | 16 oz finish hammer | A smooth-faced hammer helps prevent marring the wood during the final nail sets. |
| Pry Bar | Flat bar or cat's paw | Essential for minor adjustments and removing old trim or frames without damaging the surrounding drywall. |
| Utility Knife | With sharp blades | Use for scoring drywall, trimming shims flush, and cutting sealant. A fresh blade ensures safety and precision. |
| Nail Set | Set of 3 sizes | Use this to drive nail heads just below the wood surface before filling for a seamless look. |
Choosing Frame Materials and Kits
When it comes to the frame, you have two primary options: a pre-hung door unit or a custom-built frame. Pre-hung doors, which come with the door already mounted in the frame, are a significant time-saver for standard rough openings, especially in new construction projects around Oakland.
For older homes in San Francisco or Berkeley where walls may have settled, a custom or "knock-down" frame is often necessary. This approach provides the flexibility to fit non-standard dimensions and match specific architectural styles.
For custom projects, wood species selection is crucial. Brands like Simpson Door Company offer a wide range of semi-customizable options, allowing you to match specific design requirements, from wood type to glass inserts, for a truly tailored fit.
Selecting Shims and Fasteners
The small components often make the biggest difference in a lasting door installation. Your choice of shims and fasteners is critical for keeping the frame true for years.
- Wood vs. Composite Shims: While traditional cedar shims work well for most interior applications, composite shims are superior for exterior doors or any location with moisture. They are waterproof, resist compression, and will not rot or split, making them perfect for the varied Bay Area climate.
- Fasteners: For securing the frame, 8d or 10d finish or casing nails are recommended. They offer ample holding power while leaving a small head that can be easily concealed with wood filler for a professional finish.
The frame material—whether solid wood, composite, or metal—should suit the project's demands. At Truitt & White, our experts can help you select the best materials for your specific job, ensuring your installation is built to last.
Preparing the Rough Opening: The Foundation for Success

A door frame installation is won or lost at the rough opening. A perfectly prepared opening makes the rest of the job straightforward, while a neglected one guarantees frustration. This is particularly true in the Bay Area, where a vintage Oakland bungalow poses different challenges than new construction.
Before bringing the new frame in, conduct a thorough assessment with your level. You need a level subfloor, plumb jack studs, and a level header to ensure the door hangs and swings correctly.
How to Assess and Correct the Opening
Most rough openings aren't perfect, especially in older homes. The key is to identify and correct any issues before proceeding.
First, use your level to find the high point of the subfloor within the opening. If the floor is out of level by more than 1/8 inch, it must be corrected by either planing the high side or using a self-leveling compound on the low side.
Next, check the jack studs for plumb. If a stud bows inward, you may be able to plane it down. If it bows outward or is leaning, attach shims directly to the stud before setting the frame.
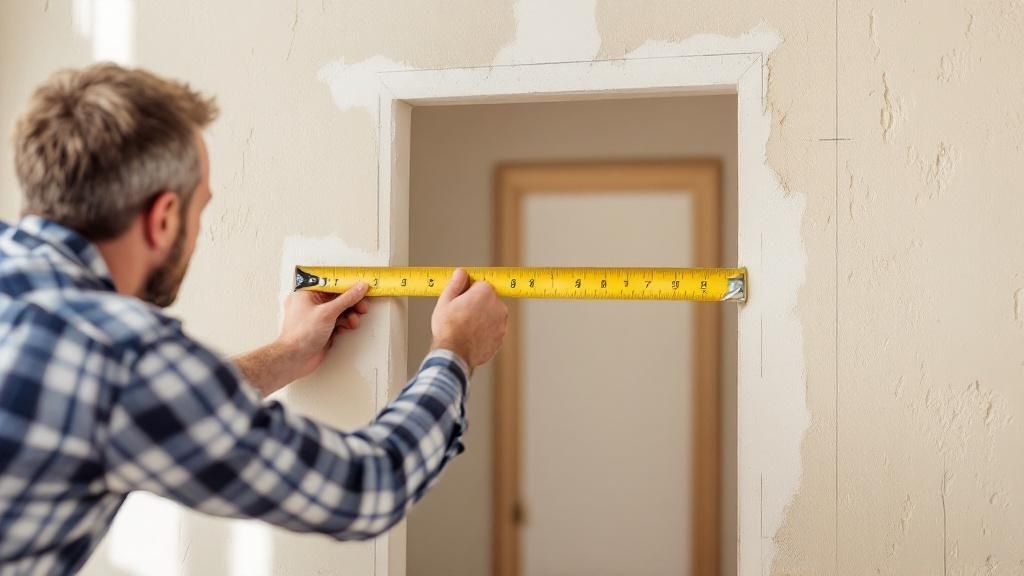
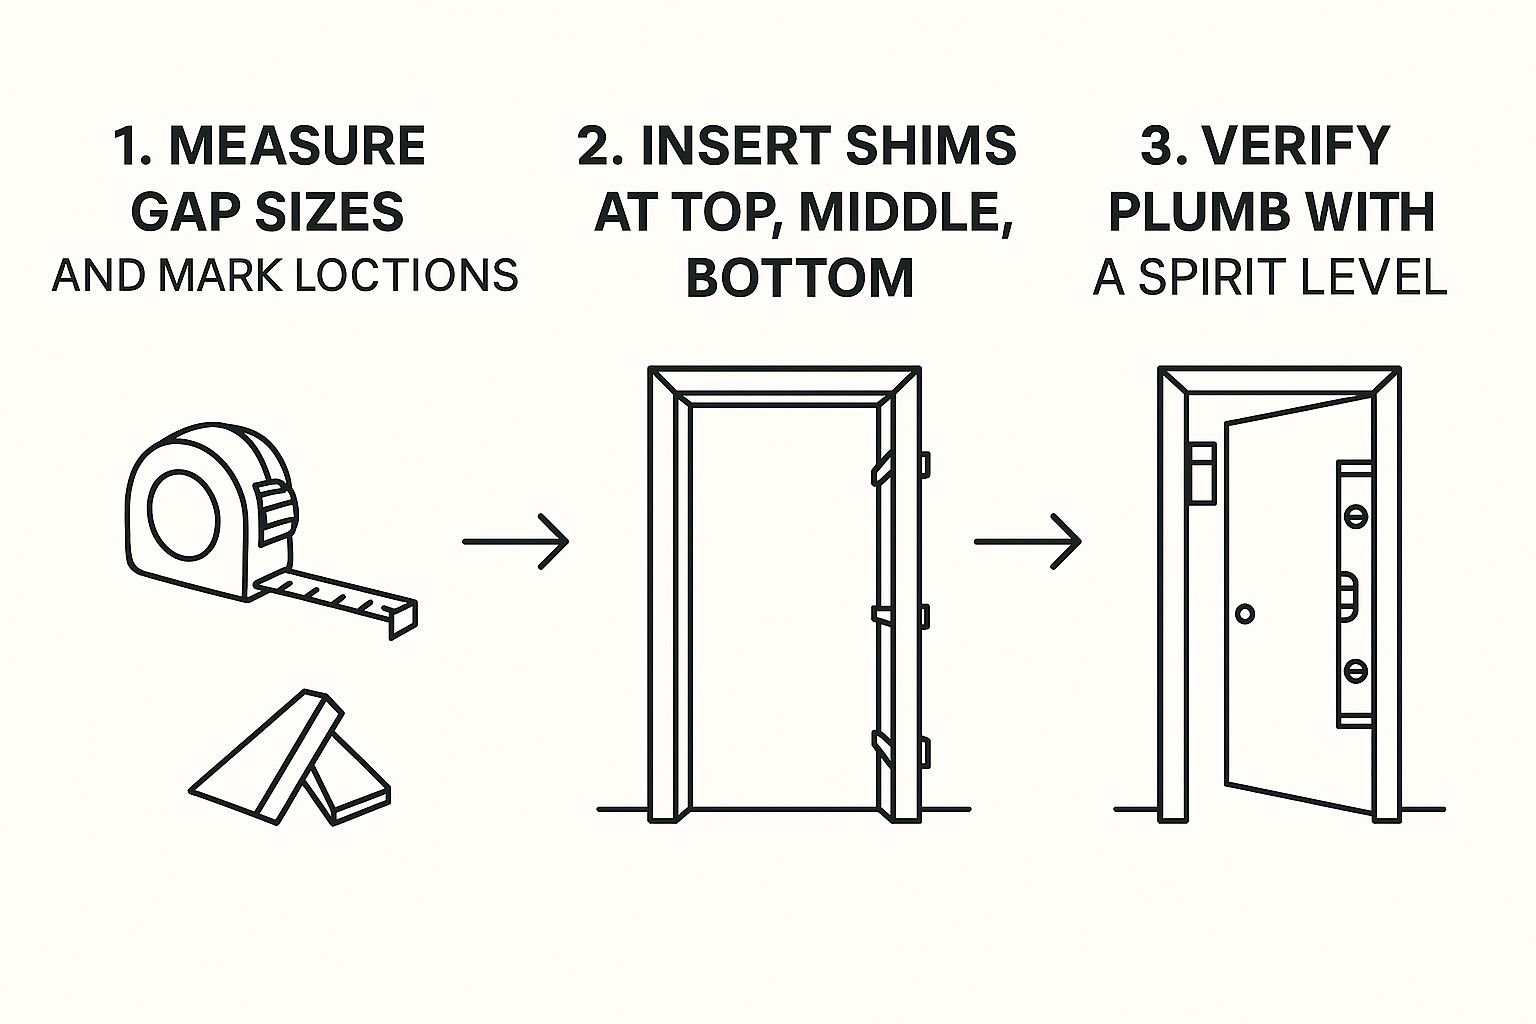
Pro Tip: Measure the width of the rough opening at the top, middle, and bottom, and check the height on both sides. These measurements will reveal if the opening is tapered, helping you anticipate where you'll need the most shimming.
Ensuring a Square and Solid Foundation
Finally, ensure the opening is square by taking diagonal measurements from corner to corner. If the measurements differ by more than 1/4 inch, the opening is "racked," and you will need to adjust it.
Taking the time for this meticulous prep work pays off. It’s the difference between a door that operates smoothly for decades and one that requires constant adjustments. Once the frame is solid, you can select the perfect hardware with our guide on how to choose the correct door hardware for your home.
Setting, Shimming, and Securing the Frame

With the rough opening prepared, we've reached the most critical phase of the installation. Your precision here will result in a door that hangs true and closes with a satisfying click. The entire job hinges on one task: getting the hinge-side jamb perfectly plumb.
The "hinge side first" method is a professional standard because it establishes a true axis for the door to pivot on. Once this side is set, the rest of the frame can be aligned to it.
The Art of Shimming in Pairs
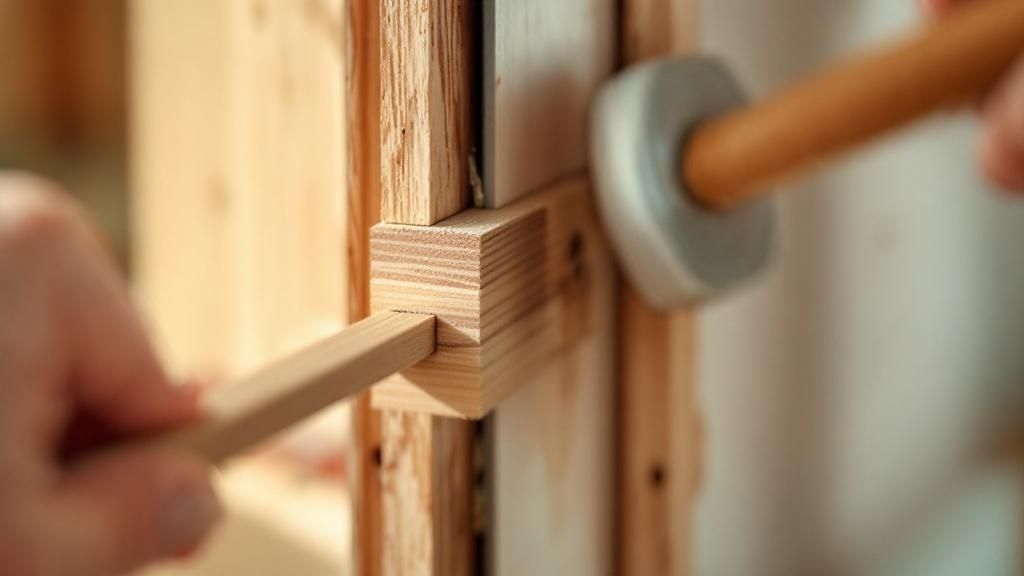
The secret to a solid installation lies in how you use shims. Your goal is to fill the gap between the jamb and the framing stud without putting stress on the jamb. To do this, always use shims in pairs, sliding them in from opposite sides.
- Start at the top hinge. Place the frame in the opening and slide a pair of shims behind the top hinge location.
- Tap them gently. Slide the shims toward each other until they are snug—not so tight that the jamb bows. Use your 6-foot level to check for plumb.
- Move to the bottom. Repeat the process at the bottom of the hinge jamb, making small adjustments until the entire side is perfectly plumb.
Once the hinge jamb is held by shims, begin shimming the latch side. Place shim pairs directly opposite those on the hinge side, including behind the latch strike plate.
A common mistake is overtightening shims, which will bow the jamb inward and cause the door to bind. Shims should be just tight enough to hold the frame steady without applying pressure.
Strategic Fastening and Final Checks
Now it's time to lock the frame in place using 8d or 10d finish nails. Drive nails through the jamb, through the shims, and into the framing studs, starting on the hinge side.
After setting a few nails, hang the door to test its swing. If it moves on its own, your hinge jamb is not perfectly plumb and needs adjustment.
Once the hinge side is secure, fasten the latch side, paying extra attention to the area behind the strike plate. With both sides nailed, check the "reveal"—the gap between the door and the frame—to ensure it is even all around. For projects requiring custom trim or jamb depths, a professional door shop and milling service can provide precisely what you need.
Pro Tip: Countersink every nail. Use a nail set to tap each nail head about 1/16 inch below the wood surface. This small dimple can be filled with wood putty, making the fastener disappear for a clean finish.
Finishing for a Polished, Professional Look
The final touches are what everyone will see. First, score the shims with a utility knife where they meet the wall and snap them off cleanly.
If you are not using a pre-hung unit, install the door stop molding along the jambs and header. Finally, apply a bead of paintable caulk where the frame meets the drywall and fill every nail hole with wood putty. This attention to detail is why high-quality featured door brands at Truitt & White are so valued.
If you are undertaking a larger project, this guide on how to install an exterior door may also be useful.
Frequently Asked Questions About Door Frame Installation
Here are answers to some of the most common questions we hear from builders, contractors, and homeowners in the Bay Area.
What is the ideal gap between a door frame and the rough opening?
Aim for approximately a 1/2-inch gap on both sides of the frame and at the top. This provides enough space to maneuver the frame and use shims to get it perfectly plumb and square without a struggle.
Are composite or wood shims better for Bay Area homes?
For exterior doors or in high-moisture areas like bathrooms, composite shims are the superior choice for Bay Area homes. They are waterproof, resist compression, and won't rot, ensuring a more durable, long-lasting installation that can withstand our local microclimates. Wood shims are generally acceptable for interior applications.
What should I do if my rough opening isn't perfectly square?
It's very common for rough openings in older Bay Area homes to be out of square due to settling. Your top priority is to set the hinge-side jamb perfectly plumb. You can then use shims to adjust the latch side and header to create a square frame within the imperfect opening, and the trim will conceal any gaps.
Is installing a pre-hung door different from a custom frame?
Yes, the processes differ. A pre-hung door is a complete unit with the door already mounted in its frame, which simplifies the installation. A custom or "knock-down" frame is installed first, after which you must mortise the hinges and hang the door slab. Understanding the different parts of a door can help clarify the process.
Why does my newly installed door swing open on its own?
If a door swings open or closed by itself, it means the hinge-side jamb is not perfectly plumb. A level check will confirm this. To fix it, you will need to remove the nails, re-shim the hinge jamb until it is perfectly vertical, and then re-fasten it.
For expert advice and access to the highest quality Bay Area windows and doors, visit the professionals at Truitt & White. Our knowledgeable team can help you select the right materials for any project, from a simple interior door to a complex custom entryway. Visit our Berkeley showroom for expert advice.


