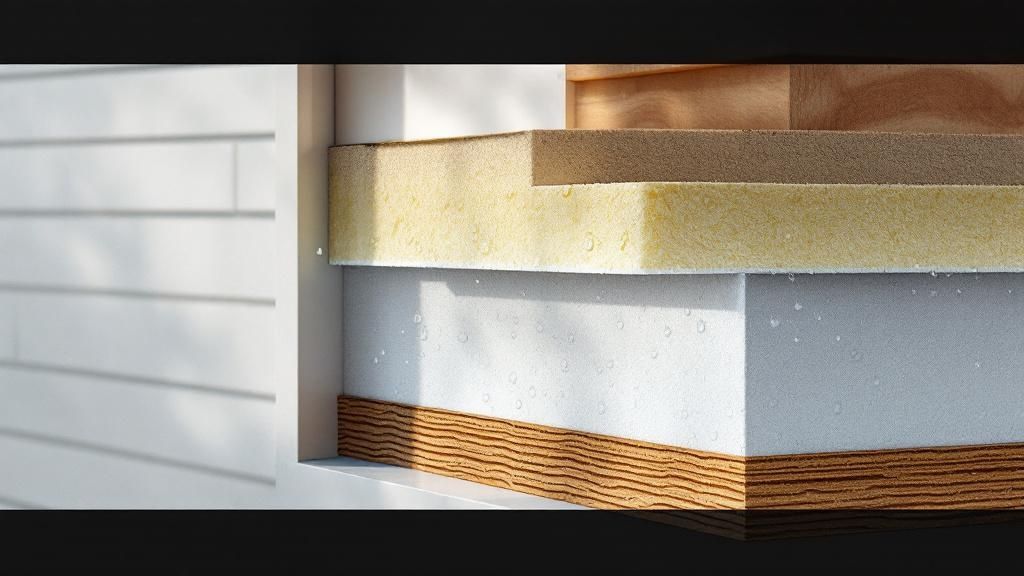
A vapor barrier isn't just another building material. It's a key defense system for your home or project. It stops water vapor—the moisture in the air—from getting into walls, ceilings, and floors.
Think of it as a raincoat for your building. It prevents moisture from getting trapped where it can cause hidden damage like mold, mildew, and rot. For building strong, energy-efficient homes in the Bay Area, it's a must-have.
The Role of a Vapor Barrier in Modern Construction
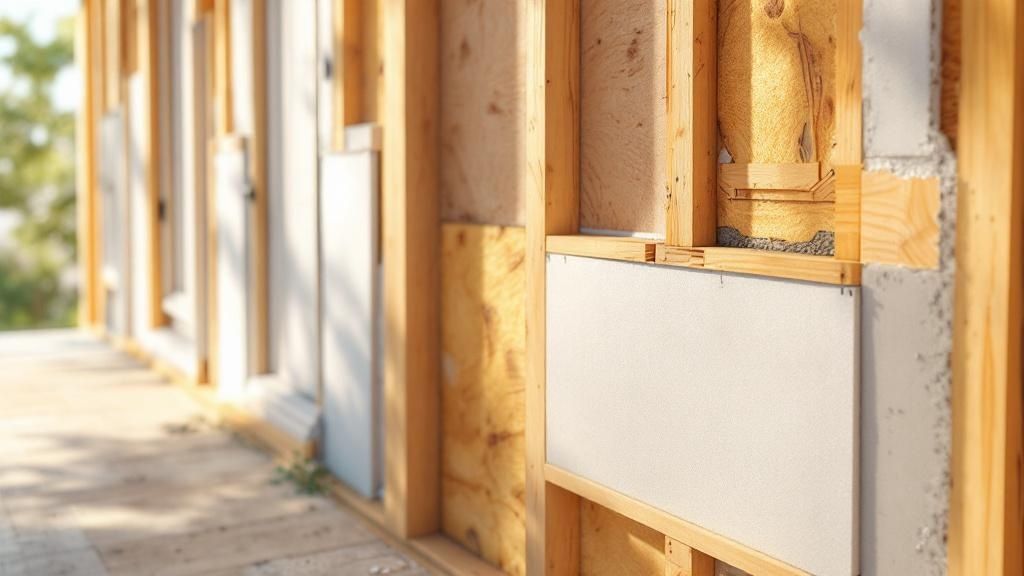
Have you ever seen water droplets form on a cold glass on a warm day? The same thing can happen inside your walls. Warm, humid air from inside your house hits a colder wall surface and creates condensation.
This traps moisture inside your wall. A vapor barrier is installed to stop this process completely. It is essential for any construction project, especially with the diverse microclimates around Berkeley and Oakland.
Core Functions of a Vapor Barrier
A vapor barrier’s main job is to manage moisture and protect the building. This simple task has a huge impact on a building's long-term health. Good moisture control improves everything from durability to indoor air quality.
Let's break down the key roles a vapor barrier plays.
Key Functions of Vapor Barrier Insulation
| Function | Primary Purpose | Benefit for Bay Area Homes |
|---|---|---|
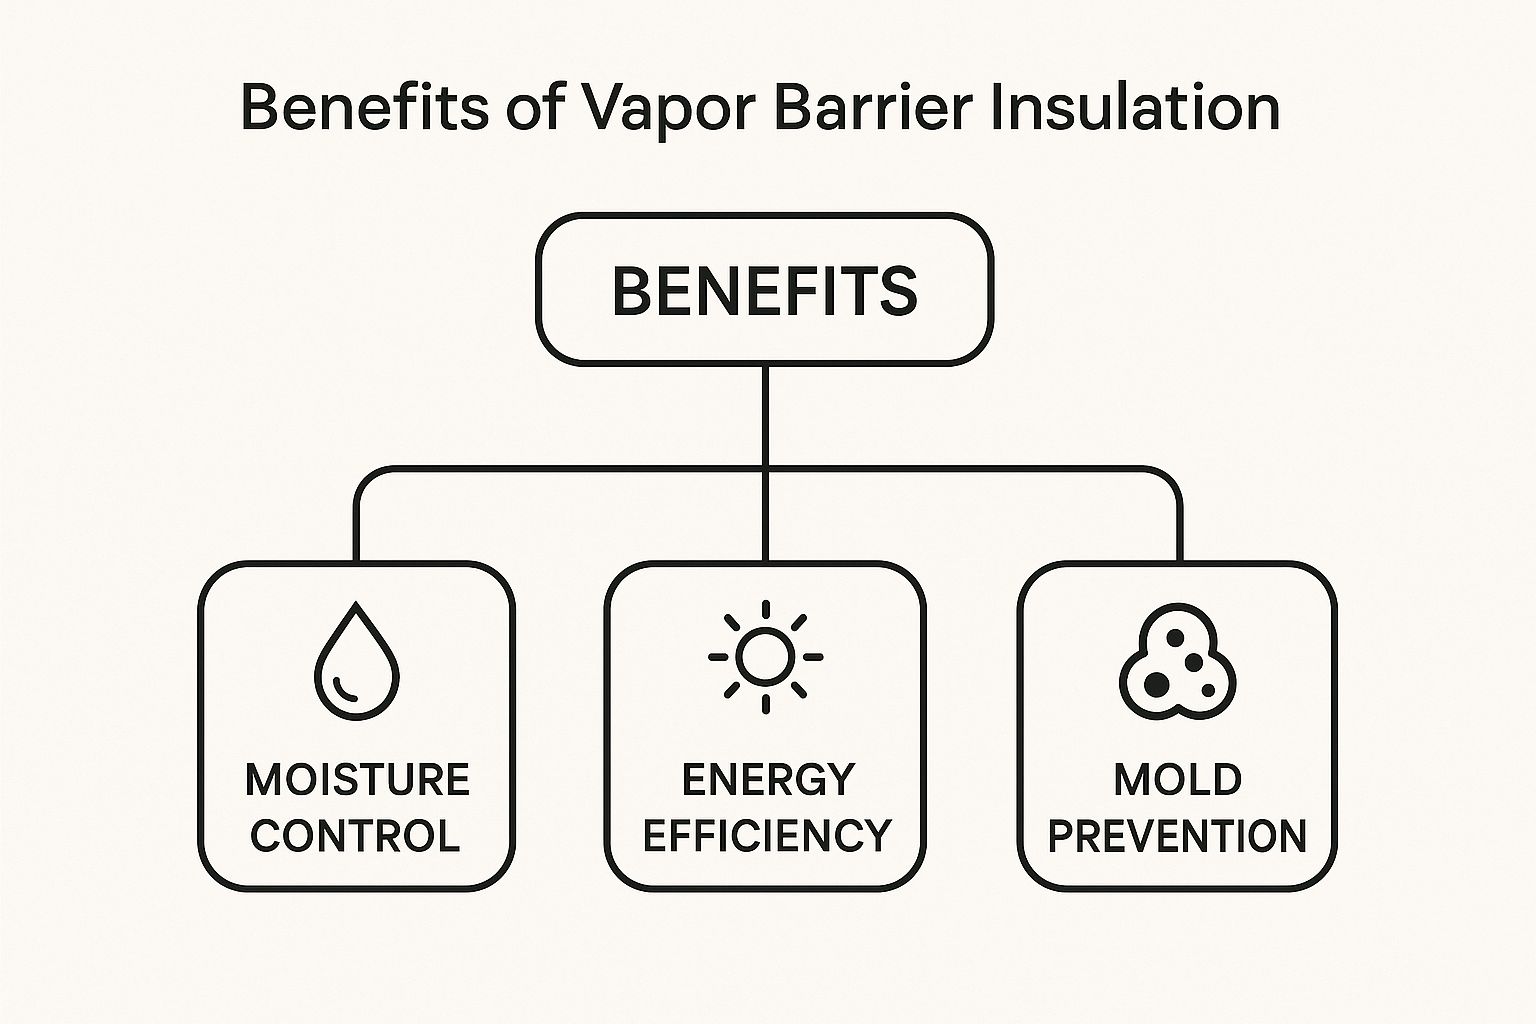
| Moisture Management | Stops water vapor from condensing within walls. | Protects wood framing from rot, especially in damp, foggy climates like San Francisco's. |
| Mold & Mildew Prevention | Keeps wall cavities dry so mold can't grow. | Improves indoor air quality and prevents health issues caused by toxic mold. |
| Energy Efficiency | Keeps insulation dry so it can work at its best. | Lowers heating and cooling bills by ensuring insulation performs as intended. |
These functions work together to create a building that is more comfortable, healthier, and cheaper to maintain.
- Moisture Management: This is the most important function. A vapor barrier stops water vapor before it can condense inside your walls. This prevents problems like wood rot and peeling paint.
- Mold and Mildew Prevention: Mold and mildew need moisture to grow. By keeping walls dry, a vapor barrier cuts off their life source.
- Improved Energy Efficiency: Insulation that gets wet doesn't work well. A vapor barrier keeps your insulation dry so it can provide its full R-value, helping to lower your energy bills.
A vapor barrier must be installed correctly. A poorly installed barrier can trap moisture inside the wall, which is worse than having no barrier at all. This can lead to serious problems like mold and wood rot.
As building science has improved, the demand for these materials has grown. The global vapor barrier market was recently valued at around $12.0 billion, showing how vital they are in modern construction. This growth is driven by stricter building codes that focus on energy savings and mold prevention. For more details, you can read this in-depth market analysis on vapor barriers.
How Vapor Barriers Protect Your Building
To understand how a vapor barrier works, picture a cold glass of iced tea on a warm day. Condensation forms on the outside because warm, humid air hits the cold glass and releases its moisture.
The same thing happens inside your walls. When warm, moist air from inside your heated Bay Area home touches a cold surface in the wall, it condenses. A vapor barrier acts as a gatekeeper, stopping water vapor from reaching that cold surface.
How Moisture Moves Through Walls
Moisture is sneaky and can get into your walls in two main ways. A well-built home must handle both.
- Vapor Diffusion: This is when water vapor molecules slowly move through solid materials like drywall. It's a slow process but adds up over time.
- Air Transport: This is the bigger problem. Cracks and holes allow large amounts of moist air to rush into the wall. This is how most moisture problems begin.
While diffusion is slower, it still leads to moisture buildup over time, especially in our unique Bay Area climate.
The Risk of Trapped Moisture in Bay Area Homes
From the foggy coast to warmer inland spots like Berkeley, the temperature difference between inside and outside is a constant threat. Without a vapor barrier, moisture gets trapped inside your walls with no way to escape.
This trapped water becomes a serious problem. It soaks your insulation, reducing its R-value and making your home less energy-efficient. Even worse, it creates a perfect environment for destructive issues.
Without proper moisture control, wood framing can rot from the inside out. This can weaken the building's structure. This hidden damage is often widespread and costly to fix by the time you notice it.
A vapor barrier is a key part of a complete building envelope strategy. It also improves a building's airtightness, which helps with energy efficiency and comfort. For more on sealing your home, see this essential guide on finding and sealing air leaks.
This protective layer works with all other parts of your home. Our guide on weatherproofing windows and doors explains how these systems work together. Investing in a quality vapor barrier is an investment in your property's long-term health and value.
Exploring Different Types of Vapor Barriers
Not all vapor barriers are the same. Picking the right one is critical for your project's success. The industry classifies them by their permeability, or "perm rating."
A perm rating simply measures how much water vapor can pass through a material. Understanding these classes helps you match the right material to the right job.
Class I Vapor Barriers: Impermeable Materials
When you need to completely stop moisture, you use a Class I vapor barrier. These materials are considered impermeable. They have a perm rating of 0.1 perms or less.
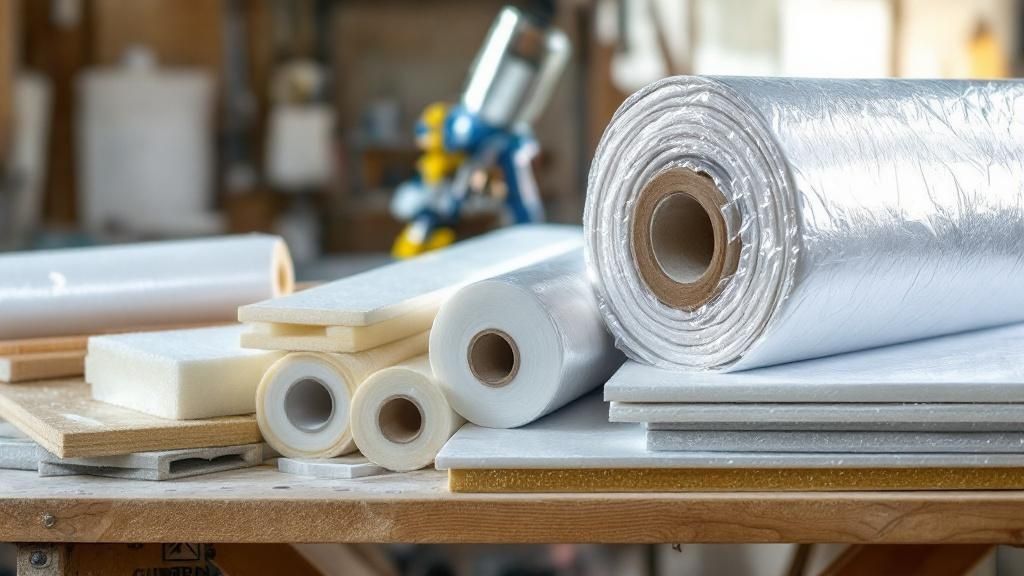
- Polyethylene Sheeting: This is the plastic sheet most people recognize, often called 6-mil poly. It's commonly used under concrete slabs and on foundation walls.
- Foil-Faced Insulation: This rigid foam insulation has a foil facing. It acts as a Class I barrier while also providing thermal insulation.
Use these materials in areas with high moisture, like basements, crawl spaces, or behind showers.
Class II Vapor Retarders: Semi-Permeable Materials
Next are Class II vapor retarders. These are "semi-permeable," meaning they block most moisture but let a tiny amount pass through. Their perm rating is between 0.1 and 1.0 perms.
A common example is the kraft paper facing on fiberglass batt insulation. This paper is treated to slow moisture movement. It protects the wall but allows some drying if moisture gets in, which is a smart balance for many Bay Area homes.
Class III Vapor Retarders: Breathable Materials
Finally, there are Class III vapor retarders. These are the most breathable, with a perm rating between 1.0 and 10.0 perms. They don't stop vapor completely but slow it down.
A good example is certain types of latex or enamel paints. When applied to drywall, they create an effective vapor-retarding surface. This is a practical solution for remodeling projects where opening the walls is not an option.
Vapor barriers became common in the mid-20th century as builders sought to prevent moisture damage. According to the U.S. Department of Energy, proper moisture control is key to energy efficiency. Studies show that proper installation can reduce moisture-related repair costs by 30-50% in various climates.
Comparing Vapor Barrier Materials
Here is a quick table comparing common materials and their suitability for use in the Bay Area.
| Material Type | Perm Class | Common Application | Bay Area Suitability |
|---|---|---|---|
| Polyethylene Sheeting | Class I | Under concrete slabs, crawl spaces, basements | Excellent for below-grade areas where ground moisture is a big concern. |
| Foil-Faced Insulation | Class I | Wall sheathing, roof assemblies | Great for providing both thermal insulation and vapor control in one product. |
| Kraft-Faced Fiberglass | Class II | Wall cavities in wood-frame construction | A very common and suitable choice for our mixed-humid climate in the Bay Area. |
| Vapor Barrier Paint | Class III | Interior drywall surfaces, retrofits | A practical option for interior applications, especially in remodels. |
Choosing the wrong class can trap moisture, leading to rot and mold. If you're already dealing with these issues, our guide on how to repair water-damaged drywall offers essential repair steps.
Choosing the Right Vapor Barrier for the Bay Area
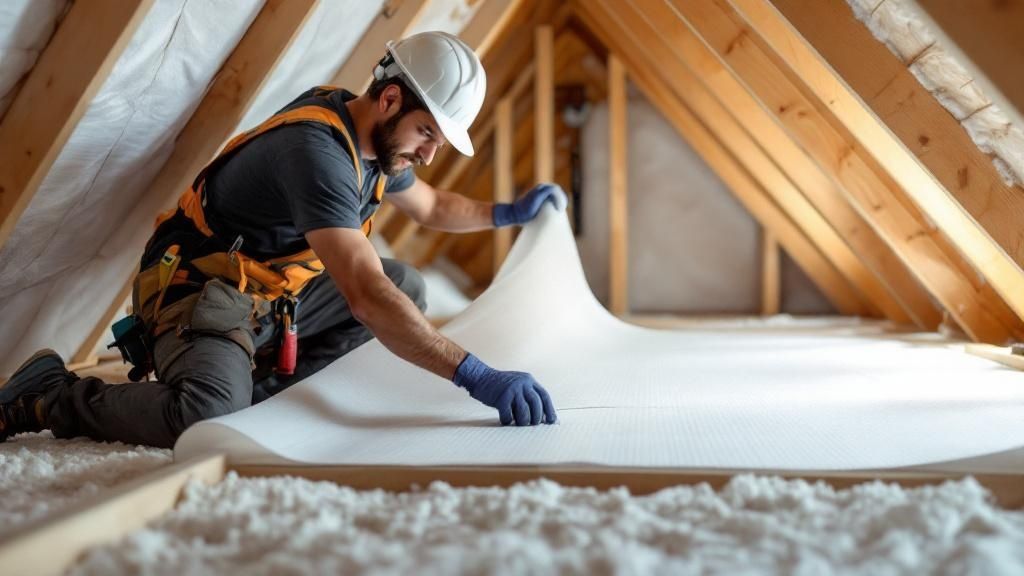
Picking the right vapor barrier for a Bay Area project is tricky. Our region has many microclimates. A foggy morning in San Francisco is very different from a hot afternoon in the East Bay.
This diversity requires a smart approach to moisture control. The goal is to find a vapor barrier that manages moisture effectively without trapping it.
Navigating California Title 24 and Local Codes
California’s energy code, Title 24, heavily influences building design. These rules ensure that new construction and remodels are energy-efficient and durable. A key part of Title 24 is creating a building envelope that controls both air and moisture.
This means your choice of vapor barrier is directly tied to passing inspection. The wrong material or a poor installation can cause delays and expensive rework. For projects seeking green building certifications, solid moisture management is essential. You can learn more about these standards by understanding what LEED certification is.
Placement is Everything in Our Climate
Most of the Bay Area is in a mixed-humid climate zone. This gives us a simple rule for placement: the vapor barrier belongs on the warm-in-winter side of the wall. In almost all cases, this means installing it on the interior side, right behind the drywall.
This placement stops warm, moist indoor air from getting into the wall during colder months. If you put the barrier on the outside, you risk trapping moisture inside the wall.
Practical Tips for Bay Area Projects
Keep these regional tips in mind for a successful installation.
- Mind the Microclimate: For coastal projects with a lot of fog, a Class II semi-permeable vapor retarder like kraft-faced insulation is often a safe choice. It provides good protection while allowing for some drying potential.
- Seal Every Single Penetration: A vapor barrier is only effective if it's completely sealed. You must meticulously tape every seam and seal around every electrical box, pipe, and window.
- Avoid the "Double Barrier": Never install a vapor barrier on both the inside and outside of a wall. This creates a "vapor trap" that locks in moisture and guarantees rot and mold.
By following these guidelines, builders in Berkeley, Oakland, and across the Bay Area can choose and install the right vapor barrier with confidence.
Getting the Installation Right is Everything
A vapor barrier is only as good as its installation. You can buy the best material, but it will fail if it's not installed with precision. A poorly installed barrier can trap moisture where you don't want it.
The goal is to create a continuous, unbroken shield. This requires careful attention to detail, from overlapping seams to sealing every pipe and wire.
Key Installation Techniques
Follow these fundamental steps for a successful installation in any Berkeley or Oakland project.
- Overlap All Seams: Always overlap seams by at least 6 inches, or follow the manufacturer's instructions.
- Tape Every Single Joint: Use a high-quality sheathing tape made for vapor barriers. Press the tape firmly to create a strong, airtight bond.
- Seal All Penetrations: This is the most common point of failure. Carefully seal around every opening, including electrical boxes, pipes, and window frames.
- Repair Tears Immediately: If the barrier gets torn on the job site, patch it immediately with approved tape. Even a small rip can compromise the entire system.
Common Mistakes and How to Avoid Them
Knowing what not to do is just as important. Avoid these common mistakes to prevent costly repairs later.
The biggest mistake is putting the vapor barrier on the wrong side of the insulation. In the Bay Area’s climate, it must go on the warm-in-winter side—the interior side of the wall. Placing it on the exterior will trap moisture inside the wall.
Another major error is leaving small gaps around fixtures or doing a poor job of taping seams. These small mistakes allow moisture to bypass the barrier. The industry knows that skilled labor is needed to get these details right, a fact often noted in reports like this one on the air and vapor barrier system market.
For homeowners, understanding how to choose a contractor who focuses on these details is crucial. Doing the job right the first time protects the building for decades.
Frequently Asked Questions About Vapor Barriers
Here are answers to some of the most common questions we hear from builders, architects, and homeowners in the Bay Area.
1. Do I always need a vapor barrier in the Bay Area?
Yes, in almost all cases. The Bay Area's damp, foggy climate makes moisture control necessary to prevent mold and rot. California building codes like Title 24 often require a vapor barrier to meet energy efficiency standards.
2. What is the difference between an air barrier and a vapor barrier?
An air barrier stops airflow, while a vapor barrier stops the diffusion of water vapor. Think of an air barrier as a windbreaker and a vapor barrier as a raincoat. Both are critical for a high-performance building.
3. Can I add a vapor barrier to an existing home?
Yes, the easiest way is to use a vapor-retardant paint (a Class III retarder) on the interior drywall. This provides good moisture control without tearing open the walls. Installing a plastic sheet barrier is best left for new construction or a major remodel.
4. Which side of the wall does the vapor barrier go on?
In the Bay Area's climate, the vapor barrier always goes on the warm-in-winter side of the insulation. This means it goes on the interior side of the wall, just behind the drywall. Placing it on the outside will trap moisture inside the wall.
5. What happens if a vapor barrier is installed incorrectly?
A poorly installed vapor barrier can be worse than no barrier at all. If it has gaps or is on the wrong side of the wall, it can trap moisture. This can lead to destructive mold growth, wood rot, and ruined insulation.
6. Where is a vapor barrier most important in a house?
A vapor barrier is critical in walls, ceilings, and floors that separate heated spaces from unheated ones or the outside. It is especially important in high-moisture areas like bathrooms, kitchens, basements, and crawl spaces.
7. Does my crawl space need a vapor barrier?
Yes, absolutely. A Class I vapor barrier, like 6-mil polyethylene sheeting, should be placed on the dirt floor of a crawl space. This prevents ground moisture from rising into your home, which is a common problem in the Bay Area.
For expert advice on selecting the right vapor barrier and building materials for your next project, trust the team at Truitt & White. Visit our Berkeley showroom or connect with us today to get started.


