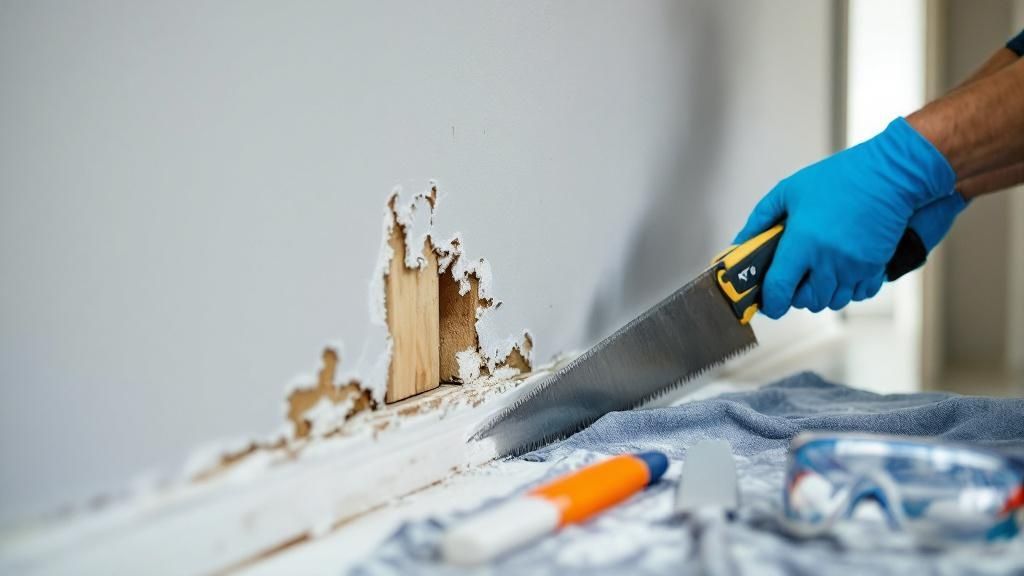
Discovering a soggy, stained patch on a wall or ceiling is a dreaded moment for any Bay Area property owner. Before you patch or paint, your first moves are critical. You must stop the water source, assess the damage, and get everything bone dry to prevent bigger headaches like widespread damage and mold.
What To Do First When You Find Water Damaged Drywall
The moment you see a water stain, sagging paint, or soft spot, the clock starts ticking. Acting fast can be the difference between a simple weekend patch job and an expensive, large-scale renovation. Your top priority is to get the situation under control before it spirals.
Find and Stop the Water Source
First, find and kill the water source. Whether it’s a pinhole leak in a pipe inside your Oakland Victorian, a failing roof flashing from a Berkeley winter storm, or a busted dishwasher hose, the water must be stopped. This could mean turning a local shut-off valve behind a toilet or shutting off the main water supply to the house.
Perform a Quick Visual Assessment
With the water stopped, take a deep breath and assess the situation. Is the drywall just discolored, or is it physically bulging and mushy to the touch? A light brown stain might indicate an old, slow leak, while a dark, sagging section is a red flag for a more recent, serious flood.
This initial once-over gives you a rough idea of the project's scope. Keep an eye out for these tell-tale signs:
- Discoloration: Classic yellow or brown water stains are the most obvious sign.
- Texture Changes: Look for peeling or bubbling paint, or a warped, uneven surface.
- Physical Integrity: Gently press the damaged spot. If it’s soft, spongy, or crumbles, the gypsum core is compromised and the section must be replaced.
Document Everything Immediately
Before you do anything else, pull out your phone. Take extensive photos and videos of the damage, including wide shots of the room, close-ups of the wet drywall, the leak source, and any affected property.
This step is non-negotiable, especially for insurance claims. Clear, timestamped photos and videos create an undeniable record of the damage as you found it, which can be crucial when dealing with adjusters.
For catastrophic events like a burst pipe, you must act immediately to limit damage. Knowing how to respond to a burst pipe is a crucial skill that can save you from thousands in secondary damage.
Assessing The Damage And Preparing Your Work Area
With the water source shut off, it's time for an honest assessment. You need to determine how far the water has spread and decide if the drywall can be saved or if it's a total loss. A thorough evaluation now will prevent serious headaches later.
The first test is simple: gently press the water-stained area. If the drywall feels soft, spongy, or crumbles, its gypsum core is shot. In this case, the entire damaged section must be cut out and replaced. In the Bay Area, where damp winter air can slow drying, leaving compromised drywall is an invitation for mold.
Determine The Extent Of The Damage
Even if the drywall surface feels solid, water can wick upwards and sideways far beyond the visible stain. A moisture meter is your best friend here. Use it to get an accurate reading on the drywall and the wood studs behind it.
According to building science principles, any reading above 15-17% in wood framing is a major red flag. This indicates that more drying time is absolutely necessary before closing up the wall.
A classic rookie mistake is only cutting out the stained portion. You must cut at least six to twelve inches beyond the last signs of water damage or high moisture readings to ensure a clean, dry edge for your patch.
Dealing with this type of damage is common. The global drywall repair services market, largely fueled by water incidents, hit a value of USD 5.1 billion in 2023, showing how many property owners face this exact problem.
Create A Safe And Clean Work Zone
Before you pick up a saw, prep the room. This isn't just about tidiness; it’s about protecting your health and the rest of your home.
- Protect Your Surroundings: Move furniture out of the room or cluster it in the center under thick plastic sheeting. Use painter's tape to secure heavy-duty plastic or rosin paper to protect the floor.
- Seal the Area: Drywall dust gets everywhere. Hang plastic sheeting over doorways and use tape to seal off HVAC vents in the room. This step will save you hours of cleanup.
Removing And Replacing Water Damaged Drywall Panels
Once you've mapped the moisture, it's time for surgical removal of the compromised drywall. Think precision, not brute force. The goal is clean, straight cuts for a seamless patch without damaging the surrounding wall or studs.
Start by marking your cuts. Use a level and a pencil to draw a perfect square or rectangle around the damaged area, extending the lines at least a few inches past any sign of moisture. This guarantees you're working with solid, dry material on all sides.
The Art Of The Clean Cut
With your lines marked, make the first incision. A sharp utility knife is usually sufficient to score the drywall's paper face along your pencil lines. Press firmly and run the knife over the line several times for a deep, clean cut.
To remove the full section, a dedicated drywall saw is a lifesaver. Its sharp point plunges through the wall, and its coarse teeth make quick work of the gypsum. Cut carefully—you never know what plumbing or electrical wiring might be hiding in the wall cavity.
Here’s a look at the right way to cut out the damaged section to prep for the replacement piece.
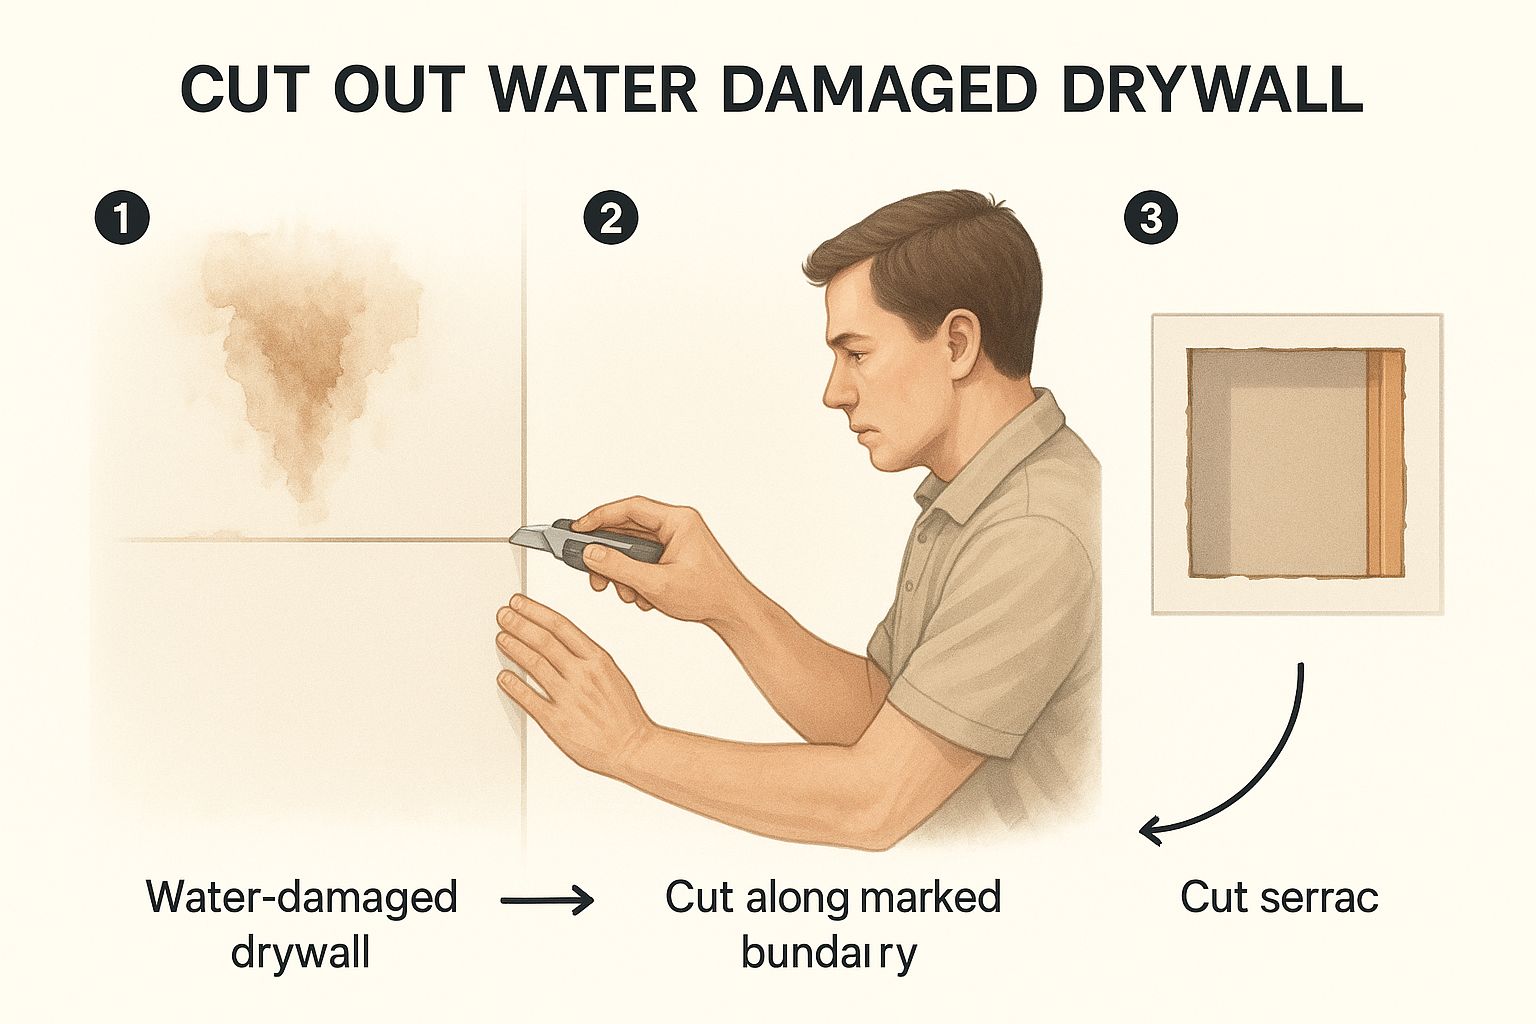
A measured approach with proper tools creates a neat opening, which is the foundation of an invisible repair.
After removing the damaged piece, inspect inside the wall. Check the wood studs and insulation for dampness or mold. If anything is wet, it must be dried completely before you proceed. Having the right tools for demolition and prep makes all the difference; explore our tool spotlight to elevate your projects with top-tier equipment.
Depending on what you find, your next steps might vary. Here’s a quick guide to assess the situation.
Water Damage Severity and Recommended Action
| Damage Level | Visual Signs | Recommended Action |
|---|---|---|
| Minor | Light staining, no swelling, completely dry. | Clean, prime with a stain-blocking primer, and repaint. |
| Moderate | Swelling, softness, or persistent dampness. | Cut out and replace the affected section of drywall. |
| Severe | Widespread damage, visible mold, structural sagging. | Full panel replacement; professional mold remediation may be necessary. |
This table helps you decide if a simple patch is enough or if a more involved replacement is necessary.
Selecting The Right Replacement Drywall
Matching the new drywall to the old is a key detail for a professional finish. Drywall comes in standard thicknesses, but 1/2-inch and 5/8-inch are most common in homes around Berkeley and Oakland. Using the wrong thickness will create a bulge or dip that joint compound can't hide.
A pro tip: cut a small piece from the damaged drywall and bring it to our Berkeley lumberyard. It’s the only surefire way to get a perfect match in thickness and type, ensuring your patch sits flush with the existing wall.
Fixing drywall is just one part of the restoration. Water damage restoration costs vary, but repairs focused on drywall typically average between $300 and $850, depending on the extent of the damage.
Techniques for a Seamless Drywall Patch and Finish
A professional-grade finish is the true sign of a job well done. This is where careful prep pays off, turning an obvious patch into an invisible repair. It’s a methodical process of taping, mudding, and feathering.
With your new drywall screwed in, it’s time for joint compound, or "mud." The first coat is a thin, even layer over the seams. Use a flexible 4- or 6-inch putty knife to work the mud into the tapered gap between the new and old panels.
Applying and Embedding the Tape
Immediately after the first layer of mud, embed your tape while the compound is wet. For flat seams and inside corners, professionals in the Bay Area prefer paper tape. It creates a strong, crisp joint that is less prone to cracking.
Press the tape firmly into the wet compound. Then, run your putty knife over the tape with firm pressure to squeeze out excess mud and eliminate any air bubbles.
For this first pass, focus on creating a rock-solid bond.
- Center the Tape: Ensure the paper tape is perfectly centered over the seam.
- Squeeze Out Excess: Angle your knife to apply enough pressure to embed the tape securely.
- Smooth It Out: Once embedded, apply a very light skim coat of mud over the tape to lock it in place as it dries.
A common homeowner mistake is applying too much mud on the first coat. This leads to longer drying times, difficult sanding, and a higher risk of cracking. Think in thin, controlled layers.
Building Up and Feathering the Joint Compound
Once the first coat is bone dry—allow at least 24 hours—move to the second coat. This is where you begin feathering to blend the repair. Switch to a wider taping knife, like an 8- or 10-inch blade.
Apply another thin coat of compound, extending it a few inches beyond the edges of the first coat. Hold your knife at a shallow angle and put more pressure on the outer edge of the knife. This creates a thin, "feathered" edge that will be easy to sand and hide.
For a truly invisible finish, a third coat is almost always needed. Use a 12-inch knife for this final pass. Apply one more very thin coat, extending it even further to create a gradual slope the eye won't detect.
Between each coat, light sanding is key. Use a fine-grit sanding sponge or sandpaper (around 120-grit) to knock down high spots or tool marks. Always wipe away sanding dust with a damp cloth before applying the next coat to ensure proper adhesion.
How To Prime And Paint For An Invisible Repair
You've patched, sanded, and cleaned. Now it's time to make the repair disappear. Rushing this final stage can waste all your hard work.
Sealing the Stain for Good
Choosing the right primer is the single most critical step. You cannot use standard wall primer. Water stains contain minerals that will bleed through regular latex paint, sometimes weeks or months later.
You need a stain-blocking primer. These are typically shellac-based or oil-based formulas designed to create an impermeable barrier that permanently locks in the stain. It’s the only way to guarantee a lasting, invisible fix.
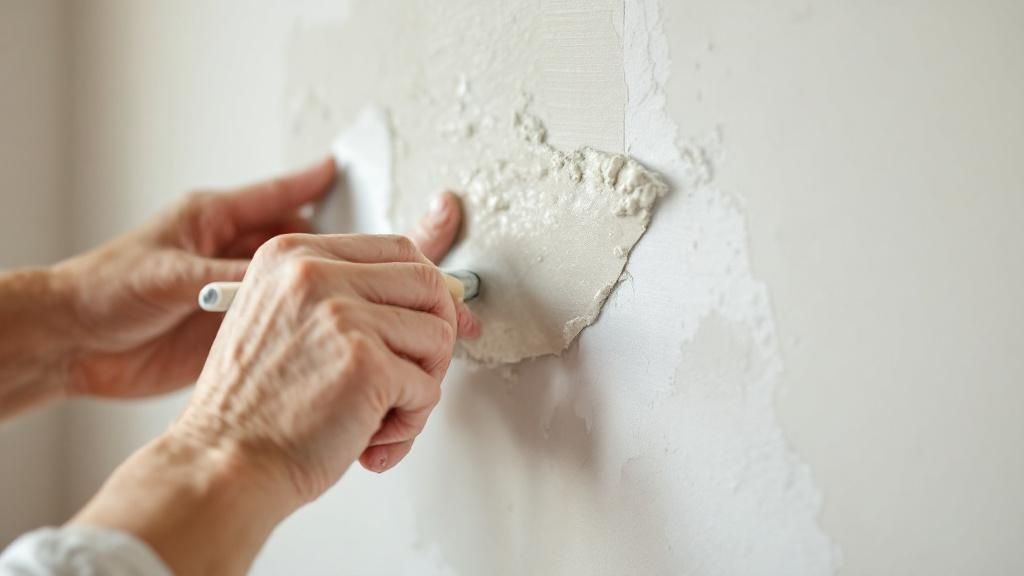
Matching the Wall's Original Texture
Before painting, look closely at your wall. Most walls, especially in older Bay Area homes, have a subtle texture. A perfectly flat patch on a textured wall will stick out.
- Orange Peel: This common, light dimpling can be matched with aerosol spray texture. Adjustable nozzles help you dial in the right coarseness.
- Knockdown: This more pronounced texture involves spraying on a thicker texture and then gently "knocking it down" with a wide taping knife after it partially sets.
Always practice on a scrap piece of cardboard first. Feather the new texture into the old to create a seamless transition, and let it dry completely before priming.
Don't skip the texture step. A smooth patch on a textured wall is a dead giveaway, especially in angled light. This small detail makes a huge difference.
Getting the Color and Sheen Just Right
With the patch primed and textured, it's time for the final color. If you don't have the original paint, carefully cut a small one-inch square from an inconspicuous spot and take it to a paint store for a computer color match.
Just as important as the color is the sheen. A patch with an eggshell finish will stand out on a matte wall. It has to be a perfect match.
Apply two thin coats of your matched paint, allowing the first to dry completely before starting the second. Use a small roller to mimic the original paint texture and feather the edges of the new paint onto the surrounding wall to blur any lines. A change of seasons is often the perfect time for finishing touches; learn more about why spring is the ideal time for painting and deck work on our blog.
Knowing When To Call A Professional For Water Damage
There’s real satisfaction in DIY home repairs. But the mark of an experienced hand is knowing when to call a specialist. A small drywall patch is one thing; significant water damage is a different beast entirely.
Red Flags That Demand Professional Help
Certain warning signs indicate a problem that goes much deeper than the drywall surface.
- Signs of Structural Sagging: If a ceiling is bowing or a wall feels spongy, stop immediately. This indicates water may have soaked into the structural framing, posing a major safety concern that needs an expert.
- Persistent Musty Odors: If a musty smell remains after removing the damaged drywall, you likely have hidden mold. Professionals have the specialized equipment to find and safely remediate it.
- Contaminated Water Source: Damage from a sewage backup or floodwaters (Category 2 or 3 water) is a biohazard. This water requires professional sanitation protocols and equipment.
Calling a pro isn't just about skills; it's about safety. The upfront cost of a restoration contractor can save you from the much larger expense of fixing structural failure or chronic mold down the road.
Understanding the Cost-Benefit
Repairing water-soaked drywall is more labor-intensive than fixing a simple hole. While average drywall repairs might run $609, a serious water damage job is in another league. Contractors often charge $60 to $90 per hour due to the extra steps involved.
If the water comes from a leaky roof, you must fix the source first. In those cases, you may need professional roofing services for water damage for proper remediation.
Here at Truitt & White, we supply materials for any job. But we also believe in doing things right. Truitt & White has all your needs for DIY projects, and our job is to help you recognize when to partner with a specialized service.
FAQs: Repairing Water Damaged Drywall in the Bay Area
Even with a guide, questions arise. Here are answers to common queries we get from builders, contractors, and homeowners in the Bay Area.
Can I just paint over a water stain on drywall?
No, this is a common mistake that traps moisture inside the wall, creating a perfect environment for mold and rot. You must fix the leak, ensure the area is completely dry, and then use a high-quality, stain-blocking primer before painting for a lasting repair.
How long does it take for drywall to dry out?
Drying time can range from three days to several weeks, depending on saturation levels and ambient humidity. In the damp Bay Area climate, use fans and a dehumidifier to accelerate the process. The wall must be completely dry before you begin repairs.
Is water-resistant drywall the same as waterproof drywall?
No, this is a critical distinction. Water-resistant drywall ("green board") has a moisture-repellent paper facing but a standard gypsum core, so it will break down with prolonged water contact. Waterproof materials like cement board are completely impervious and are used in high-exposure areas like showers.
Do I need to check for mold even if I cannot see it?
Yes, absolutely. Mold can grow inside a dark, damp wall cavity in as little as 24 to 48 hours. If the area was wet for more than a couple of days or has a persistent musty smell, assume mold is present and take safety precautions or call a remediation professional.
What are the signs of serious structural water damage?
Major red flags include sagging ceilings, walls that feel soft or spongy, visibly crumbling drywall, or floors that feel bouncy. These signs suggest water has compromised your home's structural framing, which requires an immediate professional assessment.
For a broader look at protecting your investment, check out our guide on essential September home maintenance tasks.
From drywall and joint compound to the right primer for the job, Truitt & White has the professional-grade building materials and expert advice you need for a flawless repair. Visit our Berkeley showroom or connect with us online to get started.


