Take a drive through just about any neighborhood in Berkeley or Oakland, and you'll start to see a pattern. The vast majority of fences are built with 1×6 fence boards. This isn't just a coincidence; this specific size has become the go-to for Bay Area builders, contractors, and homeowners for a reason. It perfectly balances privacy, durability, and cost for our local environment.
Why 1×6 Boards Are the Fencing Standard for Bay Area Projects
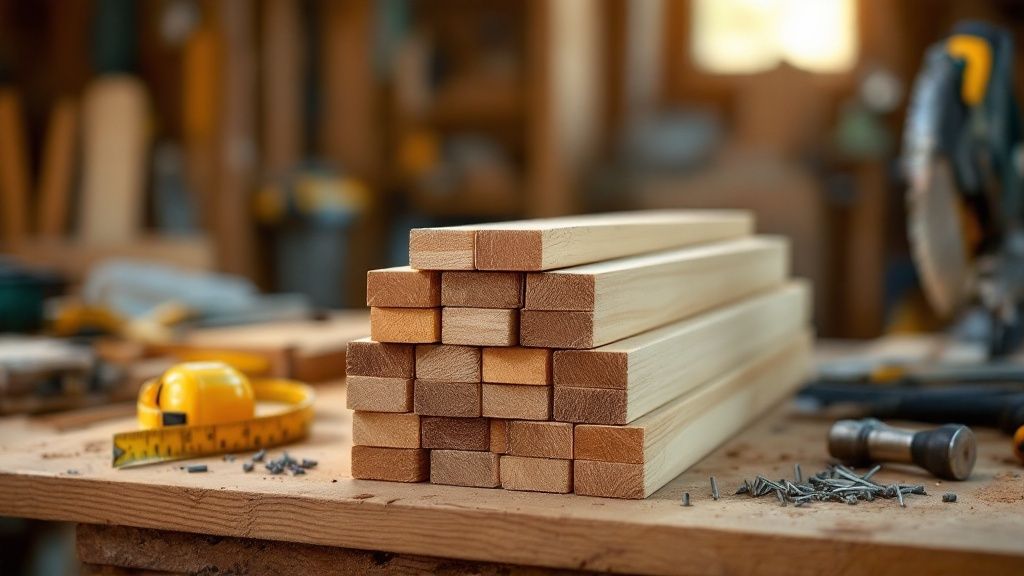
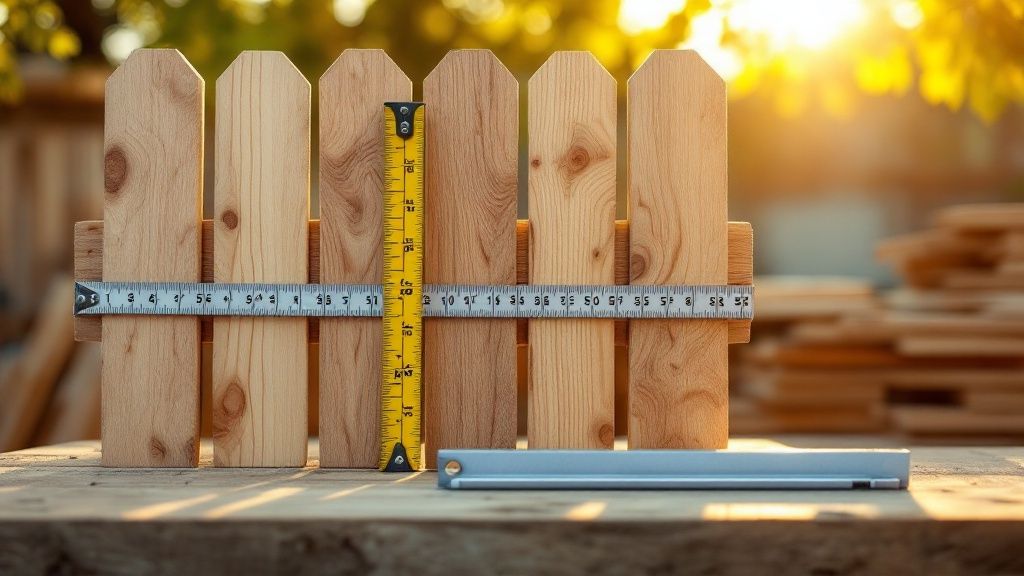
If you're new to lumber, the "1×6" label can be a little misleading. It’s what we call the nominal dimension, which is the size of the rough-sawn lumber before it's planed smooth.
The actual, finished board you'll be working with is closer to ¾ inches thick by 5.5 inches wide. This is a critical detail to remember when mapping out your project and calculating materials for a job in the Bay Area.
Understanding 1×6 Fence Board Dimensions
Let's break down the key details of a typical 1×6 board used in local construction.
| Attribute | Typical Measurement / Detail |
|---|---|
| Nominal Thickness | 1 inch |
| Actual Thickness | ¾ inch |
| Nominal Width | 6 inches |
| Actual Width | 5.5 inches |
| Common Lengths | 6 ft, 8 ft |
| Best For | Privacy Fences, Good Neighbor Fences, Horizontal Fences |
It's this final milled size that makes the 1×6 so incredibly versatile for residential and commercial fencing.
The Perfect Balance of Form and Function
The 1×6 board hits a sweet spot that makes it exceptionally practical for pretty much any fencing project here in Northern California. It provides the right combination of strength, privacy, and visual appeal for our region's architectural styles.
Here’s why it’s so popular with local builders:
- Substantial Privacy: At 5.5 inches wide, these boards create a solid visual barrier with very few gaps, which is exactly what homeowners want for a backyard oasis.
- Structural Strength: The ¾-inch thickness gives the board enough rigidity to resist warping and stand up to the Bay Area's unique climate, from foggy mornings in San Francisco to hot, sunny afternoons inland.
- Aesthetic Versatility: Whether you’re building a classic good-neighbor fence in Berkeley or a sleek, modern horizontal design in Oakland, the clean lines of a 1×6 board look great.
Wood remains a cornerstone of the North American fencing market, valued at nearly USD 31.47 billion in 2024 according to Grand View Research. You can learn more about selecting durable wood for your project in our guide.
Choosing the Right Wood for Your 1×6 Fence Boards
Picking the right lumber for 1×6 fence boards is the most critical decision for a fencing project in the Bay Area. Our climate—with its coastal fog, wet winters, and intense summer sun—is notoriously tough on wood. The material you choose directly affects your fence's look, longevity, and maintenance needs.
For builders and homeowners from Berkeley to San Francisco, three types of wood consistently prove they're up to the task. Each one brings a different mix of performance, appearance, and cost to the table.
Redwood and Cedar: The Gold Standard for Natural Durability
If you're looking for the premier choice in Northern California fences, you're looking at Redwood and Cedar. These woods are naturally infused with oils and tannins that act as a built-in defense against rot, decay, and insects. In our damp climate, that inherent protection is a huge advantage.
Both woods have a beautiful, rich color that you can preserve with a quality stain or let weather naturally into a classic, silvery gray. While they have a higher upfront cost, their longevity often makes them a cost-effective choice over the life of the fence. You can explore our selection of quality lumber options in the East Bay to see what we mean.
Pressure-Treated Lumber: A Practical and Resilient Workhorse
When you need a balance of toughness and value, pressure-treated (PT) lumber is an excellent choice. This wood, usually a species like pine, undergoes a process where chemical preservatives are forced deep into its fibers. The result is powerful, long-lasting protection against rot and insect damage.
PT lumber doesn't have the same vibrant color as redwood, but it's a blank canvas you can stain or paint to match any home's style. Its lower cost and impressive resilience make it a go-to for larger projects.
Comparison of Common Fence Board Woods for the Bay Area
Deciding between Redwood, Cedar, and Pressure-Treated wood often comes down to your project's priorities. This table breaks down the key factors to help you make an informed choice.
| Wood Type | Natural Rot Resistance | Typical Lifespan (Bay Area) | Cost Level | Best For |
|---|---|---|---|---|
| Redwood | Excellent | 25+ years | High | Premium appearance, longevity, and natural insect resistance. |
| Cedar | Very Good | 20+ years | Medium-High | Beautiful grain, natural decay resistance, and aromatic properties. |
| Pressure-Treated | Excellent (Chemical) | 15-20 years | Low-Medium | Budget-conscious projects, high durability, and paint/stain flexibility. |
Ultimately, whether you prioritize the unmatched beauty of redwood or the practical resilience of pressure-treated lumber, you're choosing a material proven to stand up to our local climate.
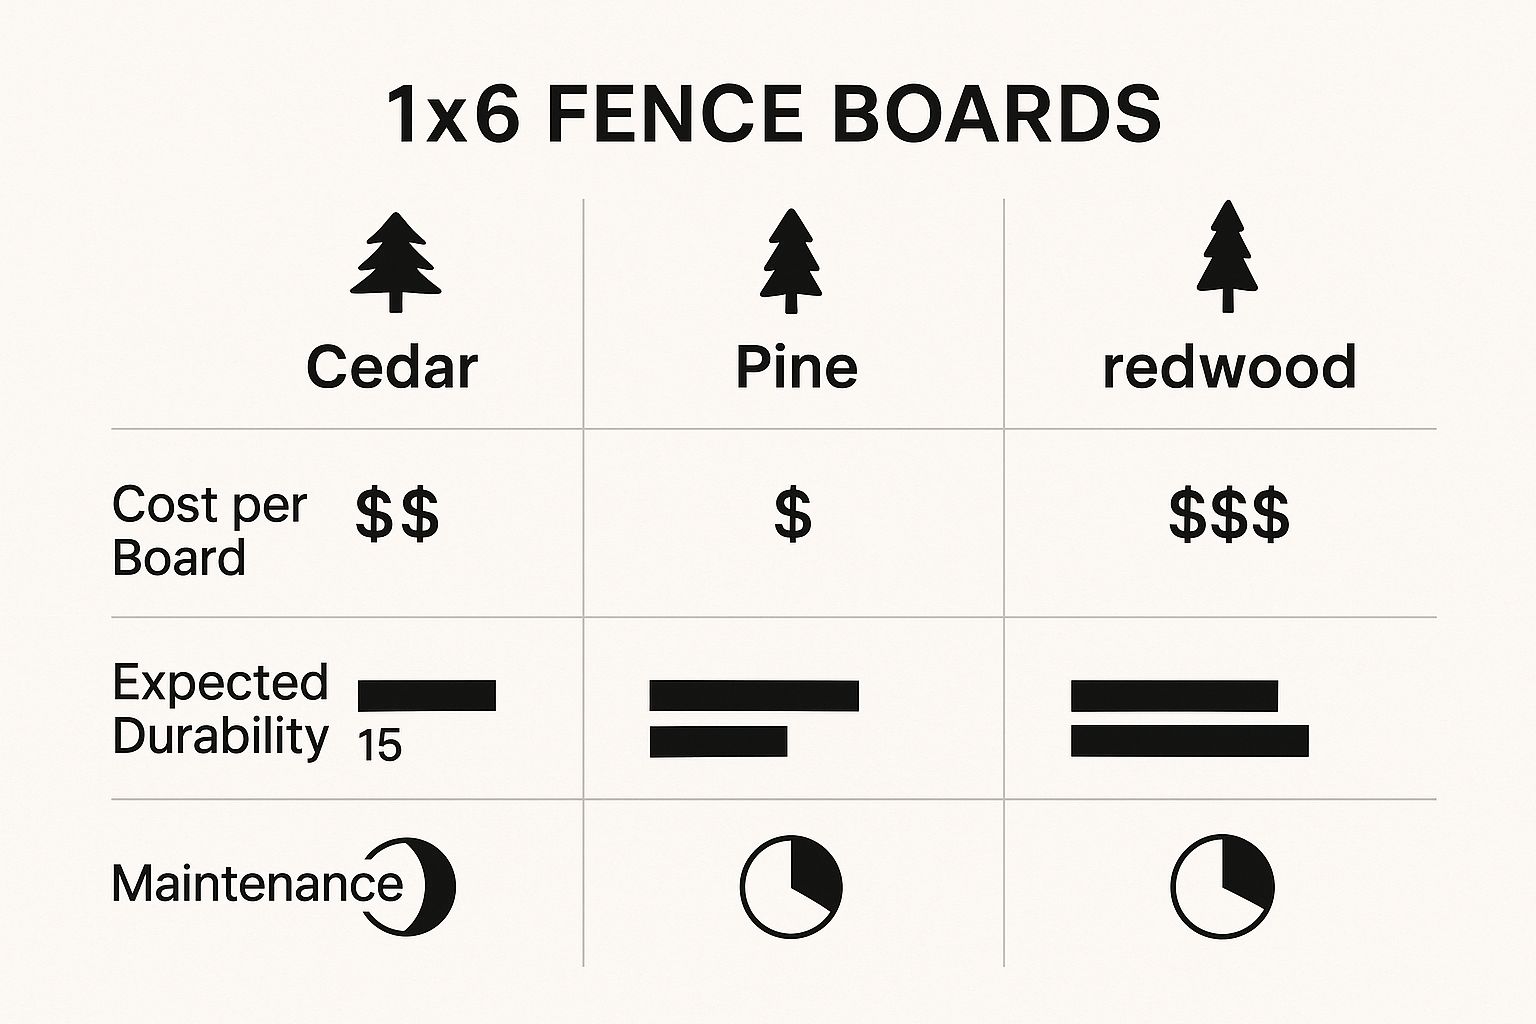
As you can see, redwood and cedar are champions of natural durability and require less upkeep, while pressure-treated pine stands out as a tough, budget-friendly alternative.
How Wood Grades and Treatments Affect Your Project
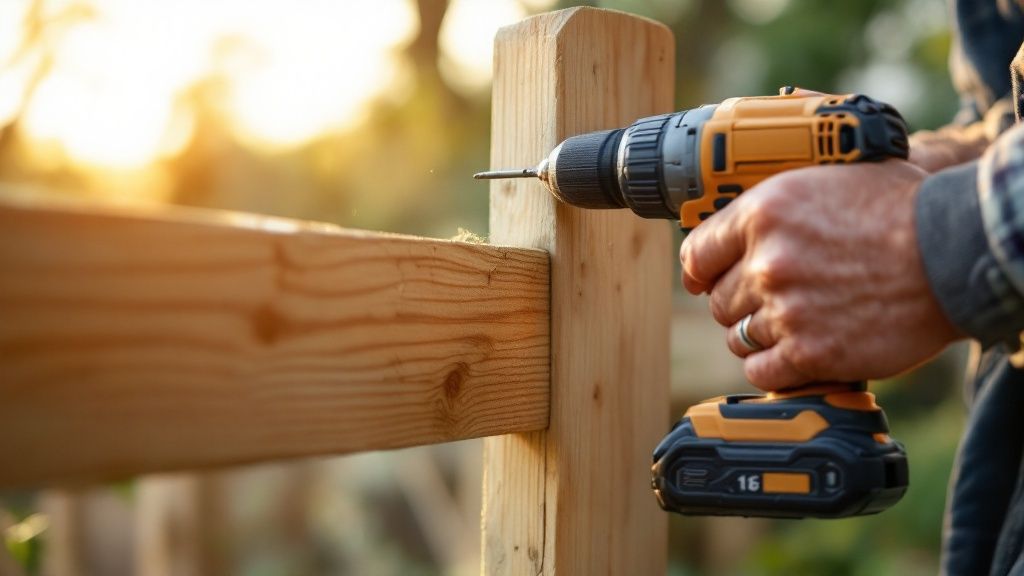
Not all 1×6 fence boards are created equal. Walking into a lumberyard and grabbing the first stack you see is a recipe for headaches. Understanding wood grade and treatment is critical for your fence’s final look and lifespan.
Think of a board's grade as its report card for looks, while its treatment is about how well it can survive the Bay Area elements.
Understanding Lumber Grades
Lumber grading boils down to one thing: appearance. The grade tells you about the visual characteristics of the wood, mainly how many knots and other blemishes it has.
A high-grade board, like 'Clear' or 'Select', is nearly free of knots, giving a clean, uniform look perfect for high-end projects. A 'Common' grade board will have more visible knots and rustic character. For most fence projects around Berkeley and Oakland, a good quality common grade hits the sweet spot between performance and price. To learn more, see our guide to framing lumber grades.
Pro Tip: When using lower-grade boards, buy about 10% extra. This gives you flexibility to cull pieces with major imperfections and save the best-looking boards for the most visible parts of the fence.
The Role of Wood Treatment in Our Climate
While grading is about looks, treatment is all about survival—especially in the Bay Area’s damp climate. Woods like redwood have natural oils that resist rot and insects. Other woods, like pine, need help to stand up to the weather.
That’s where pressure treatment comes in. The process involves:
- Loading lumber into a sealed tank.
- Forcing chemical preservatives deep into the wood fibers under intense pressure.
- Drying the wood to lock in the protective compounds.
This process makes the wood incredibly resistant to moisture, decay, and bugs. Using either pressure-treated lumber or a naturally durable species is an absolute must for any part of the fence that touches the ground.
Installation Techniques for a Long-Lasting Fence
A well-built fence is only as strong as its foundation. The right installation techniques ensure your 1×6 fence boards create a structure that can stand up to the Bay Area’s cycle of rainy seasons and intense sun for decades.
It all starts with a solid base. Your fence posts need to be set in concrete and spaced a standard 8 feet apart on center. This spacing supports the horizontal rails that hold your fence boards, keeping them from sagging.
Setting Posts and Rails Correctly
Here in Northern California, good drainage is everything to prevent wood rot. When setting posts in concrete, create a slight dome shape at the top of the footing. This trick helps shed water away from the wood and can add years to the life of your fence.
Once the posts are secure, it's time for the horizontal rails. A typical 6-foot-tall fence will use two or three rails:
- Top Rail: Positioned a few inches below the top of the boards.
- Bottom Rail: Kept at least a few inches off the ground to stay clear of moisture.
- Mid-Rail (Optional): A great idea for extra stability, especially for taller fences.
Solid construction principles are a must for any outdoor project. You can find insights into building durable outdoor structures like retaining walls, which face similar challenges.
Attaching the Boards and Choosing Patterns
When attaching the 1×6 boards, using the right hardware is non-negotiable. Our coastal climate accelerates rust, so always use corrosion-resistant fasteners like hot-dipped galvanized or stainless steel screws. To find the right hardware, it helps to know who carries Sure-Drive USA in Berkeley.
Don't forget to leave a small gap—about ⅛ inch—between each board. Wood needs room to breathe, and this space allows it to naturally expand and contract with humidity changes without buckling.
The pattern you choose for your boards affects both looks and privacy. You can choose a classic side-by-side design, an overlapping board-on-board style for complete privacy, or a shadowbox pattern for a great view from either side.
Keeping Your Wood Fence in Top Shape in Northern California
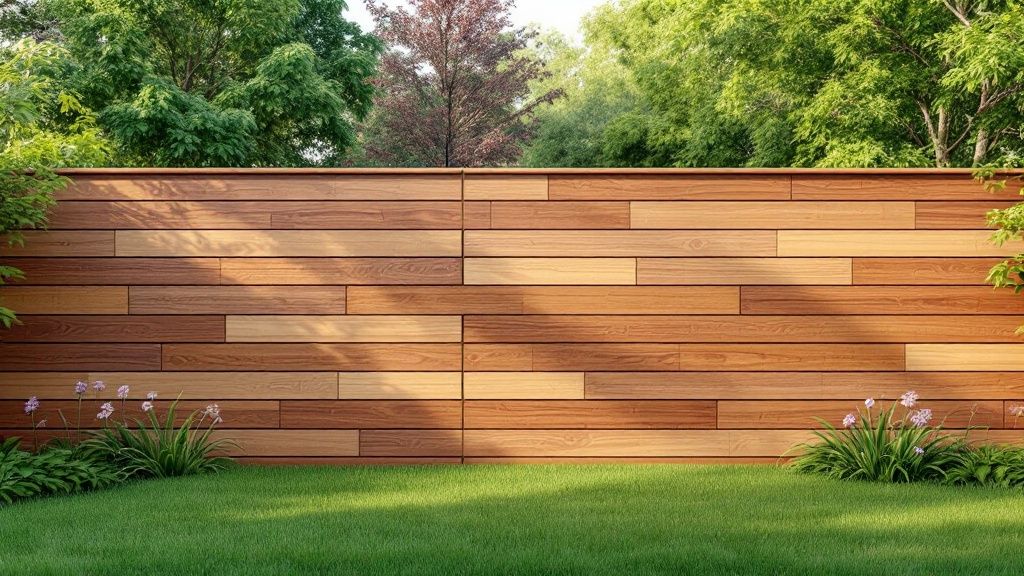
A well-built fence using quality 1×6 fence boards is a real investment in your property. To make it last, you must protect it from the Bay Area's unique climate. A simple maintenance routine can dramatically extend your fence's life.
The two biggest enemies of any wood fence here are moisture and UV light. Sealing and staining your fence is your best line of defense against both.
Setting Up a Simple Maintenance Schedule
Proactive care goes a long way. Sticking to a consistent schedule helps you catch small issues before they become expensive problems.
- Annual Cleaning: Once a year, give your fence a gentle wash with a pressure washer on a low setting or a garden hose and scrub brush to remove dirt and mildew.
- Regular Inspections: Twice a year, walk your fence line. Look for loose boards, popped fasteners, and any signs of rot, especially near the ground.
- Re-Staining and Sealing: Plan on reapplying a quality stain or sealant every 2 to 3 years. This depends on how much direct sun and rain your fence gets.
A high-quality, UV-blocking stain is crucial. It preserves the rich color of Redwood or Cedar and stops wood fibers from breaking down under the harsh sun.
Applying a Protective Finish
When it's time to stain, proper prep is everything. Ensure the wood is completely clean and dry before applying the finish. You can get ideas on products by checking out our paint and stain spotlight.
Apply the stain with a brush, roller, or sprayer on a calm, overcast day so the finish doesn't dry too quickly. This gives the stain time to penetrate deep into the wood grain for maximum protection.
Frequently Asked Questions About 1×6 Fence Boards
Here are answers to some of the most common questions builders and homeowners have about building a fence in the Bay Area.
1. What Is the Actual Size of a 1×6 Fence Board?
A "1×6" board has a nominal size. After being milled and smoothed, its actual dimensions are closer to ¾ inches thick by 5.5 inches wide. Always use these actual measurements when calculating the materials needed for your Bay Area project.
2. Is It Better to Stain or Paint a New Wood Fence in the Bay Area?
For woods like Redwood and Cedar, staining is almost always better. A quality stain enhances the natural grain while allowing the wood to breathe. Paint forms a surface film that can trap moisture in our damp climate, leading to peeling and rot.
3. What Is the Correct Spacing for Fence Posts in this Region?
The industry standard is 8 feet on center. This provides a sturdy frame that prevents sagging. For fences in high-wind areas, like some parts of San Francisco or the Berkeley hills, reducing the spacing to 6 feet adds significant strength.
4. Can I Install 1×6 Fence Boards Horizontally?
Yes, horizontal fences are a popular modern style in the Bay Area. Use straight, high-quality 1×6 boards. For spans wider than 6 to 8 feet, add a vertical support in the middle of the section to prevent bowing over time.
5. How Do I Prevent the Bottom of My Fence Boards from Rotting?
Keep the wood off the ground. Leave a gap of at least two inches between the soil and the bottom edge of your fence boards. This prevents moisture from wicking up and causing rot, which is a common issue in our wet winters.
6. Which Wood is Best for the Foggy, Damp Climate Near the San Francisco Bay?
For areas with persistent fog and moisture like Berkeley or Oakland near the water, Redwood is the top choice. Its natural tannins and oils provide superior resistance to rot and decay, making it ideal for the damp conditions common in the Bay Area.
For any project, having the right materials and expert advice makes all the difference. At Truitt & White, we're here to provide both. Visit our Berkeley showroom for expert advice and let's get your project started on the right foot.


