In the Bay Area, water damage is a common problem. From winter storms in Oakland to old plumbing in Berkeley homes, a small leak can cause big issues. Water can ruin drywall, insulation, and even the wood frame of your house. If you don't fix it right, you could end up with mold.
A quick patch job won’t work. To repair a wall after water damage, you need a step-by-step plan. This guide provides expert tips for wall repair after water damage, so you can do the job like a pro. We'll show you how to check for moisture, choose the right materials from lumberyards like Truitt & White, and rebuild the wall to last.
1. Check for Moisture and Document Everything
Never start repairs until the wall is completely dry. This is one of the most important expert tips for wall repair after water damage. You need to use special tools to find all the hidden water.
Why You Need to Measure Moisture
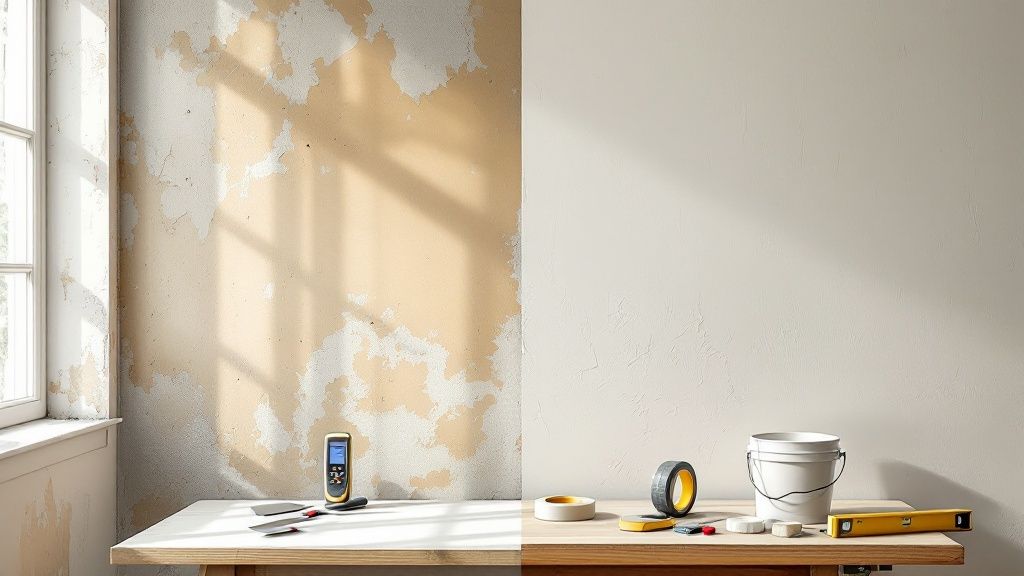
Professionals use tools like moisture meters and thermal cameras. These tools create a "moisture map" that shows exactly where the water went. For example, a contractor in the East Bay can use a thermal camera to see a hidden leak from a bathroom going all the way down to the first floor. This helps them find every wet spot before they start cutting into the wall.
Steps for Accurate Measurement
Follow these steps to check for moisture and document the damage:
- Wait and Test: Wait at least three days after you've started drying the area. This allows hidden moisture to come to the surface.
- Test at Different Heights: Water can travel up through the wood and drywall. Test at the floor, in the middle of the wall, and near the ceiling on each stud to find the highest point of moisture.
- Document Everything: Good records are key for insurance claims. Take photos with a time stamp showing the moisture meter reading at each spot. Keeping your files organized is important; essential document management tips can help you stay on top of your records.
Expert Insight: Don't start any repairs until the moisture level in the wood framing is below 15%. This is the industry standard to prevent mold growth and ensure the wood is strong.
2. Remove Damaged Materials with the 2-Foot Rule
Just cutting out the stained part of the drywall isn't enough. One of the best expert tips for wall repair after water damage is to use the "2-Foot Rule." This means removing material at least two feet above the highest wet spot. This ensures you get rid of all the damaged material, even what you can't see.
Why This Extra Cut is Necessary
Water soaks into drywall and insulation, moving upward inside the wall. The visible stain is usually just the beginning. Restoration pros, following guidelines from groups like FEMA, always remove drywall and insulation at least two feet above the highest moisture mark. This prevents hidden mold and ensures your new wall patch is secure.
Steps for Clean Removal
To do this correctly, follow these steps:
- Mark Your Cut Line: Find the highest point of moisture with your meter. Use a level to draw a straight line two feet above that spot.
- Cut on the Studs: Plan your vertical cuts so they are in the middle of the wall studs. This gives you a solid base to attach the new drywall, making the patch stronger.
- Use the Right Tools: A reciprocating saw gives you a clean cut. You can also score the line with a utility knife first to prevent the drywall from cracking.
- Remove All Wet Insulation: Pull out all insulation from inside the wall, even if it feels only a little damp. Wet insulation doesn't work well and can grow mold.
Expert Insight: Always wear safety gear, including an N95 mask, safety glasses, and gloves. Cutting into walls can release dust and mold spores. Good ventilation is also very important for a safe worksite.
3. Create a Controlled Drying Environment
Once the wet materials are gone, you need to dry the area completely. Just opening a window won't be enough. Creating a controlled drying environment is one of the most important expert tips for wall repair after water damage. This means using special equipment to control the temperature, humidity, and airflow to speed up drying.
Why Professional Equipment Works Best
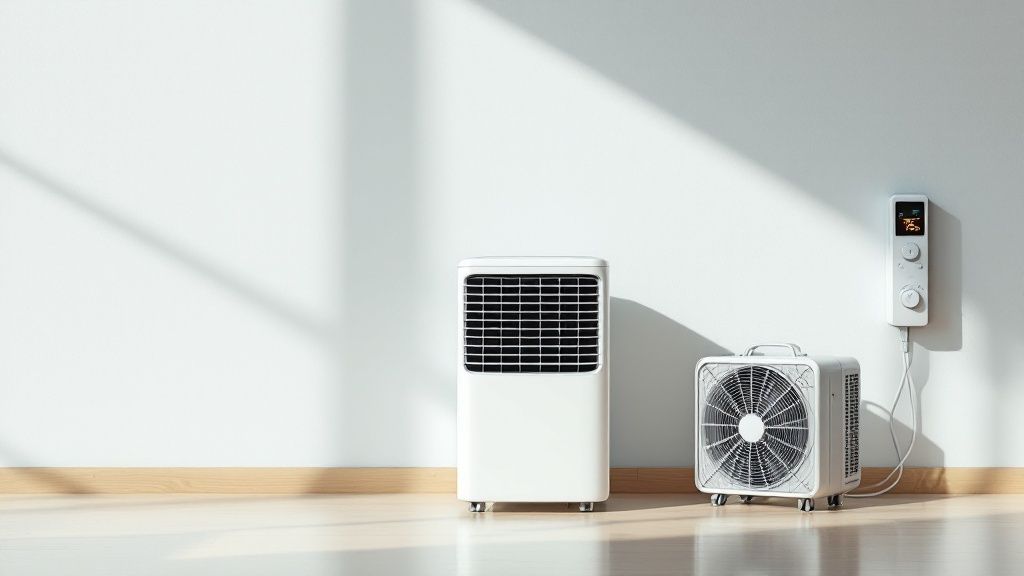
Pros use powerful dehumidifiers and high-speed air movers. This combination is called a "balanced drying system." For example, after a pipe burst in a Bay Area building, contractors used this equipment to dry the space in less than three days instead of five. This scientific approach pulls moisture out of the air, which then pulls more moisture out of the wood and remaining drywall.
Steps for Effective Drying
To set up a professional drying area, follow these steps:
- Seal the Room: Close all doors and windows. Use plastic sheeting to seal off the room from the rest of the house. This makes the dehumidifier much more effective.
- Place Equipment Carefully: Point air movers at a 45-degree angle to the walls. This creates a circle of airflow that dries all surfaces. Place the dehumidifier in the middle of the room.
- Monitor Conditions: Use a tool called a hygrometer to check the temperature and humidity every day. Write down the readings to track your progress and make sure the area is dry before you start rebuilding.
Expert Insight: Keep the temperature in the room between 70-90°F. According to industry data, this is the best temperature range for evaporation, helping the dehumidifiers work as efficiently as possible.
4. Apply an Antimicrobial Treatment
Removing wet materials is a good start, but it's not the final step. An essential expert tip for wall repair after water damage is to treat the area with an antimicrobial solution. This kills any remaining mold spores and helps prevent new ones from growing.
Why This Treatment is a Smart Move
Even after a wall is dry, hidden mold spores can still be there. When you install new drywall, you trap these spores in a dark space where they can grow. For example, after a plumbing leak in an Oakland home, a contractor might spray a product like Concrobium Mold Control on the exposed studs. This step turns a simple repair into a long-term solution.
Steps for Proper Application
To apply the treatment correctly, follow these steps:
- Make Sure It's Dry: Antimicrobial products should only be applied to dry surfaces. If you spray them on damp wood, you can trap moisture and the product won't work.
- Cover Everything: Use a fogger or an airless sprayer for an even coat. This ensures the solution gets into all the corners and hard-to-reach spots.
- Let It Cure: Don't rush to install new insulation or drywall. Follow the manufacturer's directions for how long the product needs to cure, which allows it to form a strong protective barrier.
- Document the Work: Take pictures of the treated areas before you cover them up. This is good proof for insurance companies that you followed best practices.
Expert Insight: Always use a product that is EPA-registered. Make sure it is safe for the materials you are treating, like wood or concrete. Using the right product ensures safety and the best results.
5. Rebuild in Gradual Steps
Don't rush from demolition to finishing the wall. A better way is to rebuild in stages. This expert tip for wall repair after water damage ensures quality at every step. It involves rebuilding the wall layer by layer, with checks along the way.
Why a Phased Approach is Better
Professional restorers rebuild in phases to make sure the repair lasts. They install the wood framing, then the insulation and vapor barrier, and finally the drywall. This lets them test for moisture at each stage. For example, in high-end Bay Area homes, a project manager might need to sign off after each step before the work can continue.
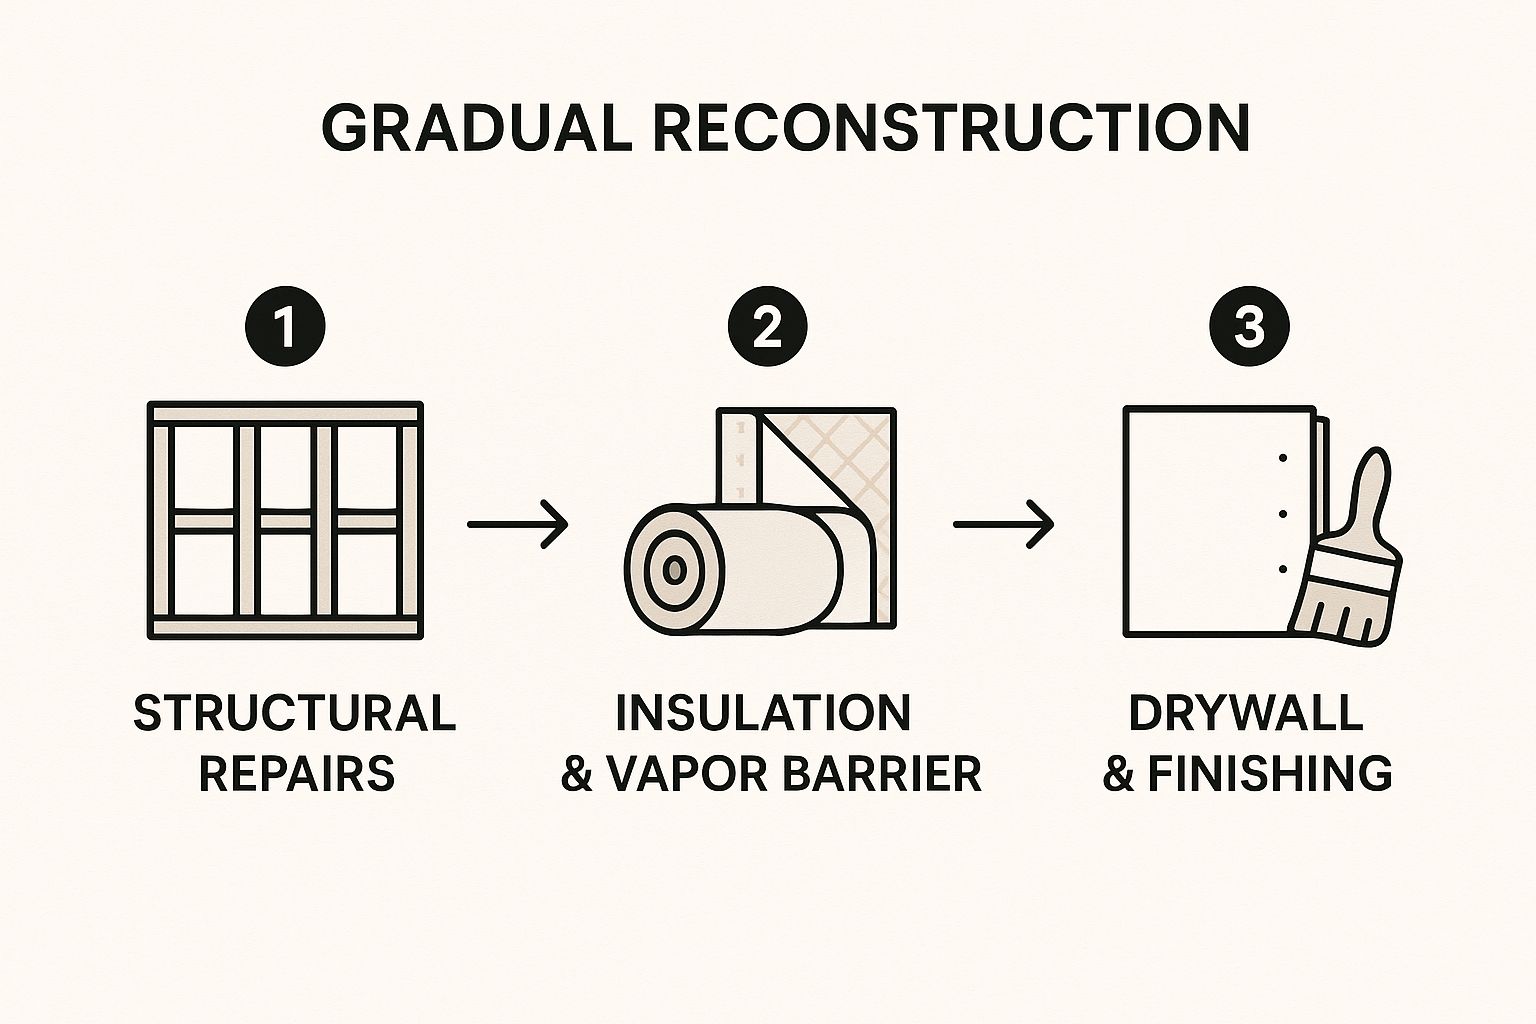
This step-by-step process prevents mistakes from being sealed inside the wall.
Steps for Rebuilding in Phases
To use this gradual approach, follow these key steps:
- Let New Materials Adjust: Let new lumber sit in the room for at least 48 hours before you install it. This allows the wood to get used to the home's temperature and humidity, which prevents it from warping later.
- Test Between Steps: Before you put in insulation, test the moisture of the new wood framing again. Before you hang the drywall, make sure the insulation is completely dry. This is your best defense against future problems.
- Document Each Stage: Take photos after the framing is done, after the insulation is in, and before the drywall goes up. This is useful for insurance and serves as a quality record. If you ever need to choose a contractor for another project, this kind of documentation shows you value high-quality work.
Expert Insight: Do not rush the finishing process. Allow joint compound, primer, and paint to fully cure between coats. If you paint too soon, the finish can bubble or peel, and you’ll have to do it all over again.
6. Choose and Apply the Right Primer
Once the wall is dry and rebuilt, priming is the most important step before you paint. Using a standard primer is a mistake, because water stains can bleed through. A key expert tip for wall repair after water damage is to use a special stain-blocking primer. This will seal the surface and stop stains and odors for good.
Why a Special Primer is Necessary
Water damage leaves behind minerals that can show through several coats of paint. Stain-blocking primers create a barrier that stops this from happening. For example, a remodeler in Oakland fixing a ceiling stain from a roof leak would use a shellac-based primer like Zinsser B-I-N. This locks in the stain so the new paint looks clean and white.
Steps for a Perfect Primer Coat
To get a professional finish, follow these priming steps:
- Choose the Right Type: For bad stains and smells, use a shellac-based or oil-based primer. For damp areas like bathrooms, a high-quality, mold-resistant water-based primer is a good choice.
- Apply Thin, Even Coats: Don't put on one thick coat. Instead, use a good roller or brush to apply a thin, even layer. If the stain is bad, a second thin coat after the first one is dry works much better.
- Allow Full Cure Time: Primers need time to cure, not just dry. Follow the manufacturer's instructions, which can be up to 24 hours. Painting too soon can ruin the primer's ability to block stains. You can find the right tools and materials from a trusted supplier like Truitt & White.
Expert Insight: For walls in areas with high moisture, use a primer that contains a mildewcide, which helps prevent mold. Products like Kilz Restoration are made to block tough stains and stop mold and mildew from growing.
7. Upgrade Ventilation and Moisture Control
Fixing a water-damaged wall is only half the job. You also need to prevent it from happening again. This expert tip for wall repair after water damage is about upgrading the systems that control moisture. By installing better ventilation, you can protect the repaired wall for the long term.
Why Managing Moisture is Key
Replacing drywall in a damp area like a bathroom doesn't fix the real problem. Without good airflow, humidity from showers can soak into the new wall and cause mold. Installing a modern bathroom fan, like one from Panasonic's WhisperGreen series, pulls humid air out before it can cause damage. This is a smart upgrade that protects your repair.
Steps for Adding Moisture Control
To protect your work, add these solutions as you rebuild:
- Get the Right Size Fan: An undersized fan won't work well. The Home Ventilating Institute recommends a fan that moves at least 1 cubic foot of air per minute (CFM) for every square foot of floor space.
- Install a Good Vapor Barrier: Put a vapor barrier behind the new drywall. Overlap the seams by at least 6 inches and seal them with construction tape. This creates a shield against moisture.
- Use Smart Switches: Replace regular fan switches with timers or humidity-sensing switches. This makes sure the fan runs long enough to clear out all the moisture. This is a simple but effective step in any wall repair after water damage.
Expert Insight: Install the new exhaust fan near the shower or tub, which is where most of the moisture comes from. Keep it away from air supply vents to make sure it pulls out the damp air effectively.
8. Keep Good Records and a Warranty
A good repair job isn't finished when the paint is dry. The final expert tip for wall repair after water damage is to create a complete record of the project. This documentation is your proof of a job well done for insurance and for any future warranty claims.
Why Records Are So Important
Professional restoration companies keep detailed digital records. This log includes everything from moisture readings to receipts for materials. For contractors in the Bay Area, this protects your business and gives your clients peace of mind. It shows you are committed to quality work.
Steps for Solid Documentation
To create a professional project file, follow these steps:
- Create a Photo Timeline: Take clear photos before, during, and after the repair. Show the initial damage, the open wall with the framing, the new materials, and the finished project.
- Log All Data: Keep a daily log of moisture readings. Write down the date, location, and reading for each spot until everything is below the 15% moisture level.
- Organize Paperwork: Keep a file for all receipts and product warranties. Knowing what brand of drywall or primer you used can be helpful if there's ever an issue. You can learn more about warranties from building material suppliers.
Expert Insight: Offer your clients a written warranty for your work. A one-year warranty against mold regrowth or material failure is common. You can also schedule a follow-up inspection after six months to make sure everything is still in good shape.
Frequently Asked Questions (FAQ)
1. How long does it take for a wall to dry after water damage?
It depends on how wet it is and the drying method used. With professional equipment like dehumidifiers and air movers in a sealed room, it can take 3 to 5 days for the framing and surrounding materials to reach a safe moisture level (below 15%).
2. Can I just paint over a water stain?
No, you should never just paint over a water stain. The stain will eventually bleed through the new paint. You must use a special shellac-based or oil-based stain-blocking primer first to seal the stain before applying your topcoat of paint.
3. What kind of drywall should I use for repairs in a bathroom or kitchen?
For areas with high humidity like bathrooms, kitchens, or basements, it's best to use moisture-resistant drywall, often called "green board" or "purple board." These products are treated to resist moisture and prevent mold growth, offering better protection in damp environments.
4. When should I call a professional for water damage?
You should call a professional if the water damage is extensive (covering a large area or multiple rooms), if it was caused by sewage or contaminated water, or if you suspect mold is already growing. Professionals have the right equipment and training to handle large-scale drying and mold remediation safely.
5. How can I prevent water damage in my Bay Area home?
Regular maintenance is key. Check for leaks around windows, roofs, and pipes. Make sure your gutters are clean, especially before the winter rainy season. In bathrooms and kitchens, ensure you have proper ventilation to reduce humidity.
Your Partner for Quality Water Damage Repair Materials
Fixing a wall after water damage correctly takes time, care, and the right materials. By following these expert tips for wall repair after water damage, you can ensure a professional result that lasts. This protects the home's value and keeps it safe.
This is not just a surface-level fix. Each step, from checking moisture levels to using the 2-foot rule for removal, is important. A controlled drying environment and the right antimicrobial treatments are crucial for preventing mold, a common issue in the Bay Area's climate.
Key Takeaways for a Professional Finish
Remember, the quality of your repair depends on the materials you use and the steps you follow.
- Assessment is Key: Always check for moisture thoroughly. This ensures the wall is completely dry before you rebuild.
- Be Patient with Drying: Rushing the drying process leads to problems. Use dehumidifiers and air movers to get the structure fully dry.
- Rebuild with Quality Materials: Use moisture-resistant drywall, good framing lumber, and a stain-blocking primer. These are smart investments that prevent future issues.
- Ventilation is Important: Address the cause of the moisture. Upgrading ventilation in bathrooms and kitchens is key for long-term protection.
Following these tips helps build trust with clients and ensures your work will last. It protects the home against future leaks and storms in places like Berkeley and Oakland. A good repair not only fixes the wall but also gives you peace of mind.
For over 75 years, Truitt and White has been the top supplier for Bay Area builders, remodelers, and homeowners. We have everything you need for a successful restoration, from lumber and moisture-resistant drywall to high-quality primers and tools. Visit our Berkeley showroom or learn more at our website to get expert advice and the best products for your project. Visit us to connect with an expert today.


