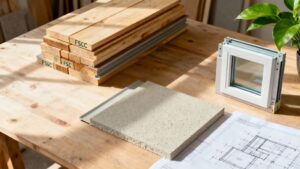
For builders, contractors, and architects in the Bay Area, securing a building permit is the critical first step that dictates project timelines and budgets. The process can feel like a labyrinth of paperwork and regulations, with specific requirements varying from Berkeley to Oakland and across San Francisco. Even minor oversights can lead to significant delays and inflated costs, a common bottleneck for well-planned projects.
This comprehensive building permit checklist is designed to cut through that complexity. It provides a clear, actionable roadmap to navigate the municipal approval process with confidence, breaking down the essential documents you need. For those in the building construction industry, mastering this process is a competitive advantage.
By preparing these items meticulously, you can streamline your submission, minimize revisions, and avoid common pitfalls. This guide offers the specific details needed to move from blueprint to breaking ground faster.
1. Property Survey and Site Plans
Before any ground is broken, your project needs a solid foundation, starting with an accurate Property Survey and Site Plan. This essential document is a detailed drawing of your property prepared by a licensed surveyor. It maps property boundaries, topography, and the location of all existing structures and utilities.
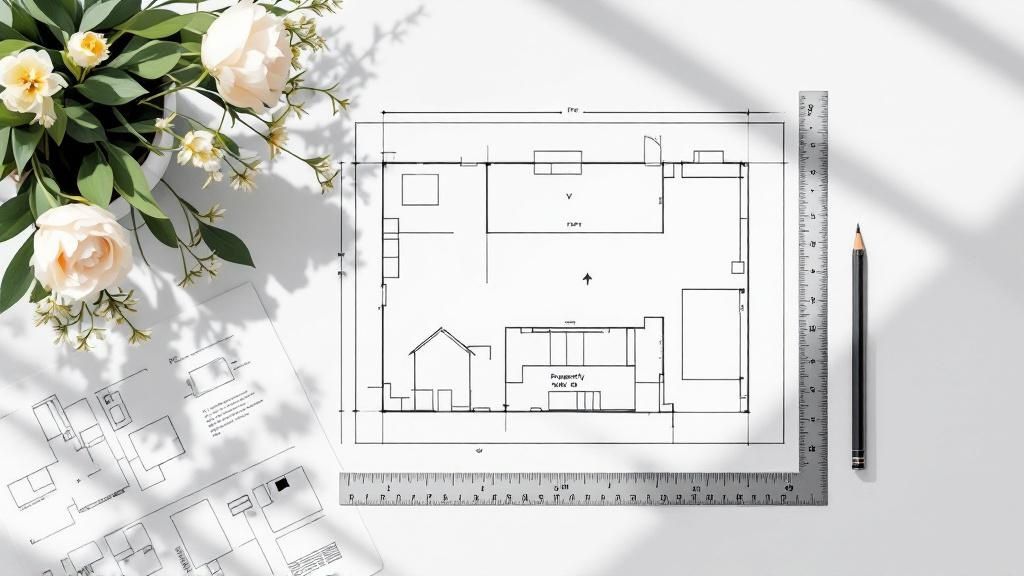
This document is non-negotiable for nearly every building permit application in the Bay Area. It provides the planning department with the baseline information needed to verify that your proposed construction adheres to local zoning regulations, including property line setbacks and height restrictions. Without it, your application will almost certainly be rejected.
Why This is a Critical First Step
A professionally prepared survey prevents costly mistakes, such as building over a utility easement or encroaching on a neighbor's property. For any construction, understanding existing conditions is paramount. The precise slope of the land dictates everything from foundation design to the types of building materials you'll need. As you plan your material list, from concrete to lumber, these measurements ensure you order correctly. For an overview of material choices, you can explore the best lumber for residential and commercial builds.
Key Insight: Think of the site plan as the foundational document in your building permit checklist. Every subsequent plan, from architectural drawings to structural engineering, will be based on the data it contains. An error here will cascade through the entire project.
Actionable Tips for Success
- Hire a Licensed Professional Early: Engage a licensed land surveyor or civil engineer at the beginning of your planning phase.
- Request Multiple Digital Formats: Ask for the final survey in both PDF and CAD (e.g., .dwg) formats for your architect and engineer.
- Verify Jurisdictional Requirements: Each city in the Bay Area has specific requirements. Confirm these details with the local planning department.
- Check for Existing Surveys: Before commissioning a new survey, check with the city or county records office. A recent, certified survey may already be on file.
2. Detailed Construction Drawings and Architectural Plans
Once your site plan establishes the "where," your Detailed Construction Drawings and Architectural Plans define the "what" and "how" of your project. Prepared by a licensed architect or engineer, this set of documents includes floor plans, elevations, cross-sections, and specific construction details.
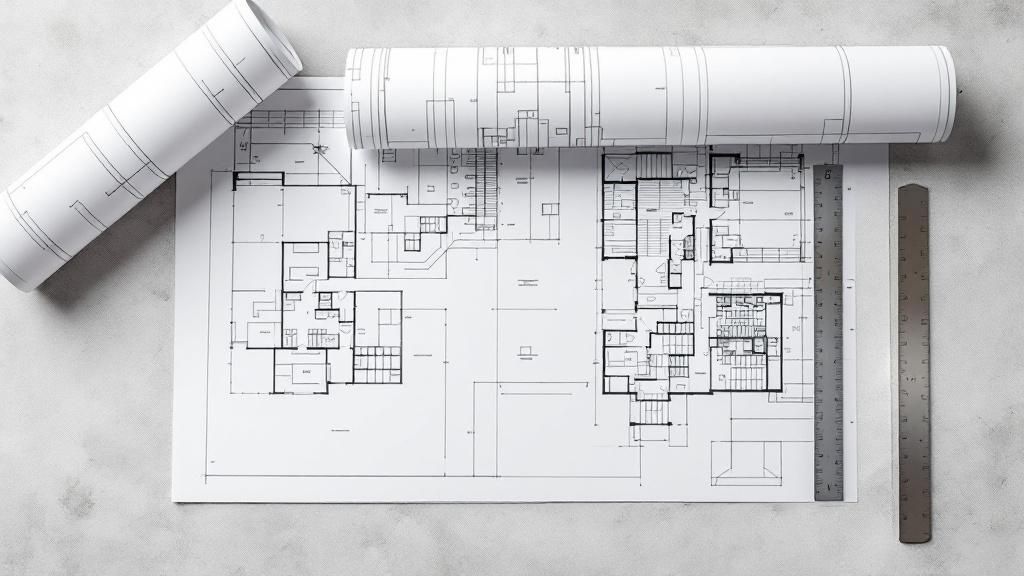
These plans are the heart of your building permit application. They provide city plan checkers with the information to verify that every aspect of your proposed structure complies with the California Building Code (CBC) and local ordinances. From structural integrity and accessibility to Title 24 energy standards, these drawings prove your project is designed to be safe and legal.
Why These Plans are the Core of Your Application
Architectural plans are more than just drawings; they are a legally binding set of instructions. For example, a commercial renovation in San Francisco must show not only new wall layouts but also details like seismic retrofitting and compliant fire egress pathways. When compiling your plans, consider all applicable codes, including specific accessibility standards like the ADA Faucet Requirements for restrooms. These details prevent on-site guesswork and ensure accurate material orders. You can learn more with our guide to the construction process in San Francisco.
Key Insight: Think of your architectural plans as the project's official rulebook. They dictate every action on the job site and serve as the primary tool for the building department to ensure public safety. An investment in high-quality, detailed plans pays for itself by preventing expensive change orders.
Actionable Tips for Success
- Hire an Architect Familiar with Local Codes: Engage an architect with proven experience in your specific Bay Area city. Their familiarity with local amendments is invaluable.
- Insist on Comprehensive Detail: Your plans should include detailed notes, material specifications, and schedules for elements like windows, doors, and finishes.
- Plan for Multiple Review Cycles: Build time into your schedule for review and revision with the building department. It is rare for a complex project to be approved on the first submission.
- Include All Required Calculations: Ensure your plan set includes all necessary supporting documents, such as structural engineering calculations and Title 24 energy compliance reports.
3. Zoning Compliance Documentation
Beyond the physical layout, your project must align with the legal framework governing what can be built and where. Zoning Compliance Documentation provides official proof that your proposed construction adheres to the local zoning code, which dictates land use, building height, density, and setbacks. This step is a critical checkpoint in any building permit checklist.
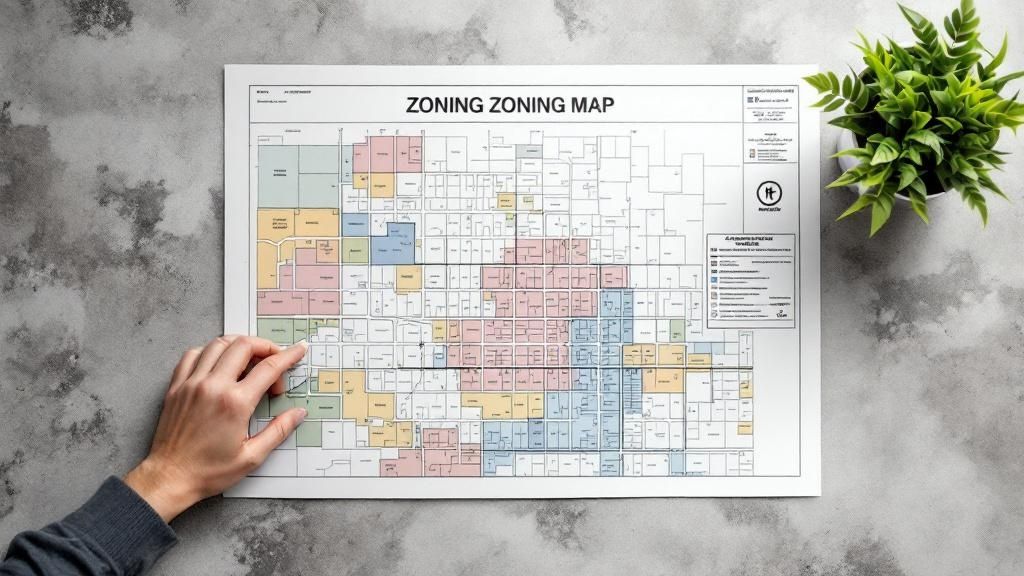
Submitting your project without verifying zoning compliance is a guaranteed path to rejection. Planning departments across the Bay Area use these regulations to ensure new development is orderly and safe. For example, a residential addition must prove it meets setback requirements, while opening a restaurant may require a special Conditional Use Permit.
Why This is a Critical Checkpoint
Zoning codes are the DNA of a city's development plan, and compliance is non-negotiable. Addressing zoning early prevents investing in architectural plans that are fundamentally unbuildable. For instance, you might design a second-story addition only to discover it violates your zone's height restrictions, forcing a costly redesign.
Confirming compliance upfront clarifies your project's scope and limitations. Whether you're building an Accessory Dwelling Unit (ADU) or a home office, this verification sets the legal boundaries for your entire project.
Key Insight: Think of zoning compliance as the project's "permission slip" from the city. While a building permit approves the how (construction methods), zoning approval confirms the what and where (the proposed use and placement).
Actionable Tips for Success
- Contact the Zoning Department Early: Before your plans are finalized, speak directly with your local zoning or planning department.
- Request an Official Zoning Verification Letter: Do not rely solely on online maps. A formal letter from the planning department serves as official proof of your property's zoning status.
- Understand Current and Pending Changes: Inquire about current ordinances and any pending amendments that could impact your project.
- Document All Communications: Keep a detailed record of every conversation, email, and meeting with zoning officials.
4. Structural Engineering Calculations and Approvals
While architectural plans define a project's aesthetics, structural engineering documentation ensures it can safely stand up to daily use and environmental forces. This component of your building permit checklist involves detailed calculations and specialized drawings from a licensed structural engineer. These documents are the blueprint for your building’s skeleton, verifying its integrity, stability, and compliance with seismic codes.
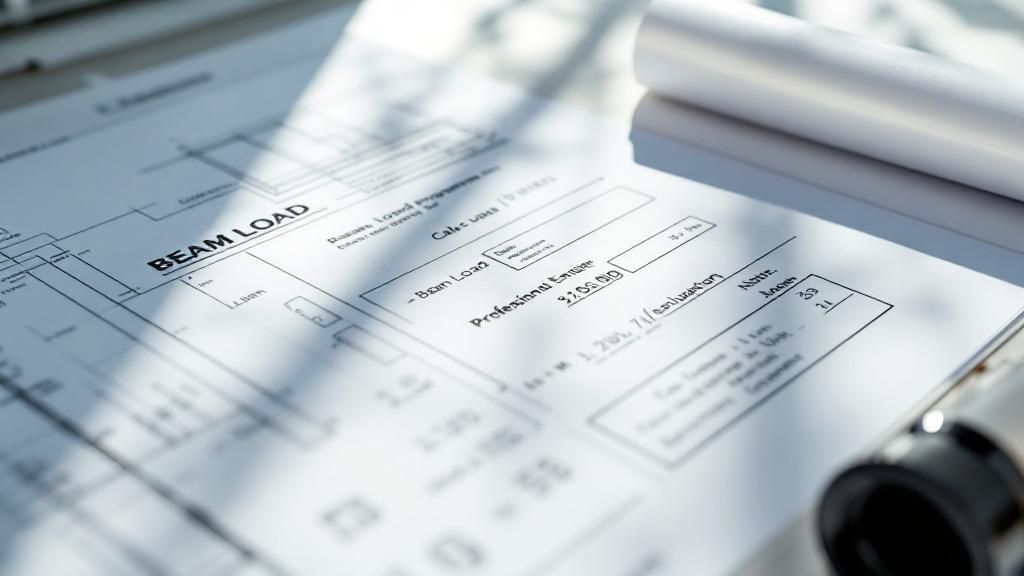
For any project involving new foundations, load-bearing wall removal, or a second-story addition, this documentation is mandatory. In the earthquake-prone Bay Area, building departments meticulously review these plans. Submitting an application without professionally stamped engineering plans is a guaranteed route to rejection.
Why This is a Critical Safety Step
Structural engineering is the science behind a durable building. It translates your architect's vision into a resilient structure, specifying the precise size of beams, columns, and connections. For example, renovating a historic Oakland home requires calculations to ensure new elements integrate safely, while a new build on a sloped San Francisco lot needs a specialized foundation. These calculations directly influence your needs for materials and hardware, from seismic hold-downs to engineered lumber. To ensure you have the right components, you can explore the essential tools and hardware for every build.
Key Insight: Think of structural engineering as the project's safety net. It provides mathematical proof that your building won't just look good but will also protect its occupants and investment for decades to come.
Actionable Tips for Success
- Hire a Licensed California Engineer: Only engage a structural engineer licensed to practice in California with experience in your specific project type.
- Provide Complete Architectural Plans: Your engineer needs the final architectural drawings to begin their work to avoid rework and additional costs.
- Confirm Required Formats: Ask your city’s building department what format they require for structural calculations and plans to prevent processing delays.
- Ensure Close Coordination: The architect and engineer must work in close collaboration. Any modification by one must be reflected in the other's final drawings.
5. Environmental and Geotechnical Reports
Beyond the architecture, your project must account for the ground it's built on. Environmental and Geotechnical (Soils) Reports assess site conditions, from soil stability and seismic risks to potential contamination. Prepared by geotechnical engineers and environmental consultants, these reports are crucial for ensuring your construction is safe and responsibly designed.
These reports are often mandated by local agencies, especially for projects on hillsides, in liquefaction zones, or on land with a history of industrial use. A new home on a steep Berkeley hillside requires a thorough geotechnical analysis to design a foundation that can withstand soil movement. A 2021 U.S. Geological Survey report highlighted that many parts of the Bay Area face high liquefaction susceptibility, making these soil reports essential for safe foundation design.
Why This is a Critical Risk-Management Step
An environmental and soil report is your project's risk management tool, identifying unseen challenges below the surface. A geotechnical report provides essential data for your structural engineer, dictating foundation design, retaining wall requirements, and even the type of concrete mix needed. Ignoring these recommendations can lead to catastrophic failures like foundation cracking.
These reports also play a key role in sustainable construction by minimizing disruption to natural ecosystems. This aligns with modern building practices and local values. To learn more about green building, you can explore sustainable building practices promoted by Truitt & White.
Key Insight: Think of these reports as the project's health check-up. They diagnose underlying conditions that are not visible on a standard survey, allowing you to treat potential problems in the design phase before they become costly emergencies.
Actionable Tips for Success
- Order Reports Early in the Process: Geotechnical and environmental studies can take several weeks to complete. Commission these reports early to prevent bottlenecks.
- Hire Consultants with Local Expertise: Engage professionals who are deeply familiar with Bay Area geology and local city regulations.
- Budget for Potential Remediation: If soil instability or contamination is found, the recommended solutions will have budget implications. Plan for these potential costs.
- Coordinate with Your Structural Engineer: Ensure your structural engineer receives the soil report immediately, as their plans must respond to its recommendations.
6. Utility Connection Plans and Approvals
While architectural plans define your building's form, Utility Connection Plans dictate how it functions. These documents are detailed schematics showing how your project will connect to services like water, sewer, electricity, and gas. They are a core component of your building permit checklist that requires sign-off from multiple agencies.
Before a permit is issued, municipal departments and private utility companies like PG&E must review and approve these plans. This process ensures your project’s service demands can be met safely. For example, a new restaurant build-out in Oakland will require specific approvals for a high-capacity gas line for its kitchen.
Why This is a Critical Logistical Step
Proper utility planning is fundamental to your project’s operational success. Neglecting this step can lead to major roadblocks, such as discovering the local electrical grid cannot support your new facility’s power draw. These issues can force costly redesigns and cause severe project delays.
Coordinating utility connections early prevents conflicts on-site. For instance, knowing the exact location of a new underground water main ensures it doesn't interfere with foundation footings. These plans influence everything from the trenching work required to the final placement of meters.
Key Insight: Think of utility approvals as the "life support" for your building. Without confirmed connections for power and water, your structure is just a shell. Securing these approvals early is non-negotiable.
Actionable Tips for Success
- Contact Utility Providers Early: Initiate contact with all relevant utility companies (PG&E, EBMUD, etc.) during the preliminary design phase for information on service availability and application requirements.
- Coordinate Utility and Site Plans: Ensure your civil engineer fully integrates utility connection points, trenching paths, and equipment locations into the main site plan.
- Budget for Connection Fees: Utility connection fees, also called "hook-up fees," can be substantial. Obtain estimates from each provider and include these in your project budget.
- Verify Existing Capacity: For commercial or multi-family builds, commission a utility capacity study to confirm that the existing infrastructure can handle the new load.
7. Fire Safety and Life Safety Systems Documentation
Ensuring occupant safety is a non-negotiable aspect of any project, making Fire and Life Safety Systems Documentation a cornerstone of your building permit checklist. This is a comprehensive set of plans detailing compliance with strict fire codes. Prepared by specialized engineers, these plans outline everything from evacuation routes and fire suppression systems to alarms.
This documentation is rigorously scrutinized by the local fire marshal, often in a separate review process. For most commercial and multi-family projects in the Bay Area, a permit will not be issued without their explicit approval. Failing to adequately address fire safety can lead to mandatory redesigns and significant delays.
Why This is a Critical Compliance Step
Properly integrated fire and life safety systems are fundamental to a building's design, not an afterthought. For instance, a new restaurant in Berkeley requires detailed plans for a commercial kitchen hood suppression system, while a multi-family project in Oakland must specify fire-rated wall assemblies. These requirements influence layouts, material selection, and electrical systems. This includes correctly rated windows, which play a role in containing fire spread. To learn more, explore options for energy-efficient windows in Bay Area homes.
Key Insight: Treat the fire marshal as a key project stakeholder. Engaging them early and transparently will streamline the review process and prevent last-minute surprises. Their approval is just as important as the planning department’s.
Actionable Tips for Success
- Consult a Fire Protection Engineer Early: Bring a qualified fire protection engineer onto the design team at the schematic phase to integrate code requirements seamlessly.
- Coordinate Directly with the Local Fire Department: Schedule a preliminary review meeting with the local fire marshal's office to get direct feedback before finalizing your plans.
- Budget for Installation and Ongoing Maintenance: Factor the costs of specialized installation and long-term inspection, testing, and maintenance (ITM) into your budget.
- Plan for Required Inspections: Fire safety systems require multiple inspections during construction. Build these milestones into your schedule.
Frequently Asked Questions (FAQs)
1. How long does it take to get a building permit in the Bay Area?
Timelines vary significantly by city and project complexity. A simple permit in Oakland or Berkeley might take a few weeks, while a complex new build in San Francisco could take six months to a year or more. A complete and accurate application is the best way to expedite the process.
2. Do I need a permit for a small remodel?
Most likely, yes. While some cosmetic changes like painting or flooring don't require one, any project involving structural changes, moving walls, or altering plumbing and electrical systems typically requires a permit. Always check with your local Berkeley, Oakland, or San Francisco building department first.
3. What is a Title 24 report and why do I need it?
A Title 24 report is a document demonstrating your project complies with California's energy efficiency standards. It is required for nearly all new construction, additions, and significant remodels in the Bay Area. The California Energy Commission requires this to ensure buildings are energy-efficient, impacting insulation, windows, and HVAC systems.
4. Can I submit my building permit application online?
Yes, most Bay Area cities, including Berkeley, Oakland, and San Francisco, now have online portals for permit submissions. This allows for easier tracking and communication with plan checkers. Ensure all your documents are in the correct digital format as specified by the municipality.
5. What happens if I build without a permit?
Building without a required permit can lead to serious consequences. Municipalities can issue a "stop work" order, levy significant fines, and may even require you to demolish the unpermitted work. It also creates major problems when you try to sell the property in the future.
Build with Confidence: Your Next Steps
Navigating Bay Area building permits is a detailed process, but success hinges on meticulous preparation and a deep understanding of local requirements. By treating permit acquisition with the same detail as your construction plans, you can transform a potential bottleneck into a smooth, predictable phase of your project.
The core takeaway from our building permit checklist is that proactivity is your greatest ally. A well-prepared application, complete with accurate architectural drawings, validated structural calculations, and all necessary reports, minimizes the risk of costly rejections from city planners in Oakland, Berkeley, or San Francisco.
Key Insights for a Seamless Permit Process
Mastering this checklist positions you as a professional who anticipates challenges and builds compliance into the project's DNA from day one. Here are the most critical takeaways:
- Front-Load the Documentation: The most common cause of delays is an incomplete submission. Gather every item on the checklist before approaching the permit counter.
- Embrace Local Nuances: A permit application that works in one city may not suffice in another. Always verify requirements directly with the specific city’s building department.
- Collaboration is Non-Negotiable: Your project’s success hinges on a collaborative triangle: you, your architect/engineer, and your materials supplier. Ensure your chosen materials are clearly specified and meet all documented requirements.
A complete and accurate building permit application is more than a bureaucratic hurdle; it is the foundational document that proves your project is safe, compliant, and ready to be built correctly. It reflects your professionalism and commitment to quality.
Actionable Next Steps to Take Today
With this checklist as your roadmap, you can move forward with a clear plan.
- Audit Your Current Project: Lay out all existing documents against the items covered in this article and identify any gaps.
- Schedule Key Consultations: If you're missing structural or geotechnical reports, book those professional consultations now, as they have long lead times.
- Finalize Your Material Specifications: Your permit application must be specific. This level of detail prevents ambiguity and demonstrates your project is well-planned.
Ultimately, mastering the building permit checklist is about building with confidence. It empowers you to control timelines, manage budgets, and deliver a final product that is certifiably safe and legal. This diligence protects your investment, your reputation, and the people who will use the spaces you create.
As you finalize your plans and specify materials for your permit application, having a knowledgeable partner is invaluable. The experts at Truitt & White can help you select the precise, code-compliant windows, doors, and building materials required by Bay Area municipalities. Visit our showrooms for expert advice to help you build with confidence.


