Getting a wall frame right is the bedrock of any solid construction or remodeling project. It's what separates a wobbly, amateur job from a professional structure that will stand the test of time. While it might seem like you're just putting some wood together, the process breaks down into four critical stages: planning and layout, cutting your components, assembling the frame, and finally, installing the whole thing.
Success comes down to being precise every step of the way. From picking out straight lumber to making sure every single connection is tight and secure, attention to detail is what guarantees a wall that's plumb, level, and built to last. This guide is all about giving you those actionable strategies, moving past the generic advice to give you real insights that work for projects right here in the Bay Area.
Before you start swinging a hammer, it's worth a moment of honest assessment. Framing, especially if it involves a load-bearing wall, is one of those certain complex DIY jobs where calling in a pro might be the smartest move. It demands a high level of precision and a solid understanding of local building codes, which can be pretty strict in areas like Berkeley and Oakland.
Understanding Wall Frame Components
A standard wall frame looks simple enough, but each piece has a specific job that contributes to the wall's overall strength and stability. Knowing what each part does is essential. This is especially true when you're sourcing from a local Berkeley building materials supplier, because you'll need to order the exact type and quantity of materials to get the job done right.
To get you started, here’s a quick reference to the essential parts of a standard wall frame and what they do.
A Quick Guide to Wall Framing Components
| Component | Function & Key Consideration |
|---|---|
| Top Plate | This is the horizontal board at the very top of the frame. You'll often see a double top plate, which is crucial for tying intersecting walls together and supporting ceiling joists. |
| Bottom Plate | Also known as the sole plate, this is the horizontal board at the bottom. It gets anchored directly to the subfloor and is the foundation of your wall. |
| Studs | These are the vertical workhorses of the wall. Standard spacing is 16 inches on-center, though this can vary depending on the project's needs and local codes. |
| Header | This is the beefy beam that goes above any window or door opening. Its job is to carry the structural load from above and transfer it to the studs on either side. |
| Trimmer Studs | You might hear these called jack studs. They fit directly under each end of the header, supporting its weight and defining the sides of the rough opening. |
Think of these components as a system. They all have to work together perfectly to create a safe and durable structure.
A well-framed wall is more than just wood and nails; it’s a structural system designed for safety and longevity. In areas like Oakland and San Francisco, understanding how these components work together is crucial for meeting seismic requirements.
Sourcing Your Tools and Materials
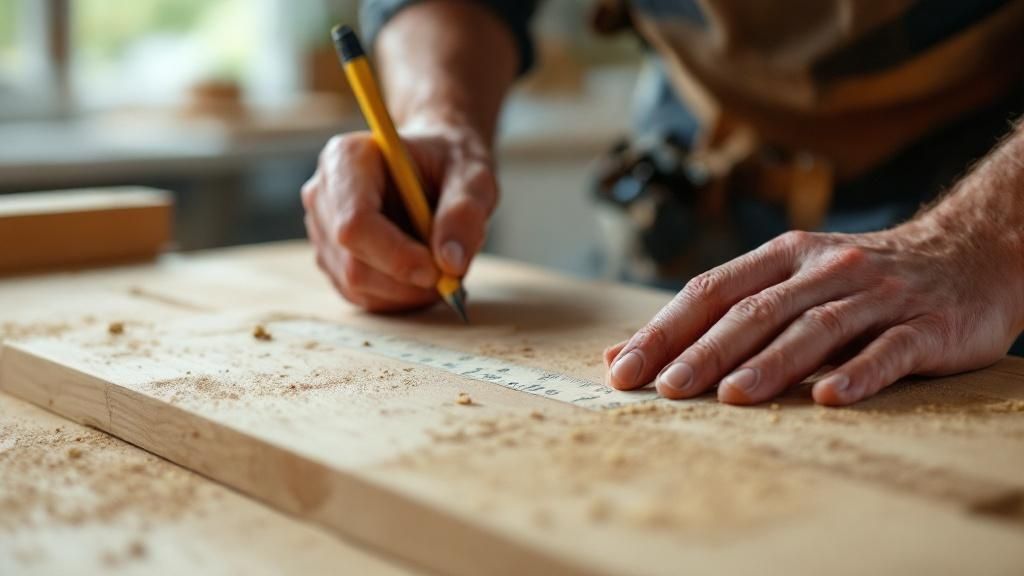
A top-notch framing job doesn't start with the first cut. It begins with the tools you gather and the lumber you choose. Getting everything lined up from a trusted supplier first is what separates a smooth, professional workflow from a project plagued by frustrating delays.
For builders, contractors, and remodelers here in the Bay Area, it's not just about having a list. It’s about knowing why certain choices matter. Every element, from the power of your saw to the grade of your lumber, has a direct impact on the final wall.
Your Essential Tool Checklist
You can’t frame a wall correctly without the right gear. A few key pieces of equipment will make the job faster, more accurate, and a whole lot safer. Investing in quality tools pays for itself in precision and durability.
Here's the core equipment you’ll want on hand:
- High-Torque Circular Saw: This is non-negotiable. You need a powerful saw for clean, straight cuts through framing lumber. A 7-1/4 inch blade is the industry standard for a reason.
- Framing Nailer: You could hammer a frame together, but a pneumatic or cordless framing nailer boosts your speed and consistency tenfold.
- Speed Square and Framing Square: Essential for marking perfect 90-degree angles and laying out your stud locations accurately. You’ll be reaching for these constantly.
- Tape Measure and Chalk Line: A tough 25-foot tape measure is a must. A chalk line is the only way to snap perfectly straight layout lines on the subfloor.
- Levels: Get at least two. A small torpedo level for tight spots and a longer 4-foot or 6-foot level for plumbing the walls and making sure they're perfectly vertical.
Selecting the Right Lumber for the Bay Area
The quality of your lumber is everything. It directly determines how straight and stable your finished wall will be. Here in the Bay Area, with our unique climate and seismic considerations, this choice is even more critical. Kiln-dried Douglas Fir is a fantastic option, valued for its strength and how well it resists warping.
When you're at a lumberyard near Oakland or Berkeley, take a minute to inspect each board. Sight down the edge to check for a "crown" (a slight curve). You want to toss aside any pieces that are badly warped, twisted, or full of large knots. For a deeper look at material selection, check out our guide to sourcing quality lumber in the East Bay.
Pro Tip: Don’t just grab the first stack of 2x4s you see. Taking the time to hand-select your studs is one of the most important things you can do. A straight frame starts with straight lumber, and that will save you a world of headaches when it's time to hang drywall.
While wood is the go-to for most residential projects, it’s worth noting that light-gauge steel framing is gaining ground. The global steel framing market is expected to grow significantly, according to a report from Straits Research, largely because of its durability and resistance to fire and pests. The choice between wood and steel usually comes down to project specs, budget, and local building codes.
Precision Layout and Cutting Techniques
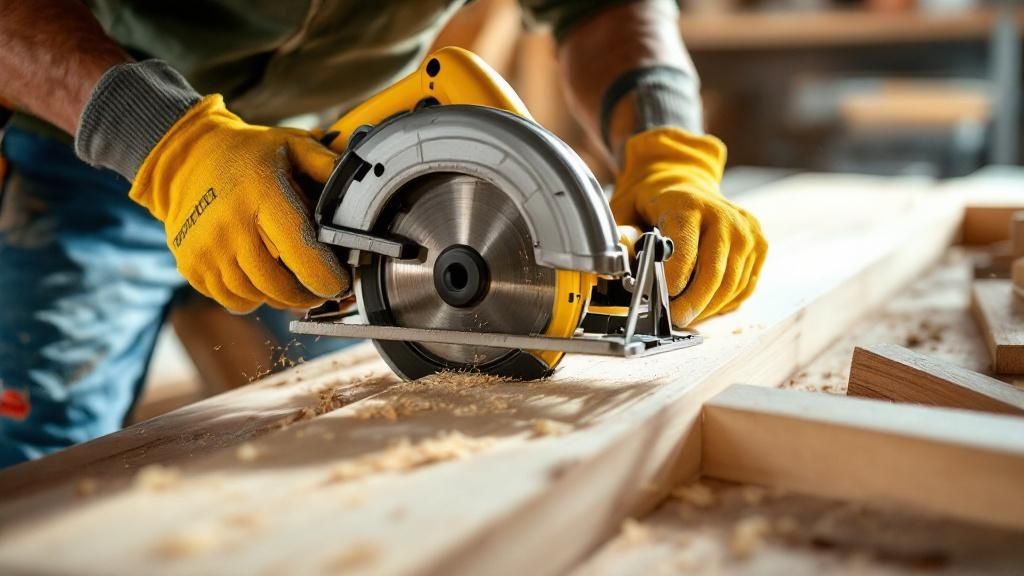
In wall framing, there's an old rule that separates the pros from everyone else: measure twice, cut once. This isn't just a saying—it's the core principle that saves you from wasting expensive lumber and dealing with structural problems later. A small mistake in your layout can snowball, turning what should be a straightforward job into a complex fix.
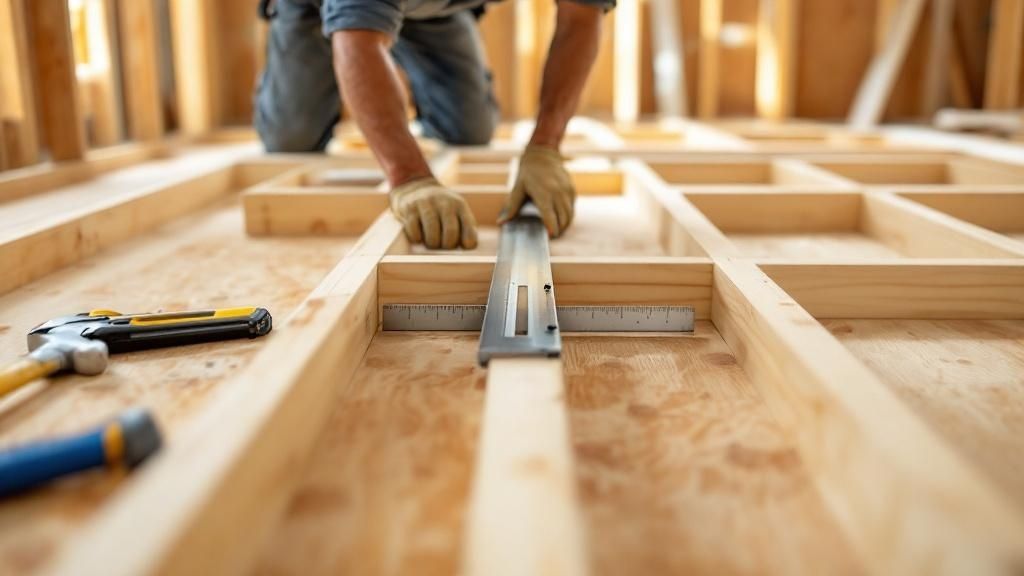
Your precision journey begins with the top and bottom plates. Before cutting, lay these two boards side-by-side on the floor and clamp them together. This simple step guarantees your stud markings will line up perfectly, giving you a plumb and true wall.
Marking Plates for Perfect Stud Placement
With your plates clamped, it's time to mark your stud locations. The standard is 16 inches on-center. This measurement provides solid structural support and lines up perfectly with standard 4×8-foot drywall sheets. For most interior, non-load-bearing walls you'll build around the Bay Area, this spacing is exactly what you need.
However, be prepared to adjust. For load-bearing walls or in areas with specific seismic codes—a common reality in places like Berkeley and San Francisco—you might be required to use 12-inch on-center spacing for extra strength. Always check your architectural plans or local building codes to confirm the right layout before you make a single mark.
Here’s the right way to mark your plates:
- Hook your tape measure on the very end of the clamped plates.
- Pull your first mark at 15-1/4 inches. This accounts for the 3/4-inch thickness of your first stud, ensuring the center of the second stud falls exactly at the 16-inch mark.
- From that point, continue marking every 16 inches down the line.
- Use a speed square to draw a crisp line across both plates at each mark. Then, draw an "X" on the side of the line where the stud will sit.
A rookie mistake is to pull the first measurement to 16 inches. This throws off the entire layout for your drywall. Starting at 15-1/4 inches is a pro tip that guarantees a perfect on-center layout right from the start.
The Crown Up Rule for Straighter Walls
Lumber is a natural product and is rarely perfectly straight. Just about every stud has a slight curve or bow along its narrow edge, which we call the "crown." If you ignore the crown, you'll end up with a wavy, uneven wall that's a nightmare to finish with drywall.
It’s easy to spot. Just sight down the edge of each stud to identify which way it bows. As you assemble your wall, make sure every single crown faces the same direction—usually "up" as you build the frame on the floor. This method uses the wood's natural bow to your advantage, creating a much stronger and straighter wall.
Cutting Components for Openings
Framing for windows and doors means cutting a few specialized pieces. You'll have shorter "cripple studs" that go above the header and below the windowsill, plus the "trimmer studs" that support the header on each side.
Your architectural plans will give you the rough opening dimensions. Remember, the header needs to be cut to the width of the rough opening plus 3 inches to sit on the two trimmers. Taking a few minutes to set up an efficient cutting station will make a world of difference here. For a look at the tools that make this process go smoothly, we have the tools you need for every job.
Assembling the Wall Frame with Confidence
With all your components cut to spec, it's time to bring everything together. This is the moment your careful layout work becomes a real, physical structure. I always recommend assembling the frame on a large, flat surface—the subfloor is perfect for this. It gives you the space you need and helps ensure the frame starts out perfectly square.
First, get your parts arranged correctly. Lay out the top and bottom plates parallel to each other, making sure your stud layout marks are facing inward. Then, position the studs between them, lining each one up with its mark. Double-check that all the crowns are facing the same direction for a flat, professional-looking wall.
Nailing Studs and Plates Securely
Once everything is in place, you can start fastening it all together. For typical framing work, the 16d sinker nail is your best friend. A framing nailer makes this part go much faster, but you can get the same quality result by hand-nailing with a bit of patience.
The standard practice is to drive two nails through the plate and into the end of each stud. Angle the nails slightly toward the center of the stud to keep them from poking out the other side. This connection is non-negotiable—it's what gives the entire wall its strength and rigidity.
Key Takeaway: The integrity of your wall frame hinges on the quality of its connections. Don't rush the nailing. Make sure every stud is securely fastened to both the top and bottom plates before you move on.
The image below gives a great visual breakdown of the basic assembly process.
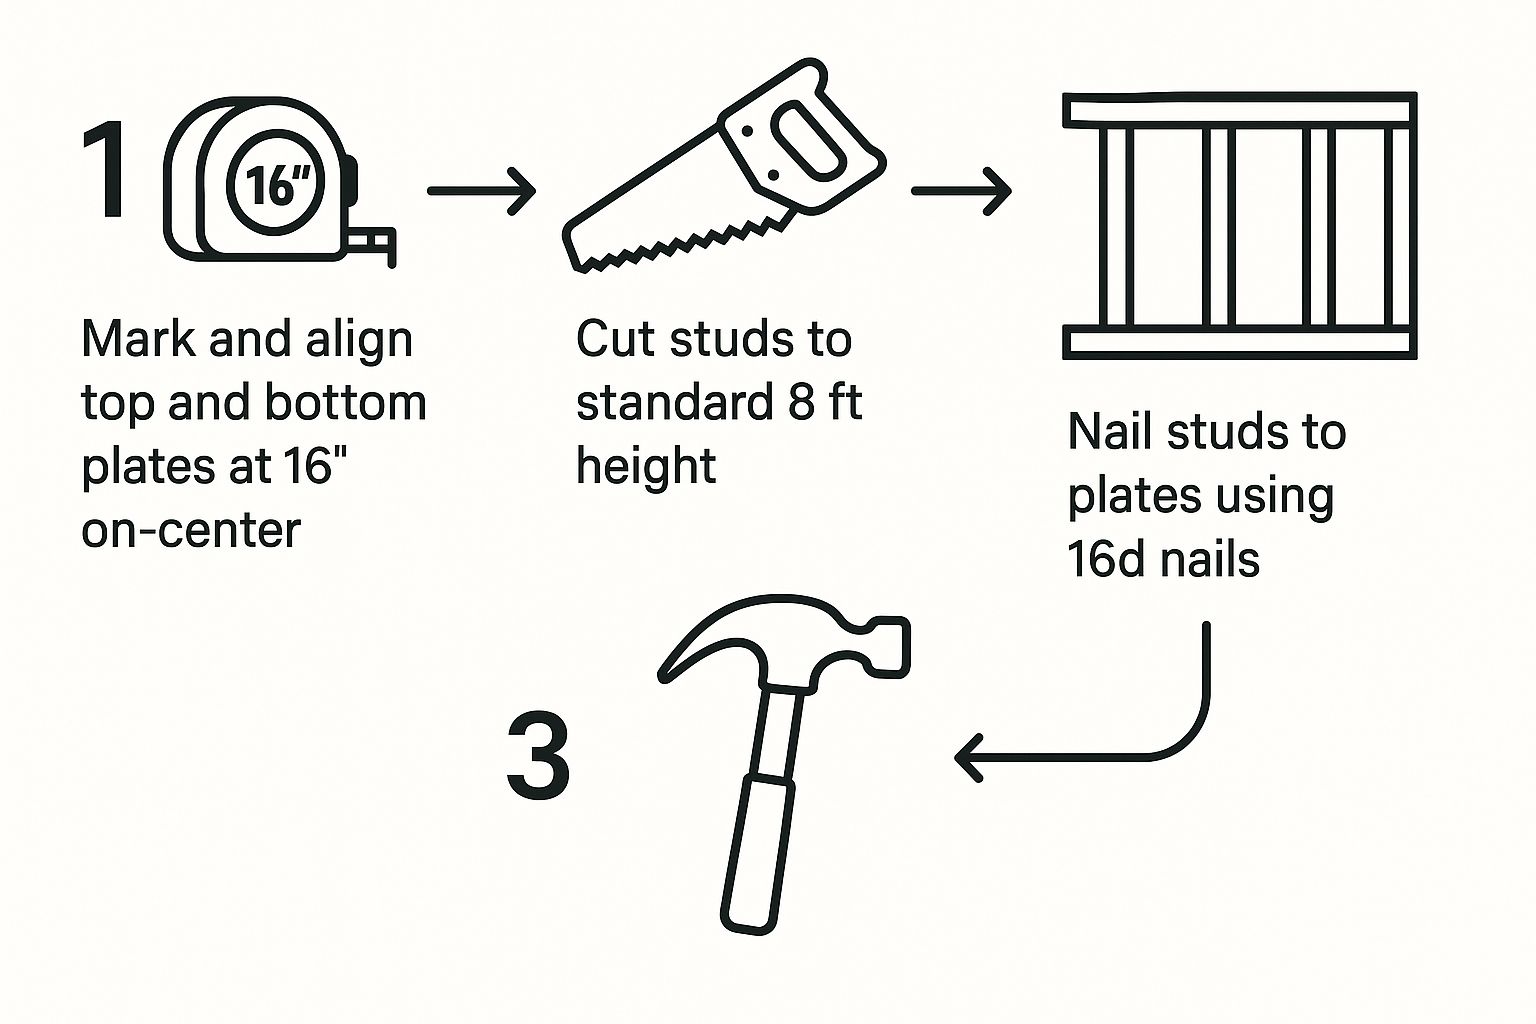
This visual shows the essential sequence—marking, cutting, and nailing—that forms the backbone of any well-built wall.
Building Robust Headers and Openings
Framing for a door or window isn't as simple as just leaving a gap. You have to build a header, which is a small beam that spans the opening and carries the weight from above. On most non-load-bearing interior walls, a simple header made from two 2x4s with a 1/2-inch plywood spacer works perfectly. This creates a header that’s 3-1/2 inches thick, matching the width of your wall studs.
The header is supported by trimmer studs (jack studs), which are nailed to the full-length king studs on each side of the opening. For a window, you'll also add a rough sill below the opening, supported by shorter cripple studs. If you're working on a load-bearing wall, header sizing is critical and should be specified in your architectural plans. These often require much larger lumber, like 2x10s or even laminated veneer lumber (LVL).
Constructing Corners and Intersections
Walls rarely stand alone; they have to connect to other walls. Building strong corners and T-intersections is vital for a rigid structure and also provides a solid surface for attaching drywall later on.
There are a few ways to build corners, but a three-stud configuration is a reliable and popular method:
- Begin with a standard two-stud corner assembly.
- Add a third stud perpendicular to the first two, creating the inside corner.
- Use scrap 2×4 blocks between the studs as solid nailers for drywall.
This technique, often called a "California Corner," provides excellent support and leaves a cavity for insulation—a major plus for exterior walls here in the Bay Area. For T-intersections, a similar approach with blocking provides a secure connection point. Choosing the right components is key for these connections, and you can learn more on our page about durable materials for contractors.
Finally, before you lift the wall into place, check that the frame is square by measuring diagonally from corner to corner. If the two measurements match, you’re good to go.
Raising and Securing the Final Structure
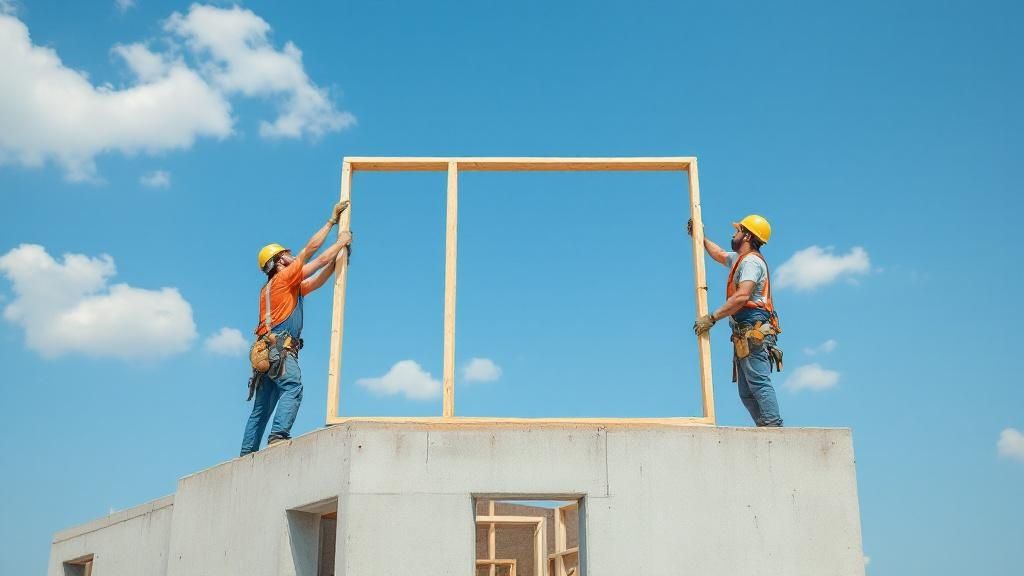
This is the moment of truth. All that careful measuring, cutting, and nailing comes down to this: lifting the assembled wall into place. It’s more about muscle than precision at this stage, but safety is everything. Don't even think about trying this solo—lifting a wall frame is a two-person job, minimum.
With a partner, raise the wall and carefully walk it into position. The goal is to get the bottom plate lined up perfectly with the chalk lines you snapped on the subfloor earlier. Nailing this alignment is critical; it ensures the wall sits exactly where you planned for it to be.
Temporarily Bracing the Wall
Before you can fasten anything permanently, you need to make sure the wall stays put while you work. Grab a few spare 2x4s to use as temporary braces.
Simply tack one end of a brace to a stud on the new wall and the other end to a scrap block nailed to the subfloor a few feet away. Two or three of these braces will keep the wall upright and stable, giving you the freedom to make fine adjustments.
Getting a Perfectly Plumb Wall
Now, it's time to dial in the accuracy. Get your 6-foot level and place it flat against the face of a stud to check for plumb—that is, perfectly vertical. You'll want to check this in a few different spots along the wall to be sure.
If the wall is leaning, a gentle push or pull is all it takes to get that bubble on your level centered. Once you've got it just right, adjust your temporary braces to lock it into that plumb position. This little step is what separates a professional-looking job from one with an awkward, amateurish tilt.
Wall framing isn’t just about the raw structure; it also sets the stage for everything that comes after. The discipline you apply here even connects to the much larger decorative framing market. In fact, a study by Straits Research shows this market is substantial, integrating picture frames and other systems into our spaces. You can learn more by reviewing the latest industry research.
Permanent Fastening and Seismic Anchoring
With the wall braced and plumb, it's time to make it permanent. Start by securing the bottom plate to the subfloor. For a standard wood subfloor, use 3-inch framing nails or structural screws, driving them through the bottom plate and into the floor joists below whenever possible.
Securing the top plate to the overhead ceiling joists is just as crucial, especially here in the Bay Area. In many older Berkeley and Oakland homes, seismic codes require specific hardware. You'll often need to use metal connectors, like framing anchors or hurricane ties, to create a much stronger connection between the new wall and the structure above it.
These aren't just suggestions; they're vital for ensuring a home can stand up to seismic activity. Always check your local codes or project plans to be sure you’re using the right fasteners and connectors for your job. Sourcing the proper hardware is non-negotiable, and our experts can help you navigate the various building materials available for San Francisco Bay Area projects.
Once the top and bottom plates are fully secured, your wall is officially part of the structure. You can go ahead and remove the temporary braces and step back to admire your straight, plumb, and solidly framed wall.
Advanced Framing Techniques for Bay Area Builders
Framing a standard interior wall is one thing, but today's projects in the Bay Area often call for something more. To deliver high-performance, resilient, and efficient structures, you have to go beyond the basics. This means embracing advanced framing techniques and modern materials that not only meet tough building codes but also reduce waste.
Learning how to frame a wall with these methods isn't just about where you put the studs. It’s a philosophy focused on optimizing the entire structure. The goal is to use less lumber, which creates more space for insulation. It’s a smarter way to build, making homes more energy-efficient and aligning with the sustainable building practices we see from Berkeley to San Francisco.
Exploring Optimum Value Engineering (OVE)
You might hear it called Optimum Value Engineering (OVE), but at its core, advanced framing is simply a smarter system for building that gets more out of your materials. It’s all about making strategic tweaks to traditional framing.
A few key principles drive this approach:
- Wider Stud Spacing: Instead of the old 16-inch standard, we’re moving to 24-inch on-center spacing. This simple change uses less lumber and reduces thermal bridging—when heat escapes right through the wood studs.
- Single Top Plates: Where the structure allows, swapping a double top plate for a single one saves a surprising amount of wood, especially when aligned directly over joists or rafters.
- Insulated Headers: Solid wood headers above doors and windows are a major source of heat loss. Insulated box headers are a game-changer, dramatically tightening up the building's thermal envelope.
- Two-Stud Corners: Smart framers use a "California Corner" or other open-corner designs. These use two studs instead of the typical three or four, leaving a cavity open that can be filled with insulation.
Putting these practices into play can make a real dent in material costs and boost a building's energy performance. If you're looking for more ways to improve a home's efficiency, you can find some great ideas in these home improvements for energy conservation.
The Rise of Light-Gauge Steel Framing
Wood is still king, but light-gauge steel (LGS) framing is quickly carving out its territory in both residential and commercial work. Steel brings serious advantages to the table, making it a fantastic choice for modern builds, especially in our area.
Steel frames are dimensionally stable—they won't warp, twist, or shrink over time. They are also non-combustible and completely resistant to termites and rot, offering exceptional durability and lower long-term maintenance needs.
This material's consistency is a huge plus. Every stud and track is perfectly straight, which means flatter walls and cleaner, sharper corners every time. The market is taking notice. A Grand View Research report valued the global light-gauge steel framing market at USD 36.01 billion in 2022 and projected solid growth. For a deeper dive, check out the full market research on light gauge steel framing.
Framing for Complex Designs
Modern architecture doesn't always stick to simple boxes. Features like vaulted ceilings are common, meaning you'll need to know how to frame rake walls—the angled walls that follow a sloped ceiling. This requires careful math to get the top plate angle right and a custom cut for every stud.
You’ll also run into tricky situations like framing around plumbing stacks or HVAC chases. This is where creative solutions, like building ladder-style blocking for drywall backing or boxing out an obstruction with a secondary frame, come into play. These are the skills that separate the pros, allowing them to execute complex designs with precision and structural integrity.
Frequently Asked Questions About Wall Framing
Even the most buttoned-up framing project can throw you a curveball. We've heard just about every question from builders, contractors, and serious homeowners across the Bay Area. Getting these details right from the start is what separates a smooth job from a frustrating one.
Here are answers to some of the most common questions we field at our Berkeley lumberyard.
What's the best lumber for framing a wall in the Bay Area?
For most framing projects in the Bay Area, you can't go wrong with kiln-dried Douglas Fir. It's the go-to for a reason: it's strong, stable, and holds up well against the warping that our local climate can cause. When selecting lumber, always sight down the edge for straightness and avoid boards with large knots or twists.
Do I really need a permit to frame a new wall?
Yes, if you're building a new load-bearing wall or altering an existing one, a permit is almost always required. For simple non-load-bearing partition walls, the rules can vary by city. Your best bet is always to check with your local building department in Berkeley, Oakland, or San Francisco before you start.
Should I use nails or screws for framing?
The industry standard is framing nailers with 16d sinker nails due to their excellent shear strength and speed. However, structural screws offer superior holding power and are more forgiving if you need to make adjustments. They are a great option, but they are slower to drive and more expensive than nails.
What do I do with a crowned stud?
Nearly every piece of lumber has a slight curve along its narrow edge, known as the "crown." This is normal. When assembling the wall on the floor, orient every stud so the crown faces the same direction (usually "up"). This uses the natural bow of the wood to create a stronger, flatter wall once sheathed.
What's the difference between a load-bearing and a non-load-bearing wall?
A load-bearing wall is a core part of the building's skeleton, supporting weight from the floor or roof above. A non-load-bearing wall (or partition wall) only supports its own weight and is used to divide interior space. If you are ever in doubt, consult a structural engineer before removing or altering any wall.
For all your framing needs, from premium Douglas Fir to the right fasteners and tools, the team at Truitt & White has the materials and expertise to help your Bay Area project succeed. Stop by our Berkeley showroom or connect with us online for expert advice.

