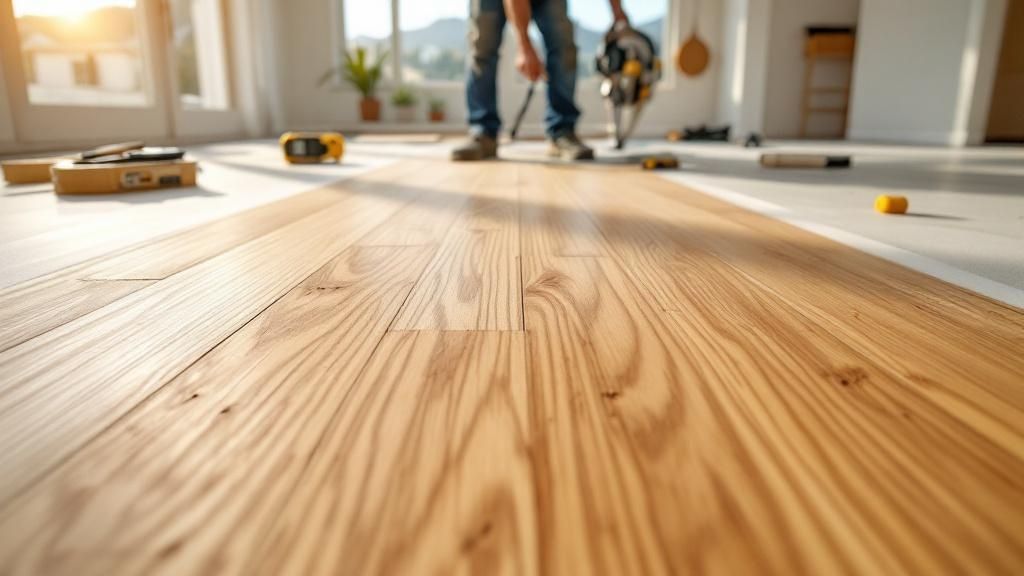
Installing a new hardwood floor is a project with four main steps. You need to prepare the subfloor, let the wood adjust to your home's climate, lay and fasten the planks, and then add the finishing touches. A good plan and the right tools are essential for a professional-looking floor that adds lasting value to your home.
Why Hardwood Is a Smart Choice for Bay Area Homes
Choosing new flooring is a major investment. For homeowners and builders in the Bay Area, hardwood is consistently one of the best choices you can make. It has a timeless appeal and is tough enough to last, boosting a property's value for decades.
This isn't just about trends; it’s about how well hardwood fits the diverse architecture in our area.
It works perfectly whether you're in a classic Berkeley bungalow, a historic Oakland Craftsman, or a modern San Francisco condo. The design options are nearly endless, from the warm tones of oak to the clean look of maple.
Aligning with Bay Area Values
Hardwood flooring also aligns with the Bay Area's focus on sustainability. When you choose responsibly sourced wood, you’re making an environmentally friendly choice that supports green building. Many flooring products are now certified to come from managed forests, which is important to many local residents.
Demand for sustainable materials is strong. According to industry reports, the global hardwood flooring market was valued at USD 51.38 billion in 2024. North America makes up over 36.5% of that market, driven by homeowners seeking high-quality, eco-friendly options.
A Long-Term Investment
Hardwood isn't just beautiful; it's an investment that pays off over time. It's incredibly durable, and unlike other flooring, you can refinish it multiple times to remove scuffs and wear. The potential for future wood floor restoration is a major reason why hardwood is such a smart, long-lasting choice.
Key Takeaway: A well-installed hardwood floor is more than just a surface to walk on. It’s a key design element that boosts your home’s appearance and market value for years to come.
Starting your project with a solid plan is essential. For personalized advice, our team at Truitt & White is here to help builders, contractors, and homeowners.
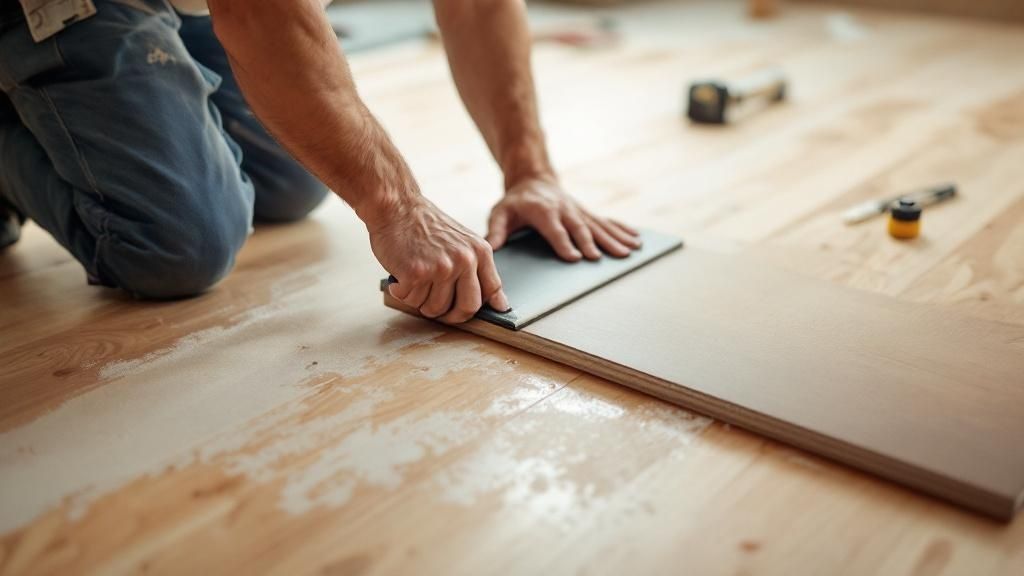
Our Berkeley-based specialists can offer tips on materials, installation, and anything else your Bay Area project requires.
Essential Tools for a Flawless Hardwood Installation
Before you lay down the first plank, a professional job begins with the right tools. There's nothing worse than stopping mid-project because you're missing a key piece of equipment. It slows you down and leads to frustration.
This checklist is designed for everyone, from a seasoned contractor in Oakland to a homeowner tackling a remodel in Berkeley. Gathering your tools isn't just about the large power tools; small accessories are what separate a decent job from a great one. A miter saw makes the cuts, but a tapping block ensures the boards fit together perfectly.
Must-Have Power and Hand Tools
Certain tools are absolutely essential for a proper hardwood installation. Trying to work without them can lead to imprecise cuts, loose boards, and a finish that doesn’t look right. Get your workspace set up with these core items before you open the first box of flooring.
- Miter Saw: This is your tool for making clean, exact cuts at the end of each row.
- Flooring Nailer or Stapler: This is the workhorse of the job. A pneumatic nailer is the industry standard because it drives fasteners at the perfect angle to secure the planks.
- Air Compressor and Hose: You'll need this to power your nailer, so make sure it's powerful enough for the job.
While power tools do the heavy lifting, hand tools are for the finer details. You’ll use them for small adjustments and tight spaces to ensure a snug fit without damaging the wood.
An Expert's Toolkit at a Glance
Having the right tools isn't just about speed; it's about quality. A professional result depends on having every necessary item ready before you start. Here’s a breakdown of what you'll need.
Essential Toolkit for Hardwood Floor Installation
| Category | Item | Purpose |
|---|---|---|
| Power Tools | Miter Saw | For clean, precise crosscuts at the ends of rows. |
| Flooring Nailer/Stapler | Secures planks to the subfloor at the correct angle. | |
| Air Compressor & Hose | Powers the pneumatic nailer for consistent fastening. | |
| Jigsaw or Oscillating Tool | For intricate cuts around vents, pipes, or door jambs. | |
| Hand Tools | Tapping Block | Gently pushes planks together without damaging the edges. |
| Pull Bar | Tightens the last board in a row against the wall. | |
| Hammer or Mallet | Used with the tapping block and pull bar. | |
| Tape Measure | For accurate measurements of planks and room dimensions. | |
| Accessories | Spacers (1/4" to 3/8") | Maintains the critical expansion gap along the walls. |
| Chalk Line | Snaps a straight line for your first row, ensuring a square layout. | |
| Moisture Meter | Tests the moisture content of both the wood and the subfloor. | |
| Safety Gear | Safety Glasses | Protects eyes from sawdust and flying debris. |
| Knee Pads | Essential for comfort and protection during long hours on the floor. | |
| Gloves | Protects hands from splinters and abrasions. |
This checklist covers the must-haves for a successful installation. Gathering everything beforehand will save you time and headaches later.
Precision and Protection Accessories
Beyond the main tools, a few special accessories will protect your investment and guarantee tight seams. These are items that beginners often overlook but are standard for any pro.
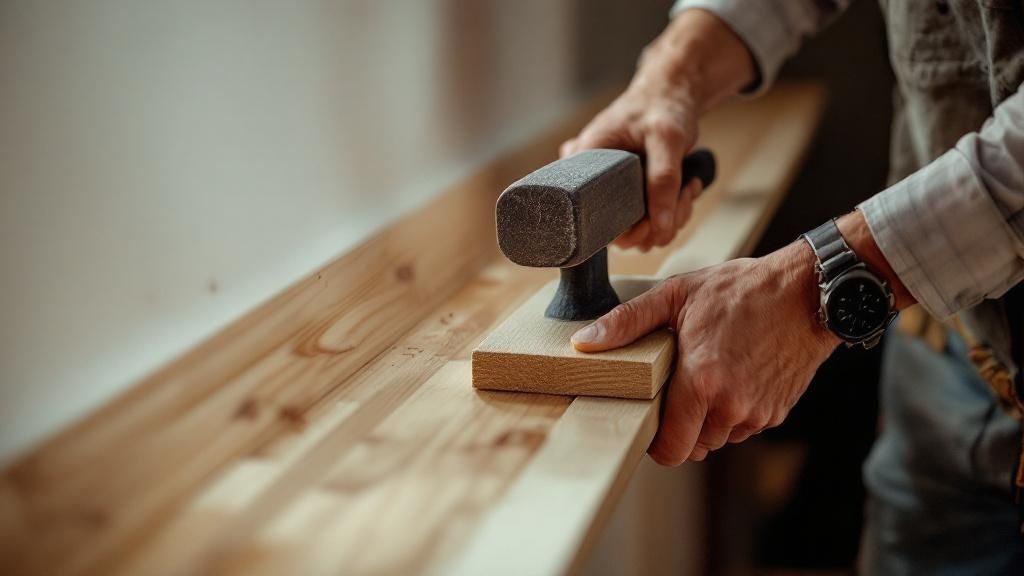
- Tapping Block: Use this to gently tap planks together. A key rule is to never hit the wood directly with a hammer.
- Pull Bar: This tool is a lifesaver for tightening the last board in a row, right up against the wall.
- Spacers: Placed between your first row and the wall, these maintain a consistent expansion gap. This gap is critical to prevent the floor from buckling with seasonal changes.
Pro Tip: Don't skip the knee pads. You'll spend a lot of time on your knees, and good pads will save you a lot of discomfort.
Measuring and Safety for Bay Area Climate
Here in the Bay Area, our unique microclimates—from foggy San Francisco to hotter inland valleys—make moisture your number one enemy. A moisture meter is a mandatory piece of equipment for preventing warping and gapping.
You must test both the hardwood planks and the subfloor. Their moisture levels need to be close to each other before you begin. It’s about precision, much like how our Window & Door Showroom helps builders select products that meet exact standards.
Finally, always put safety first. A good pair of safety glasses and gloves should be on at all times. This simple step protects you from sawdust and injuries.
Preparing the Subfloor for a Professional Finish
Here's a secret every seasoned pro knows: the key to a beautiful hardwood floor isn't just the wood itself. It's what’s underneath. A well-prepared subfloor is the foundation for everything, and skipping this step can cause creaks, gaps, and an uneven finish.
The process comes down to three things: making sure your subfloor is clean, flat, and dry. Especially in the Bay Area, where older homes with plank or aging plywood subfloors are common, this step is required.
Starting with a Clean and Secure Subfloor
Before checking for flatness or moisture, you must get the subfloor completely clean. Remove every bit of dust, debris, and old adhesive. A clean surface is non-negotiable for a professional installation.
Once it's spotless, walk around the entire area. Do you hear any squeaks? Those are signs of a loose subfloor.
- Secure Loose Panels: Use construction adhesive and screws to fasten any loose plywood or OSB panels to the floor joists.
- Check for Damage: Look for any signs of rot or water damage. If you find soft spots, you must cut them out and replace them with new subflooring.
If you find serious water damage, stop and fix the source of the leak before moving forward. Our guide on how to repair water damaged drywall offers helpful insights.
Achieving a Perfectly Flat Surface
No subfloor is perfectly flat, but it needs to be very close. The National Wood Flooring Association (NWFA) sets the standard at a tolerance of 3/16 of an inch over a 10-foot span. Anything more can cause hollow spots underfoot.
To check for flatness, use a long straightedge, like a 6- or 8-foot level. Lay it across the floor in every direction and look for any gaps.
- Grind Down High Spots: On a concrete subfloor, use a concrete grinder. For wood, a belt sander can smooth out high seams.
- Fill In Low Spots: For any dips, use a high-quality, self-leveling compound. Follow the manufacturer's directions and let it cure completely.
Pro Tip for Bay Area Homes: If you're working on an older home in Berkeley or Oakland with plank subfloors, install a new layer of at least 1/2-inch plywood over the old planks. This creates a smooth, stable surface that's ideal for new hardwood.
The Critical Role of Moisture Management
Moisture is the number one enemy of hardwood flooring. In the Bay Area, with its varied microclimates, managing it is everything. Installing wood over a damp subfloor will lead to cupping, warping, and gaps.
A good moisture meter is your most important tool. Test both the wood subfloor and the new hardwood planks. According to the NWFA, the moisture content of the subfloor should be within 4% of the wood flooring for narrow planks and within 2% for wider planks.
If you're installing over a concrete slab or a crawl space, a vapor barrier is a must.
- Concrete Slabs: Use a 6-mil polyethylene film. Overlap the seams by at least 8 inches and tape them securely.
- Wood Subfloors Over Crawl Spaces: Ensure the crawl space is dry and well-ventilated. It’s highly recommended to lay a vapor barrier over the ground to stop moisture from rising.
Taking these steps protects your investment and ensures your new floor stays flat and beautiful for years to come.
Acclimation and Layout: The Keys to a Lasting Floor
You have a perfectly prepared subfloor, and you're eager to start laying the new boards. But wait—this next part is what separates a DIY job from a professional-grade floor.
Proper acclimation and a good layout plan are essential. Wood is a natural material that expands and contracts with moisture. Giving the planks time to adjust to your home's environment before installation is key to preventing problems.
Why Acclimation is Critical in the Bay Area
Here in the Bay Area, acclimation is a must-do. A house in foggy San Francisco has a very different indoor climate than one in sunny Berkeley or Oakland.
If you skip this step, your floor will acclimate after it's installed. This can cause ugly gaps, cupping, or even buckling.
To avoid this, let your new hardwood planks sit in the room where they will be installed for 3 to 7 days.
Here’s how to do it right:
- Bring the boxes inside the room where they will be installed.
- Open the ends of the boxes to let air circulate.
- Be patient. Give the wood at least 72 hours. A full week is even better for solid hardwood.
Pro Tip: Acclimate the room itself. Run your HVAC system as you normally would for several days before and during acclimation. The wood should adjust to your everyday living conditions.
Planning Your Layout for a Flawless Finish
Once the wood is ready, it's time to plan your layout. A little planning now saves a lot of trouble later.
First, decide which way the planks should run. The classic approach is to lay them parallel to the longest wall in the room. This makes the space feel larger. It's also a good idea to run the planks perpendicular to the floor joists for stability.
Setting Your Starting Line
Your first row is the foundation for the entire floor, so it must be perfectly straight. Never assume your walls are straight, especially in older Bay Area homes.
- Pick a solid starting wall, usually an exterior wall.
- Snap a true line. Measure out from the wall at both ends of the room (the width of one plank plus your 3/8-inch expansion gap). Snap a chalk line between these two points. This is your real starting line.
- Mix your planks. Before you begin, open several boxes and shuffle the planks. This ensures a beautiful, random blend of color and grain.
Keep in mind that engineered wood has different needs than solid hardwood. If you're still deciding between the two, our guide explaining what is engineered wood can help.
A Step-by-Step Guide to Nailing Down Hardwood
With the subfloor prepped and your wood acclimated, it's time to lay the floor. This guide focuses on the nail-down method, a traditional technique that creates a strong, long-lasting floor.
The first few rows are the most critical part of the installation. They set the alignment for the entire room, so take your time here. A straight start is the only way to get a professional result.
This diagram shows the basic installation sequence, from underlayment to the final nailing.
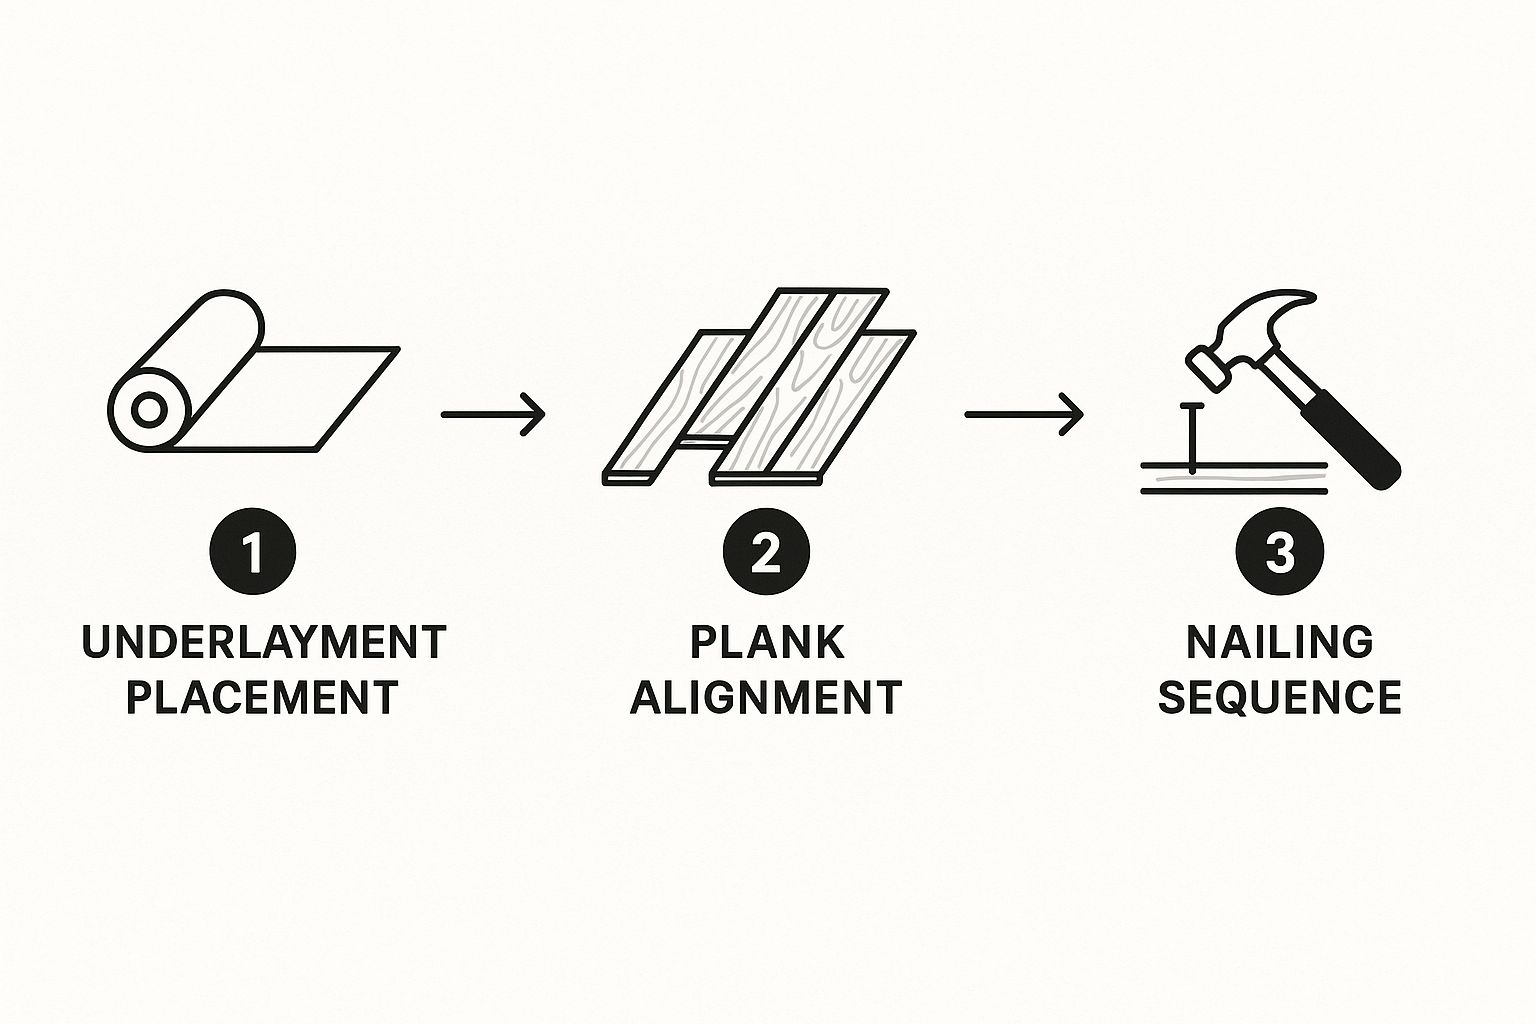
As you can see, a successful installation follows a logical flow. Each step must be done correctly before moving to the next.
Laying the First Rows
Think of your first row as the anchor for the entire floor. Use your chalk line as a guide and lay the first board down with the groove side facing the wall. Don't forget to place spacers between the board and the wall for the expansion gap.
Because the main flooring nailer won't fit this close to the wall, you'll need to face-nail this first row. This means driving nails straight through the top of the board.
- Always drill pilot holes first to prevent the wood from splitting.
- Use a finish nailer or a hammer and nail set to sink the nails.
- Space your nails every 8-10 inches along the board.
For the second and third rows, you'll likely still be too close to the wall for the big nailer. Here, you'll switch to blind-nailing by hand. Drive a finish nail at a 45-degree angle through the tongue of each board. This hides the nail head and pulls the plank tight.
Using the Flooring Nailer
Once you have three or four rows down, you can bring in the pneumatic flooring nailer. This tool drives a cleat or staple at the perfect angle through the board's tongue, securing it to the subfloor.
Make sure your air compressor is set to the right pressure—usually between 70-90 PSI. Always test it on a scrap piece of wood first.
As you move across the room, keep the boards tight and stagger your seams.
Pro Tip: Never line up the seams of boards in adjacent rows. A random, staggered pattern looks better and adds structural strength. Keep all end joints at least six inches apart.
Navigating Obstacles Like a Pro
No room is a perfect box. You will encounter doorways, vents, and closets. A jigsaw or an oscillating multi-tool is all you need to handle these areas.
For door casings, the cleanest method is to undercut them.
- Place a scrap piece of flooring on the underlayment next to the door jamb.
- Use a handsaw or oscillating tool to cut the bottom of the casing, using the flooring as a height guide.
- This allows you to slide the new floorboard under the casing for a seamless, professional finish.
When you get to a floor vent, measure carefully, mark the opening, and use a jigsaw to cut a hole in the plank.
Finishing the Final Rows
As you near the far wall, you'll run out of space for the flooring nailer again. The last few rows will need to be installed by hand. The very last row will almost certainly need to be cut lengthwise to fit.
Use a pull bar to snug the final board into place, making sure your expansion gap is consistent. Then, face-nail it just like the first row. The nail holes will be covered by baseboards later.
Even with the best planning, you might run into issues. Here’s a quick guide to common problems and their solutions.
Common Installation Challenges and Solutions
| Challenge | Cause | Solution |
|---|---|---|
| Gaps Between Boards | Not enough force used when setting the board; debris in the groove; warped board. | Use a tapping block to gently but firmly tap the board into place. Check grooves for any debris. Set aside badly warped boards. |
| Squeaky Floors | Subfloor isn't perfectly flat or securely fastened; insufficient nailing. | Add more fasteners to the subfloor before installation. Ensure proper nail spacing and pressure during installation. |
| Splitting Tongues | Air pressure on the nailer is too high; incorrect nailer angle. | Reduce the PSI on your air compressor. Test on scrap wood until the cleat sets without causing damage. |
| Last Row is Too Narrow | Inaccurate initial measurements or a room that isn't square. | Carefully measure and rip the final board to size using a table saw, ensuring you still leave the required expansion gap. |
Handling these small issues as they appear is what makes for a truly professional-grade installation.
Frequently Asked Questions About Installing Hardwood Floors
A big project like installing a hardwood floor always brings up questions. Here are answers to common questions from builders, contractors, and homeowners across the Bay Area.
What is the best direction to lay hardwood flooring?
Generally, you should run hardwood planks parallel to the longest wall of the room. This makes the space feel larger and more open. For the best structural support, lay the planks perpendicular to the floor joists.
Another pro tip is to consider your main light source, like a large window. Running boards in the same direction as the light helps hide seams between planks, creating a smoother look.
Can I install hardwood flooring over an existing floor?
Sometimes, but it's usually not recommended. You might be able to install new flooring over a single layer of well-adhered vinyl or linoleum if it's perfectly flat. However, never install new hardwood over carpet or any floating floor.
For the best results, our Bay Area pros almost always suggest tearing out the old flooring. This provides a clean, stable subfloor and prevents awkward height differences at doorways. Getting transitions right is key, which is also true when you learn how to choose interior doors.
How much extra flooring should I buy for cuts and waste?
Always order more than you need. Plan on adding 10-15% to your total square footage measurement. This "waste factor" covers cuts, mistakes, and allows you to discard boards with blemishes.
If you are planning a more complex pattern like a diagonal or herringbone layout, increase your waste factor to 20%. It’s much better to have extra material than to run out before the job is finished.
What is the difference between solid and engineered hardwood?
Solid hardwood planks are milled from a single, solid piece of timber. Their main advantage is longevity; you can sand and refinish them multiple times.
Engineered hardwood has a layered structure with a top veneer of real wood bonded to a plywood core. This design makes it very stable and less likely to expand or contract with the Bay Area's humidity swings, making it a great choice over concrete slabs.
How do I maintain my new hardwood floors?
Regular cleaning is key to keeping your floors looking great. Sweep or vacuum frequently to remove dirt and grit that can scratch the finish. For deeper cleaning, use a pH-neutral cleaner specifically designed for hardwood floors and a microfiber mop.
Place mats at entryways to trap dirt and use felt pads on the bottom of furniture legs to prevent scratches. According to the NWFA, maintaining consistent indoor humidity levels (between 30-50%) will also help prevent the wood from gapping or cupping.
Ready to start your hardwood flooring project? For expert advice and the best building materials in the Bay Area, visit Truitt & White. Our team is here to help you select the perfect flooring and tools for a beautiful installation. Connect with us today at our Berkeley showroom.

