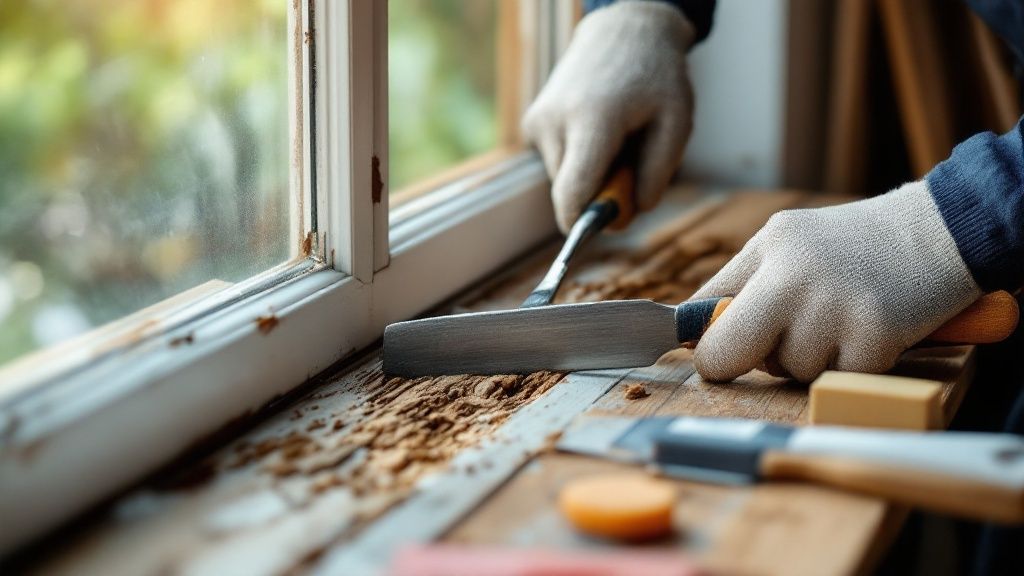
A rotted window sill can be a weak spot in your home's defense against Bay Area moisture, but it doesn't always mean you need a full replacement. A professional-level repair can bring your window back to full strength and save you money. The key is to correctly size up the damage, cut out all the decayed wood, and rebuild the sill with a tough, two-part epoxy filler.
Why a Professional-Level Repair Matters
A deteriorating window sill is more than just an ugly flaw; it’s a failure in your home's protective shell. Here in Berkeley and Oakland, where seasonal rains and damp air are a fact of life, even a small breach can lead to major headaches. If left alone, moisture will keep creeping in, causing structural damage to the window frame and surrounding walls.
A true professional repair is all about long-term durability and weatherproofing. It’s a solution that can save you from the much higher cost of a full sill replacement. According to industry data, a significant portion of window repair calls are for sill damage, showing how vital a solid fix is for keeping your home insulated and safe.
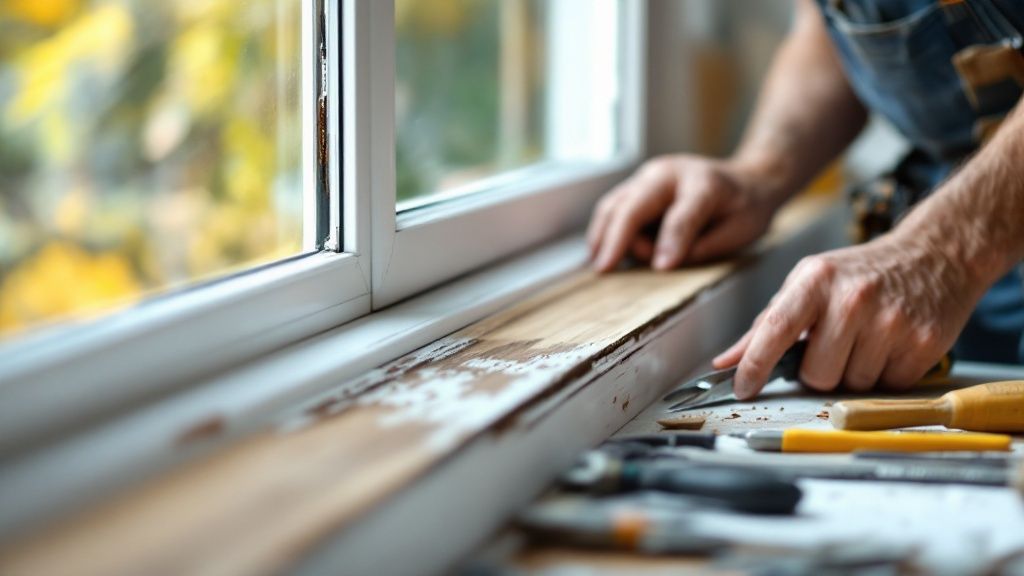
Benefits of a Proper Repair
When you fix a rotted window sill the right way, you get more than just a patch.
You are actually:
- Restoring Structural Integrity: Using a material like epoxy creates a bond that's often stronger than the original wood. This reinforces the whole window unit.
- Preventing Future Damage: A properly sealed sill stops moisture from getting in. This prevents the wood rot from coming back.
- Improving Energy Efficiency: Sealing up gaps and cracks eliminates drafts. This helps keep your indoor temperature stable and can trim your energy bills.
- Boosting Curb Appeal: A clean, solid repair makes the whole window look sharp again. This helps protect your home’s value.
A classic mistake is using standard wood putty for a structural fix. It’s fine for tiny cosmetic flaws, but it lacks the strength and water resistance of a two-part epoxy. It's a recipe for redoing the same repair in a year or two.
Sometimes, the damage is too extensive for a simple repair. If you suspect the rot is severe, it's worth learning the signs that point toward a full Bay Area window replacement as the better choice.
Stages of a Professional Window Sill Repair
This table outlines the essential steps for a durable restoration. Each stage is crucial for ensuring the repair not only looks good but also stands up to the Bay Area climate for years to come.
| Stage | Objective | Key Action |
|---|---|---|
| Inspection | Find out how far the rot and moisture damage have spread. | Probe the wood with a screwdriver to find soft spots. |
| Removal | Cut out all decayed and weak wood. | Use a multi-tool or chisel to cut back to solid, healthy wood. |
| Preparation | Create a clean, stable surface for the filler to stick to. | Apply a wood hardener to the exposed wood grain. |
| Rebuilding | Reconstruct the sill's shape with a durable, waterproof filler. | Mix and apply a two-part epoxy filler, shaping it before it cures. |
| Finishing | Smooth and shape the cured epoxy for a seamless look. | Sand the hardened filler flush with the existing wood. |
| Sealing | Protect the repair from future moisture and UV damage. | Prime the entire sill and apply two coats of quality exterior paint. |
Following these stages ensures you are truly restoring the window sill’s function for the long haul.
How to Spot Early Signs of Window Sill Rot
Catching window sill rot early makes for a much simpler, less expensive repair. In the Bay Area, homes in places like Berkeley and Oakland get a lot of damp weather, making regular inspections a must. A little moisture can quickly turn into a major structural problem if ignored.
Don't wait for the paint to start peeling off in large pieces. You need to get hands-on.
A good check involves more than a quick glance. A few simple physical tests will tell you everything about the true condition of your window sill.
Perform a Physical Inspection
Grab a screwdriver or an awl and gently probe the wood. Pay extra attention to corners and where pieces of wood join. Healthy wood will feel solid and resist the tool. If your tool sinks in easily or the wood feels soft and spongy, you’ve found rot.
Next, look for visual clues that hint at trouble under the surface. These are often subtle but tell a clear story of where water is getting in.
- Discoloration: Watch for wood that has turned darker than the areas around it. Dark streaks or gray patches are a clear sign that water has been sitting there.
- Cracked or Blistered Paint: Your paint is the sill's first line of defense. When it bubbles, cracks, or gets a scaly texture, it’s a sign moisture is trapped underneath.
- Failing Caulk: Look at the sealant around the window frame. If the caulk is cracked, shrinking, or pulling away from the wood or siding, you’ve found a primary entry point for water.
I’ve seen it a hundred times: a homeowner just paints over cracked spots without fixing the moisture issue first. That’s a huge mistake. All it does is trap moisture inside, which speeds up decay and turns a small fix into a major project.
Know When to Look
Being strategic about your inspections makes all the difference. The best time to check your window sills is right after the Bay Area's rainy season ends. That’s when any water damage from the past few months will be most obvious.
Making this a regular routine helps you catch problems early. For a more structured approach, our comprehensive window inspection checklist gives homeowners and contractors an excellent framework. By spotting these warning signs, you can get ahead of the problem before it damages the entire window unit.
Gathering Your Tools and Materials for a Pro Repair
A professional-grade repair is impossible without the right equipment. To do a job that can stand up to the Bay Area's wet winters, you need to use what the pros use. A well-stocked local supplier, like a lumberyard near Oakland, will have everything you need.
Safety and Removal Gear
Before you cut or scrape, you need to gear up. Wood dust, old paint chips, and epoxy particles are serious, so protecting yourself is priority one.
- Safety Goggles: An absolute must to keep debris out of your eyes.
- Gloves: A sturdy pair of work gloves will protect your hands during removal.
- Respirator or Dust Mask: When sanding epoxy or digging out old paint, a NIOSH-approved respirator is essential.
- Removal Tools: An oscillating multi-tool with a wood-cutting blade is perfect for precise cuts. You’ll also want a pry bar and a sharp wood chisel to get every bit of decayed wood out.
Repair and Rebuilding Materials
This is where quality really counts. For a permanent repair that can handle the damp Bay Area climate, a two-part marine-grade epoxy is the best choice. Standard wood putty just can't compete. Epoxy forms a chemical bond with wood fibers, curing into a rock-hard, waterproof material that becomes part of the sill itself.
Here’s a quick breakdown of why pros always choose epoxy for this kind of work.
Epoxy Filler vs. Standard Wood Putty
| Feature | Two-Part Epoxy Filler | Standard Wood Putty |
|---|---|---|
| Durability | Cures to a hard, waterproof solid. It adds structural strength. | Dries but often shrinks and cracks. It is not structural. |
| Adhesion | Chemically bonds with wood for a permanent, integrated repair. | Sticks to the surface but doesn't create a strong chemical bond. |
| Moisture Resistance | 100% waterproof. It blocks moisture from re-entering the wood. | Can absorb moisture, leading to swelling and failure. |
| Best Use Case | Rotted wood, structural gaps, and exterior repairs in high-moisture areas. | Minor cosmetic flaws and small interior nail holes in dry conditions. |
For an exterior repair like a window sill, epoxy is the only choice for a long-lasting, professional result.
Your shopping list for this stage should include:
- Liquid Wood Hardener: After removing the soft, rotted material, you brush this on the exposed wood. It soaks in, stabilizes the fibers, and creates a solid base for the epoxy.
- Two-Part Epoxy Filler: This is the core of the repair. It comes with a resin and a hardener that you mix to create a strong filler you can shape and sand like wood.
- Replacement Wood: If the rot is extensive, you may need to splice in a new piece. It’s critical to choose quality lumber for East Bay projects. Use pressure-treated wood or a rot-resistant species like cedar or redwood.
Finishing and Weatherproofing Supplies
The job isn't done until it's sealed tight against the elements. These final steps are what prevent future rot.
- Exterior-Grade Primer: Use a high-quality oil-based or top-tier acrylic primer. This seals the repair and creates a uniform surface for the paint.
- Weatherproof Caulk: A flexible, 100% silicone or advanced polymer caulk is vital. You need to seal every joint where the sill meets the window frame and siding.
- Premium Exterior Paint: Finish with at least two coats of a premium acrylic latex exterior paint. This is your final defense against sun and rain.
Removing Rotted Wood and Preparing the Surface
Now that you have your gear, it's time for the most critical stage. How you handle this part determines whether you have a quick patch or a rock-solid, professional repair. This is more than just scooping out the soft stuff; it's about systematically digging out all decay.
First, remove all the spongy, rotted wood. An oscillating multi-tool gives you the precision to make clean cuts. A sharp wood chisel and hammer also work well. The goal is simple: keep digging until you see nothing but bright, healthy wood fibers.
This is where most DIY repairs fall short. A pro tip is to excavate at least an inch beyond the last visible trace of rot. Decay spreads through the wood grain, and leaving any compromised fibers behind invites the problem to return. Getting the right tool makes a huge difference, and you can learn more about selecting the right saw or multi-tool blade in our guide.
Stabilizing the Remaining Wood
Once the rotted material is gone, you need to stabilize the exposed wood. This step is non-negotiable because it allows the epoxy to create a permanent bond. Drill a series of small, 1/8-inch diameter holes into the sound wood inside the excavated area.
Angle these holes downward slightly and space them about an inch apart. These channels let a liquid wood hardener penetrate deep into the wood grain. This treatment strengthens the remaining fibers and creates the perfect surface for the epoxy to grab.
Always be generous when applying the wood hardener. Use a disposable brush and let it soak in completely. The hardener needs to fully cure according to the manufacturer's directions, which could take a few hours. This patience separates a professional repair from a shoddy one.
Assessing the Damage
The amount of rot you removed will dictate your next step. This visual breaks down common repair options based on the severity of the damage.
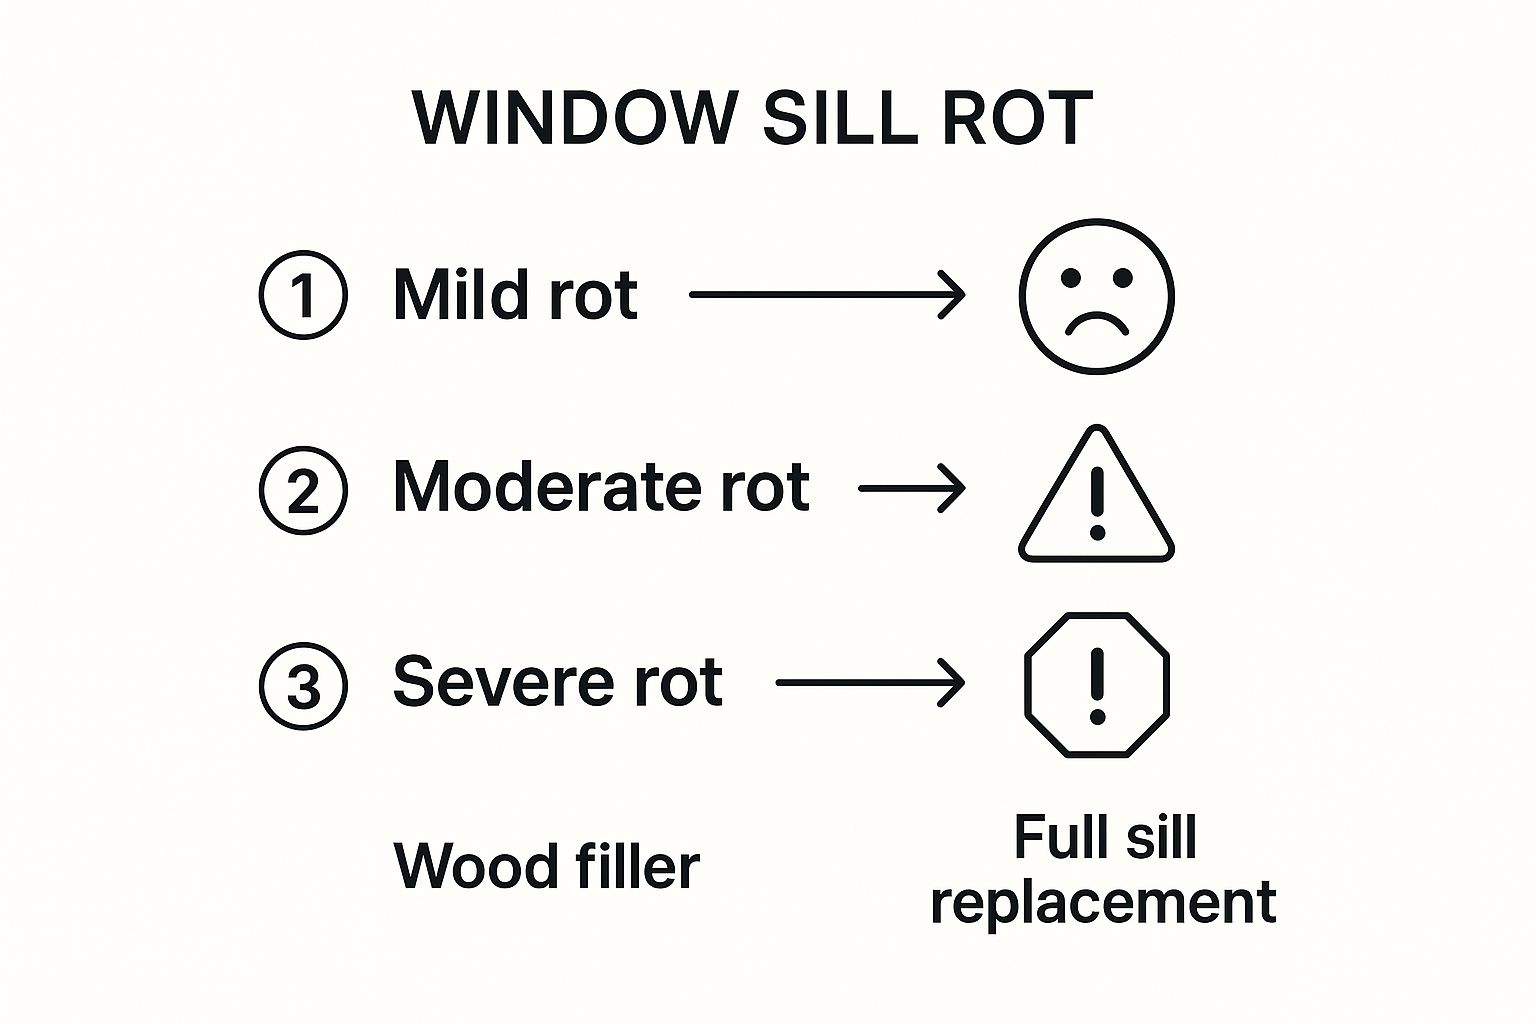
As you can see, minor rot might just need a filler. But for moderate to severe decay, which is common in the Bay Area's damp climate, you're looking at a full epoxy rebuild or even replacing the sill.
With the rotted wood gone and the remaining surface hardened, you have successfully prepped the area. Next, we'll dive into rebuilding the sill itself using a two-part epoxy.
Rebuilding and Shaping Your Repaired Window Sill
Now that you’ve cleared out the rotted wood and treated the area, you have a solid foundation. The next move is to rebuild the sill, bringing back its original shape and strength with a two-part epoxy filler.
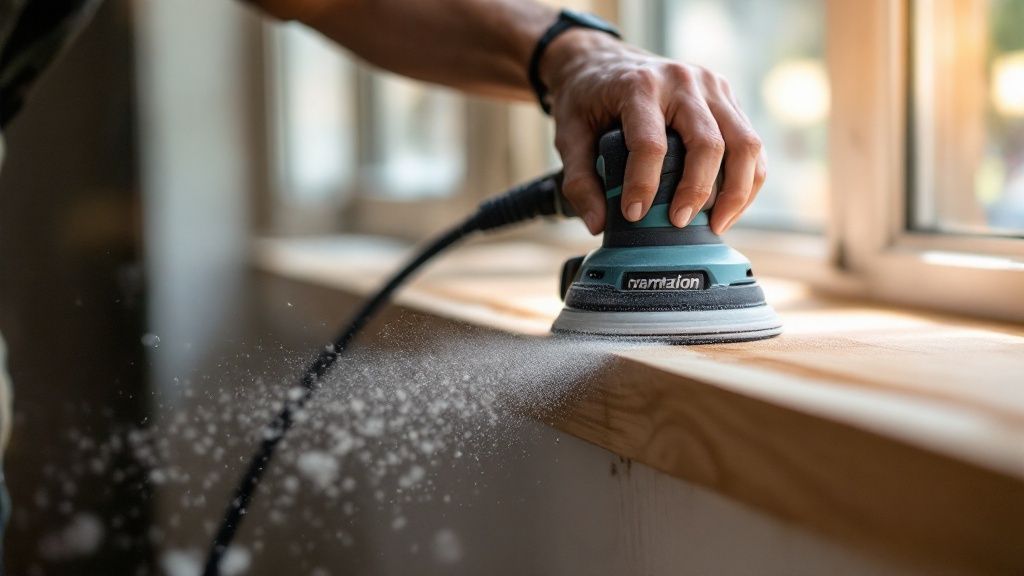
This part of the job is about careful application and patience. The pro method of combining precise rot removal with a modern epoxy filler creates a solution that will last for years.
Applying the Epoxy Filler
When you work with a two-part epoxy, you're mixing a resin and a hardener. The moment they're combined, a chemical reaction starts, and the mixture begins to cure.
To avoid wasting material, mix only small batches that you can apply within 5-10 minutes. Use a stiff putty knife and press the filler firmly into the void. This is a critical step to force out air pockets, which can weaken the repair and trap moisture later.
For a deeper look into working with epoxy resin for structural repairs, this guide has useful tips that apply to home projects as well.
Pro Tip: Don't worry about getting the surface perfectly flat at first. It's better to overfill the area slightly. This gives you extra material to work with when it's time to sand and shape, guaranteeing a perfectly flush finish.
Shaping the Cured Epoxy
Once the epoxy has fully cured—it's usually smart to give it a full 24 hours—it will be rock-hard. Now you're ready to shape it to perfectly match the original profile of the window sill.
Start with more aggressive tools to remove the bulk of the excess material.
- Wood Rasps and Files: Use these to sculpt the basic contours of the sill.
- Sandpaper: Begin with a coarse grit (like 80-grit) to smooth the rough shape. Then, move to a medium grit (120-grit) and finish with a fine grit (220-grit) for a seamless blend.
Handling Extensive Damage
What if the rot was too severe for an epoxy-only repair? In that case, you'll need to splice in a new piece of wood.
First, cut a piece of pressure-treated wood to fit snugly into the cleared-out area. Secure it with exterior construction adhesive and galvanized screws. After the adhesive cures, apply epoxy filler to blend the seams between the new wood and the old sill, creating a smooth surface.
Finishing and Weatherproofing for Long-Term Protection
Your epoxy repair is solid, but the job isn’t finished until the sill is shielded from the Bay Area’s wet winters. This final stage is about creating a weatherproof barrier that ensures your hard work lasts for years.
First, sand the cured epoxy perfectly smooth. Start with a coarse, 80-grit sandpaper to shape the repair and knock down high spots. Then, switch to a finer 120-grit or 220-grit paper to create a seamless blend between the epoxy and the original wood.
Priming and Painting for Maximum Defense
With the surface prepped, it's time for a high-quality exterior-grade primer. Do not skip this step. The primer seals both the epoxy and the surrounding wood, giving your topcoat a uniform surface to adhere to.
After the primer is dry, apply at least two coats of a premium exterior acrylic latex paint. This isn't the place to cut corners. This paint is designed to expand and contract with temperature changes, preventing the cracking that lets water in. For more information, you can explore various waterproof paint options built for harsh elements.
I’ve seen it many times: a great repair fails a year later because the final caulking was skipped. An unsealed joint is an open invitation for water. This detail truly separates a pro-level job from an amateur one.
The Final Seal with Weatherproof Caulk
The last, non-negotiable step is to seal every joint and seam with a flexible, weatherproof caulk. Use a 100% silicone or an advanced polymer sealant and apply a clean, continuous bead in these critical areas:
- Between the sill and the bottom of the window frame.
- Where the edges of the sill meet the vertical window trim.
- Along the joint where the sill meets your home’s siding.
This final seal creates a watertight barrier that stops moisture before it can get back into the wood. For more expert advice, check our guide on weatherproofing windows and doors for Bay Area homes.
Frequently Asked Questions About Window Sill Repair
Even a straightforward project can have its challenges. Here are answers to some of the most common questions we hear from builders and homeowners in the Berkeley and Oakland area.
Can I just use wood filler instead of epoxy?
While wood filler is fine for small cosmetic jobs like filling a nail hole, it is not strong enough for a structural repair. For a rotted sill, a two-part epoxy is the only way to go. It bonds chemically with the wood, curing into a waterproof, solid material that won't shrink or crack in the Bay Area weather.
How do I know if the sill is too rotted to fix?
There is a point of no return. If the rot has spread deep into the main window frame, or if more than 50% of the sill's structural wood is gone, it's time to consider a full replacement. Patching widespread damage is only a temporary fix and can compromise the entire window unit.
What is the best way to prevent future window sill rot?
Good prevention comes down to consistent maintenance. Once a year, especially after a wet winter, check the paint and caulk on all your windows. If you spot cracked caulk, scrape out the old sealant and reapply a high-quality exterior caulk to keep water out.
What kind of caulk should I use to seal the sill?
For exterior window sills, you need a sealant that is both waterproof and flexible. A 100% silicone or an advanced polymer caulk is your best choice. These products create a durable seal that can handle the temperature and moisture changes common in the San Francisco Bay Area without cracking.
Which paint should I use on the repaired sill?
Always finish the job with a premium acrylic latex exterior paint. These formulas are durable and flexible, so they can expand and contract with the wood through temperature swings. This flexibility prevents the paint from cracking and peeling, which is how moisture finds its way in and starts the rot cycle all over again.
If you need expert advice on your specific project or want to get your hands on the highest-quality Berkeley building materials, the team at Truitt & White is always here to help. Visit our Berkeley showroom for expert advice.


