Thinking about replacing your own windows? It's a common consideration for handy homeowners, builders, and remodelers throughout the Bay Area. With our unique climate, a window replacement project isn’t something to take lightly.
The short answer is yes, a skilled DIYer can tackle this job and save a significant amount on labor costs. However, it's a project that demands serious precision, the right tools, and a solid understanding of how to keep moisture out of your walls. When done right, it’s incredibly satisfying, but a small mistake can quickly lead to leaks, drafts, and bigger problems.
Weighing the Pros and Cons of a DIY Window Replacement
Replacing your own windows is a significant commitment of time, skill, and patience. For many experienced homeowners and builders in Berkeley and Oakland, the hands-on approach is worth it for the control and satisfaction it brings. Still, you must be honest with yourself and weigh the potential savings against the real risks before pulling out old frames.
The biggest driver for most people is, of course, the cost. Professional installation can make up a large slice of the total project budget. By handling the labor yourself, you might free up enough cash to upgrade to higher-quality windows from top-tier brands like Marvin or Andersen, which you can find at our Berkeley lumberyard.
But the risks are just as significant. An improperly installed window is a weak point in your home’s defense against the Bay Area's notorious fog and rain. According to the California Energy Commission, poor installation can lead to water damage, mold growth, and repairs that cost far more than you saved.
Key Factors to Consider Before You Start
Before you commit, take an honest look at what the job truly entails, especially given our local building styles and climate.
- Your Skill Level: Have you handled precise home improvement jobs before? Installing a window correctly means getting it perfectly plumb, level, and square. There's very little room for error.
- The Right Tools: You can't do a professional job with a basic toolset. You'll need a high-quality caulking gun, a good set of pry bars, a reliable level, and maybe even specialized tools from our tool spotlight to elevate your projects.
- Time Commitment: This is not a quick Saturday afternoon task. For a novice, removing an old window, prepping the opening, installing the new unit, and finishing the trim can easily take a full day—or more—for a single window.
A botched installation can completely negate the benefits of your new windows. Proper installation is the only way to realize the full potential of high-performance models, a point we cover in our guide to energy-efficient windows for Bay Area homes.
A correctly installed window should perform for decades, providing comfort, security, and energy savings. An incorrect installation can cause problems almost immediately, turning a cost-saving project into a long-term headache.
DIY vs. Professional Installation: A Quick Comparison
This table outlines the major factors to consider when choosing between a DIY project and hiring a professional contractor in the Bay Area.
| Factor | DIY Window Replacement | Professional Installation |
|---|---|---|
| Cost | Lower upfront cost (no labor expense). Budget can go toward better materials like premium windows and doors. | Higher upfront cost, as labor can be 30-50% of the total project price. |
| Time | Significant time investment. A single window can take a full day or more for a novice. | Much faster. Experienced crews can often replace multiple windows in a single day. |
| Skill & Risk | High skill required. Mistakes can lead to leaks, drafts, or structural damage. You bear all the risk. | Minimal risk to you. Pros are insured, experienced, and guarantee their work against leaks and defects. |
| Tools & Equipment | You must buy or rent all necessary tools, which can be a hidden expense. | Professionals arrive with all the specialized tools and equipment needed for the job. |
| Warranty | Product warranty may be voided by improper installation. No warranty on labor. | Both product and labor warranties are typically included, offering peace of mind. |
Ultimately, whether to DIY or hire out is a personal call. If you're meticulous, have the right tools, and are ready for a challenge, replacing your own windows can be a fantastic and rewarding experience.
However, if you've looked at the risks and decided that professional installation makes more sense, you can always reach out to experienced professional window contractors to get the job done right.
Assembling Your Window Replacement Toolkit

Any experienced pro will tell you that a successful window replacement starts long before you touch the old frame. Having the right gear laid out and ready is what separates a smooth job from a frustrating weekend of return trips to find building materials.
Think of it as setting up your workshop right at the job site. The type of window you've chosen—whether vinyl, wood, or a high-performance fiberglass unit from Andersen—will also guide your tool selection. A heavy fiberglass window, for instance, might demand an extra set of hands compared to a lightweight vinyl one.
Essential Gear for Removal and Preparation
First, you need to get the old window out cleanly. This requires a specific set of tools for removing the old unit and prepping the opening. Using quality tools is your best defense against damaging your home's siding or interior walls.
Your core removal kit should include:
- A sturdy utility knife with plenty of extra blades to score old caulk lines.
- Multiple pry bars and a putty knife to gently remove trim and the old frame.
- A reliable cordless drill/driver for backing out old fasteners and driving new ones.
- Safety gear: Don't start without safety glasses, heavy-duty gloves, and a dust mask.
Remember, the goal here is precision, not brute force. A clean, undamaged rough opening is the foundation for a good installation and makes waterproofing a thousand times easier.
Tools for a Precise, Weathertight Installation
Once the old window is out, the game shifts to achieving a perfect fit. This is where precision is paramount for getting the new window plumb, level, and square.
Your installation toolkit must include:
- A high-quality level, at least 4 feet long. For the big picture windows common in many San Francisco homes, a 6-foot level is even better.
- A measuring tape for constant checks and re-checks.
- Composite shims, which are far superior to wood in the damp Bay Area climate as they won't rot or swell.
- A quality caulking gun, preferably a dripless model to apply sealant cleanly.
- Low-expansion spray foam sealant formulated for windows and doors to insulate without warping the frame.
Selecting the Right Sealants and Flashing
Here in the Bay Area, choosing the right sealant is your primary defense against moisture from coastal fog and winter rains. Don’t just grab any old tube of caulk.
For the exterior, you need a high-performance elastomeric or 100% silicone sealant. These products are flexible and UV-resistant, so they can expand and contract with temperature swings without cracking. Self-adhering flashing tape is also essential for sealing the rough opening and protecting your home’s structure from rot.
Mastering Measurements for a Perfect Fit
In any remodeling project, precision is the name of the game. When you’re replacing windows yourself, getting the measurements right isn’t just a goal—it's everything. A slightly off measurement can turn a satisfying DIY project into a frustrating, expensive headache.
The good news? Measuring for a replacement window isn't intimidating if you're methodical. Whether you're working on a classic Victorian in San Francisco or a mid-century modern home in Berkeley, accurate measurements are the most important first step.
Follow the "Measure Three Times" Rule
You've heard "measure twice, cut once." For windows, we say: measure everything three times. This is the only way to account for frames that have settled over the years and are no longer perfectly square, a common issue in older Bay Area homes.
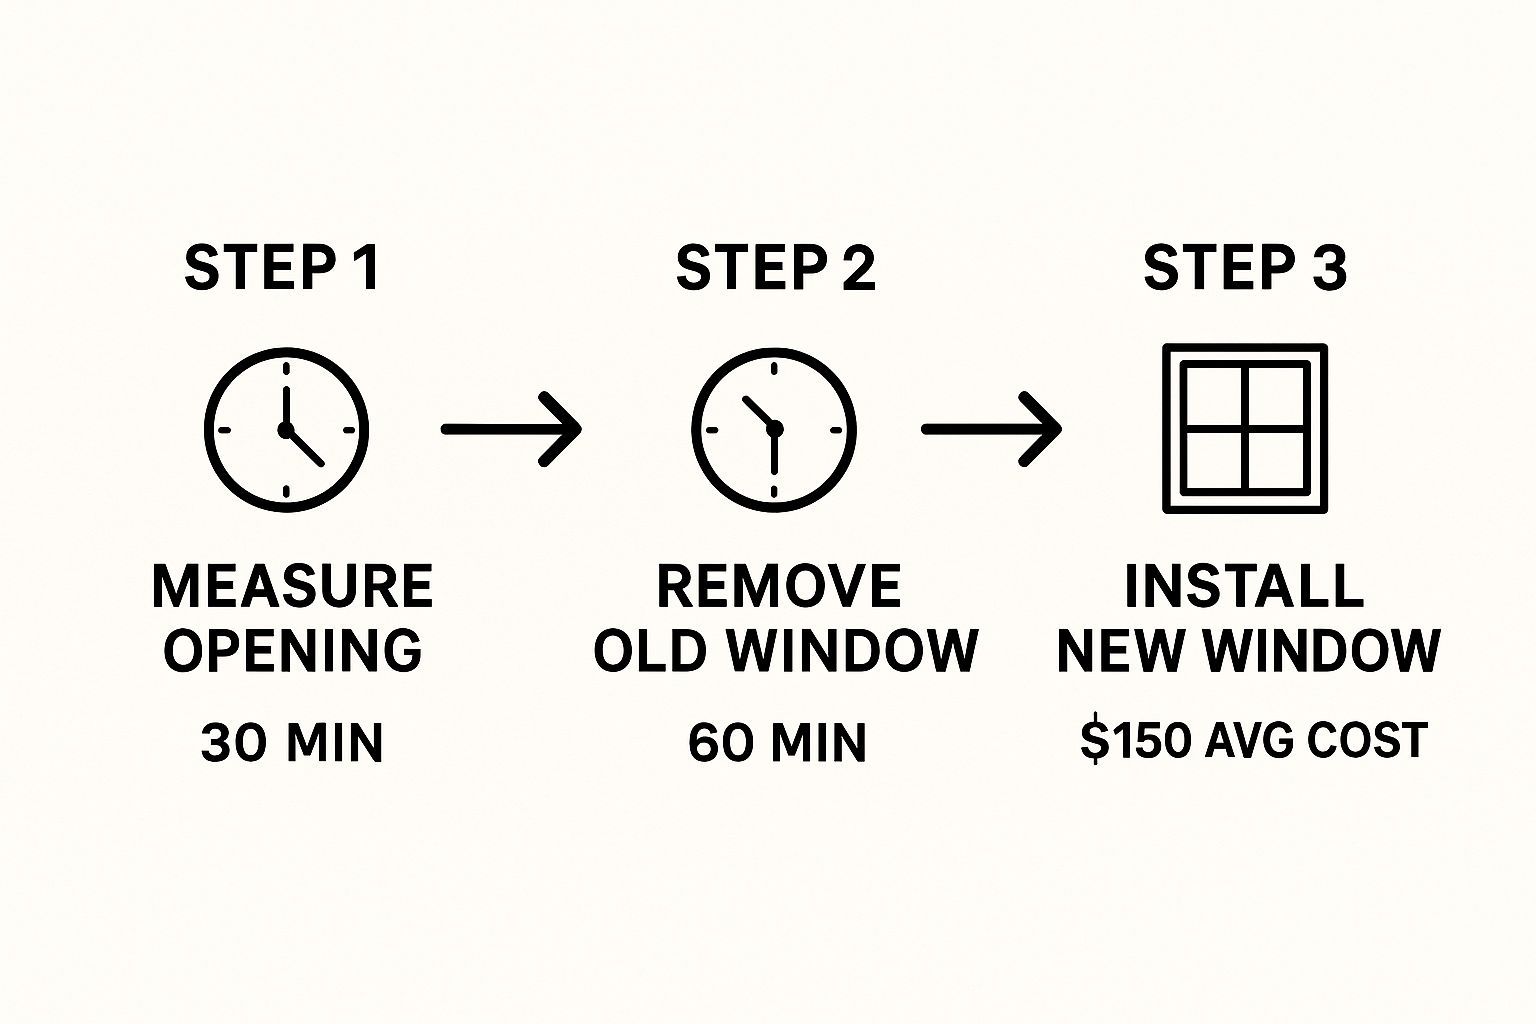
This diagram is a fantastic visual guide for where to place your tape measure.

The key is to record the smallest of the three measurements for both width and height. This guarantees the new unit will fit into the tightest points of the opening.
Here’s how to do it correctly:
- Measure the Width: Get the distance between the side jambs at the top, middle, and bottom of the window opening.
- Measure the Height: Measure from the head jamb down to the sill at the left side, center, and right side.
- Use the Smallest Number: When you order your window from a supplier like Truitt & White, use the smallest width and smallest height measurement.
Checking for Plumb, Level, and Square
You've got your height and width, but you also need to know if the opening itself is straight. You’ll check if it’s plumb (vertically straight), level (horizontally flat), and square (has 90-degree corners). A 4-foot level is your best friend here.
- To check if the sill is level, place your level on it.
- To check if the side jambs are plumb, hold the level vertically against each side.
- To see if the opening is square, measure diagonally from corner to corner. If the two measurements are the same, your opening is square. If not, you'll use shims to correct it during installation.
This attention to detail also applies when you choose the correct door hardware for your home, where small things make all the difference.
A tiny difference of a quarter-inch can be the difference between a weathertight seal and a window that binds. Don’t round up or guess—record the exact numbers.
High-performance windows, like those that meet Energy Star standards, only deliver on their energy-saving promises if they're installed into a perfectly measured and sealed opening. The same precision is needed for related tasks, like following a DIY sliding window screen replacement guide.
How to Remove Old Windows Cleanly and Safely
Now that your new windows are on order, you’ve reached the demolition phase. Taking out an old window isn't about brute force; it's a careful deconstruction. The goal is to leave a clean, undamaged opening, which is the foundation for a weathertight installation.
A clean removal saves you from unnecessary repair work on your walls or siding. Whether you're tackling vintage wood sash windows in an Oakland home or old aluminum sliders, a methodical approach pays off.

Preparing Your Workspace for Demolition
Before you pick up a pry bar, protect the area. Lay down heavy-duty drop cloths both inside and outside the window to catch dust and debris.
Next, protect the trim, especially if you plan to reuse it to preserve your home's character.
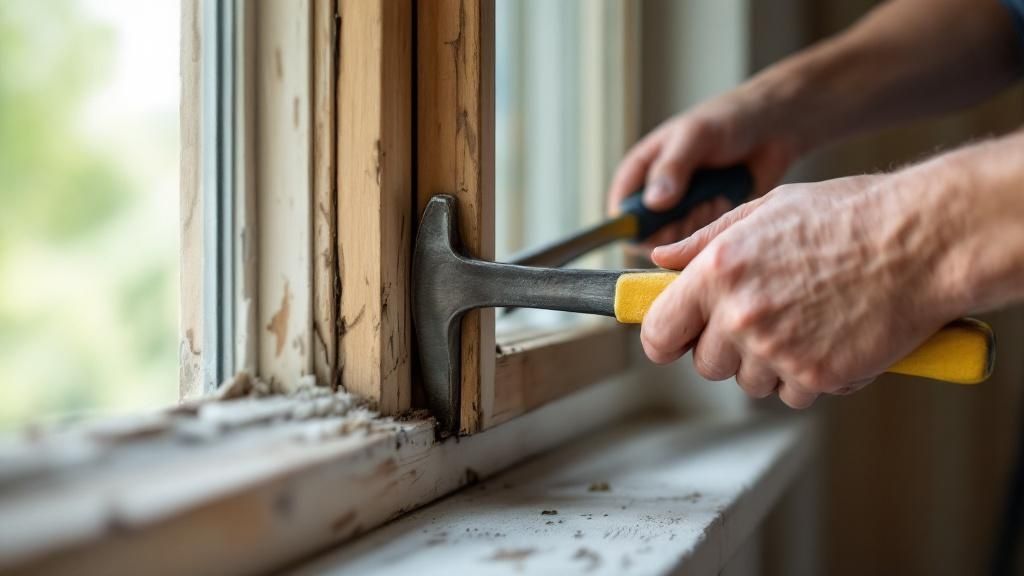
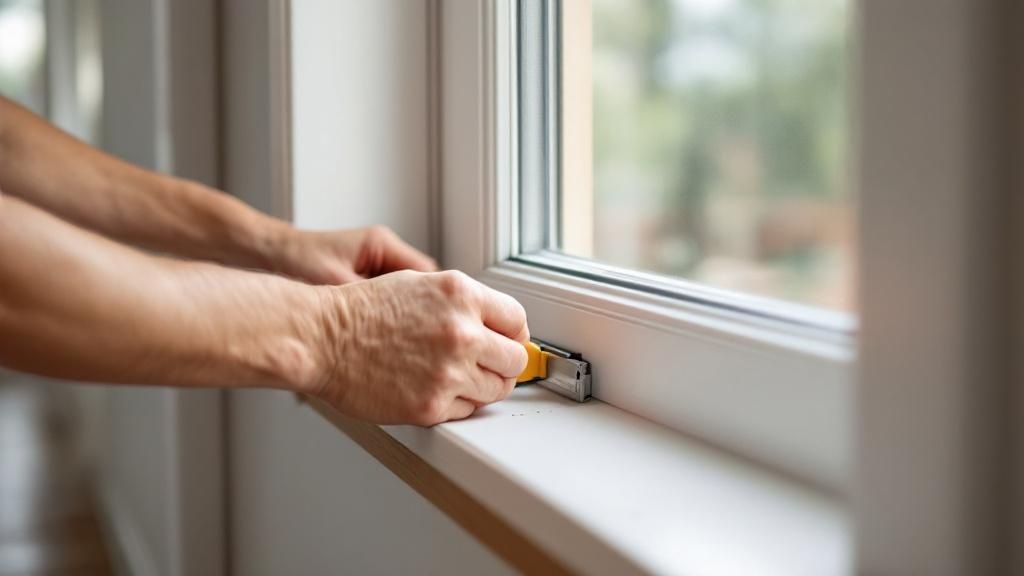
- Score the Paint and Caulk: Run your utility knife along the seams where the trim meets the wall and window frame. This prevents peeling chunks of drywall or plaster.
- Pry with Protection: Gently work the trim away from the wall. Always place a thin piece of wood behind your pry bar to keep from denting the wall.
Pro Tip: As you remove each piece of trim, label its position (e.g., "top," "left") with a pencil. This makes reinstallation a breeze.
Techniques for Removing Different Window Types
The removal process changes depending on the window type. An old wood double-hung window is different from a modern vinyl window with a nailing fin.
For modern windows with a nailing fin, you'll likely need to remove some siding around the window. Once the fin is exposed, you can use a reciprocating saw with a metal-cutting blade to cut the nails holding it to the house framing.
For older wood sash windows, common in Berkeley and San Francisco:
- Remove the interior stops holding the lower sash in place.
- Cut the sash cords to remove the lower sash.
- Remove the parting bead to take out the upper sash.
Once all sashes are out, you can carefully work the main frame out of the opening. After it's gone, inspect and prep the rough opening for the next phase. This is why why spring is the perfect time for window and door upgrades; the milder weather gives you a better window of opportunity for this kind of work.
A Guide to Weathertight Window Installation
With the old window out, you’ve hit the most critical part of the job: installing the new one. In the Bay Area, a weathertight seal is essential to fight off coastal fog and winter rains.
This phase is about precision and process. A solid installation comes down to three things: prepping the rough opening, using modern flashing tapes, and setting the window so it’s perfectly plumb, level, and square.

Preparing the Rough Opening for a Perfect Seal
Before the new window goes in, ensure the opening is clean and solid. Inspect the sheathing and framing for any rot or insect damage, paying close attention to the sill plate. If you find compromised wood, you must stop and replace it.
Next, create a waterproof barrier with self-adhering flashing tape. This is your main defense against water intrusion.
- Build a Sill Pan: Apply flexible flashing tape along the sill, running it about six inches up the sides (jambs). This "pan" directs any water that gets past the window back outside.
- Flash the Jambs: Run flashing tape up the sides, overlapping the sill pan flashing.
- Flash the Head: Apply tape across the top (head) of the opening, overlapping the side jamb flashing. This "shingle-style" layering is key to ensuring water flows down and out.
Dry-Fitting and Shimming the Window
With the opening prepped, it's time for a "dry-fit" to spot problems before applying sealant. With a helper, lift the new window into the opening and use a few shims to hold it in place.
Your goal is to get the unit perfectly centered, plumb, and level. This is where shimming comes in.
We recommend using composite shims instead of wood in our damp climate. They won't rot or compress. Always use them in pairs—one from the inside, one from the outside—at the sill, jambs, and head to make precise adjustments.
Once you're happy with the fit, gently pull the window back out.
Setting, Insulating, and Sealing for Good
Now for the final placement. Run a thick bead of high-quality window and door sealant along the inside edge of the new window's nailing fin. With your helper, lift the window back into the opening and press it firmly into the sealant.
Drive screws through the installation holes, but don’t tighten them all the way. Check for plumb and level one last time, making final tweaks with your shims. Once perfect, finish tightening the fasteners.
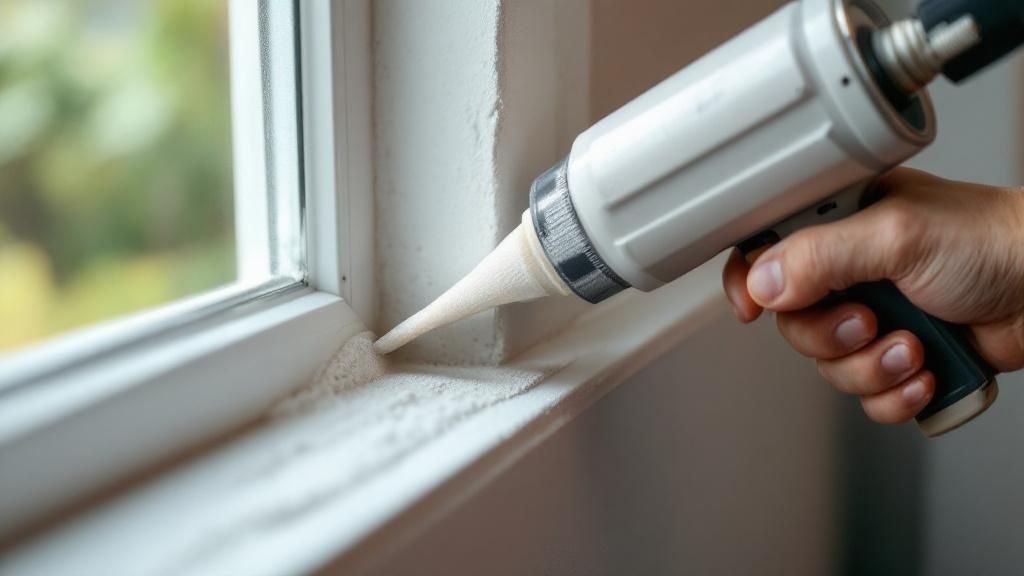
For a bulletproof installation, a solid understanding what a window seal is and the role it plays is crucial. The last step is to insulate the gap between the window frame and the rough opening with low-expansion spray foam. Once cured, trim any excess, reinstall the trim, and apply a final, clean bead of caulk on the exterior.
Troubleshooting Common Installation Issues
Even with careful prep, issues can arise. Most have a straightforward fix if you know what to look for.
| Problem | Likely Cause | Solution |
|---|---|---|
| Window Won't Sit Flush | Debris in the opening or sealant applied too thick. | Remove the window. Scrape the opening clean and re-apply a consistent, 3/8-inch bead of sealant. |
| Sash Binds or is Hard to Open | Frame is out of square or plumb due to improper shimming or overtightened screws. | Loosen the installation screws. Re-check for plumb and level, adjusting shims as needed. Tighten screws snugly, not excessively. |
| Drafts Around the Frame | Incomplete insulation in the gap between the window and the rough opening. | Carefully apply low-expansion foam to any missed spots. Check exterior caulking for any gaps and re-seal if necessary. |
| Water Leaks at the Sill | Improperly installed sill pan flashing or a gap in the sealant. | This is serious. You may need to remove interior trim to inspect the flashing. Re-seal the exterior bottom edge with high-quality caulk. |
Catching and correcting these issues right away is the difference between a frustrating project and a successful one.
Frequently Asked Questions About Replacing Windows Yourself
Even a well-planned project leaves questions. Here are some common queries our team hears from builders, architects, and homeowners across the Bay Area.
Do I Need a Permit to Replace Windows in the Bay Area?
This depends on the scope of your work. In many Bay Area cities like Berkeley and Oakland, you often don't need a permit for a "like-for-like" replacement, where a new window of the same size is installed in the same opening. However, if you alter the size of the opening, you will almost certainly need a permit. Always call your local city's building department before ordering materials.
What Is the Difference Between an Insert and a Full-Frame Replacement?
These are two very different approaches. An insert replacement (or pocket replacement) involves installing a new window inside the existing frame, which is faster and less messy. A full-frame replacement means tearing everything out down to the rough opening, which is necessary if the old frame has rot or damage.
What Kind of Sealant Should I Use for Exterior Caulking?
For the Bay Area climate, your sealant choice is critical. Use a high-performance, exterior-grade product like a 100% silicone or a top-quality polyurethane sealant. These are designed for superior flexibility, waterproofing, and UV resistance, unlike interior-grade painter's caulk, which will fail quickly.
How Do I Know If My Old Window Frame Is in Good Condition?
Before committing to an insert replacement, inspect the old frame thoroughly. Use a screwdriver or awl to probe the wood of the sill and jambs, looking for soft spots or dark stains. If you find signs of rot, you must switch to a full-frame replacement. Our guide on thirteen signs it's time to replace your windows and doors can help.
Can I Really Save Money By Replacing Windows Myself?
Yes, the potential savings are significant, primarily from eliminating labor costs, which can be 40-50% of a professional job. However, this saving is only realized if the job is done correctly. The cost of buying or renting tools and the risk of an expensive mistake—like ordering the wrong size window—can quickly erase those savings. Be honest about your skill level and be meticulous.
For expert advice and access to the highest-quality "Bay Area windows and doors" and other "Berkeley building materials," the team at Truitt & White is here to help. Visit our Berkeley showroom or connect with us today to get your project started on the right foot.


