A picket fence does more than just mark a property line—it's a classic touch that boosts your home's curb appeal. But getting it right, especially here in the Bay Area, means planning before you dig the first post hole. The secret to a long-lasting fence is choosing materials that can handle our unique coastal climate.
Planning Your Bay Area Picket Fence Project
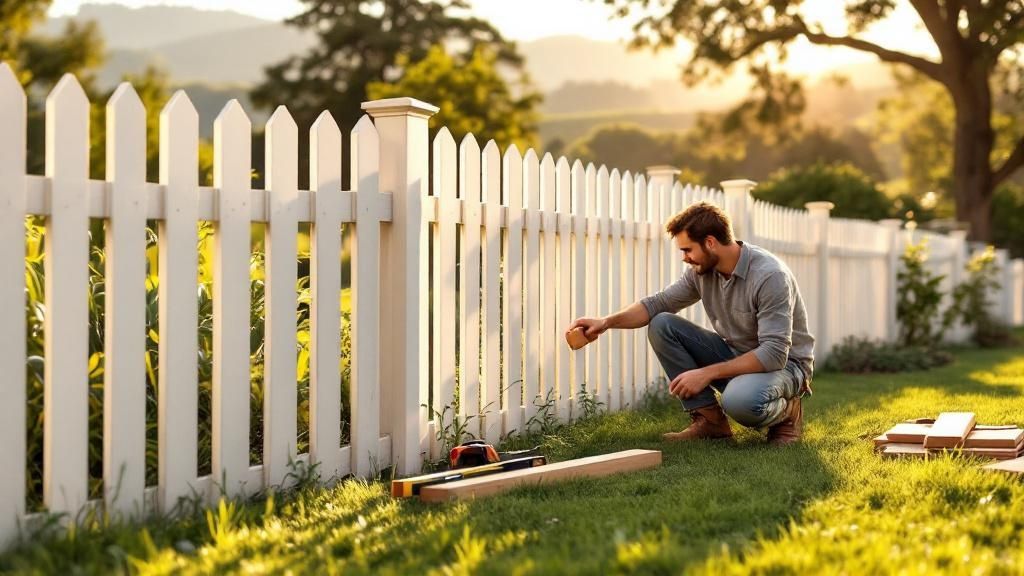
Caption: A well-planned picket fence adds timeless charm and value to a Bay Area home.
A beautiful, sturdy picket fence starts with a solid plan, not a shovel. Taking time to sort out the details upfront will save you frustration later on. This is especially true in the Bay Area, where local rules can be tricky.
Navigating Bay Area Fencing Codes and HOA Rules
First, you need to check with your local planning department. Cities like Berkeley and Oakland have specific regulations for fence height and placement. Generally, a front yard fence must stay under 3.5 to 4 feet, while backyard fences can go up to 6 feet.
If your property is part of a Homeowners Association (HOA), you have another set of rules to follow. HOAs often have strict guidelines.
- Fence Height and Style: They may require pre-approved designs or have specific height limits.
- Material and Color: You might be limited to certain materials, like wood, or a specific palette of paint colors.
- Setbacks: Rules often dictate how far your fence must be from sidewalks or property lines.
A quick call to your city's building department will clarify if you need a permit. Ignoring this could lead to fines or being forced to remove your new fence.
Measuring and Laying Out Your Fence Line
Accurate measurements are the foundation for your materials list and the entire layout. Start by finding your property pins, which are metal stakes usually at the corners of your lot. Run a tight string line between the pins for a perfectly straight guide.
Once your line is set, measure the total length. This number helps you determine how many fence panels, posts, and bags of concrete you'll need. For most picket fences, space your posts about 6 to 8 feet apart.
This can be a manageable DIY job for many homeowners. But if the project feels too big, consider hiring a professional. Our guide on how to choose a contractor can help you find a reliable expert.
Choosing the Right Materials and Tools for a Lasting Fence
Caption: Selecting quality lumber like Redwood or Cedar is key for a fence that withstands Bay Area weather.
With a plan in place, it's time to choose supplies that can handle the Bay Area elements. From foggy mornings in San Francisco to sunny days in Berkeley, your materials are the key to a fence that will look great for years. The global wood fencing market was valued at around $8.71 billion in 2024, showing the lasting appeal of this classic material.
Selecting the Best Wood for a Bay Area Picket Fence
Your choice of wood is critical in our climate. Two species consistently outperform the rest: Redwood and Cedar. Both contain natural oils and tannins that make them resistant to rot and insects, a huge advantage in our damp environment.
- Redwood: Native to the West Coast, redwood is the premium choice for durability and its beautiful, rich color. It's also very stable, meaning it’s less likely to warp or split as it ages.
- Cedar: Cedar is another excellent option that is more budget-friendly than redwood. It offers similar protection against moisture and pests and has a lighter color perfect for staining.
Wood offers a timeless aesthetic, but it's smart to know all your options. For more information, see this a detailed comparison of wood and metal fencing materials.
Bay Area Picket Fence Material Comparison
| Material Type | Average Cost (Per Linear Foot) | Durability/Lifespan | Maintenance Level | Best For |
|---|---|---|---|---|
| Redwood | $30 – $50+ | 25+ years | Low to Medium | Homeowners wanting top-tier durability and a classic aesthetic that withstands Bay Area moisture. |
| Cedar | $25 – $40 | 15-20 years | Low to Medium | A great balance of natural rot resistance and cost-effectiveness, offering a beautiful look that can be easily stained. |
| Pressure-Treated Pine | $15 – $25 | 10-15 years | Medium | Budget-conscious projects where chemical treatment provides necessary protection but requires regular upkeep. |
| Vinyl (PVC) | $20 – $35 | 20-30+ years | Very Low | Those seeking a virtually maintenance-free option that won't rot, warp, or need painting in damp conditions. |
Redwood and Cedar are our top recommendations for a wood picket fence that will truly last in our unique climate.
Pro Tip: Using untreated pine or fir for fence posts is a common mistake. These woods will rot at the soil line, compromising your entire fence. Always use pressure-treated posts for ground contact.
Hardware and Fasteners Built for Bay Area Weather
Small components like nails and screws make a huge difference. The salty marine air around the Bay is highly corrosive. Standard fasteners will rust quickly, leaving ugly stains and weakening your fence.
To avoid this, stick to one of these two options:
- Hot-Dipped Galvanized Fasteners: These are coated in a thick layer of zinc for excellent rust protection.
- Stainless Steel Fasteners: This is the best option for longevity, offering superior corrosion resistance at a higher price.
This is just as critical as protecting other parts of your home. Learn more in our guide on weatherproofing windows and doors.
Essential Tools for a Professional Installation
Having the right tools makes the job smoother and safer. Before you start, make sure you have these essentials:
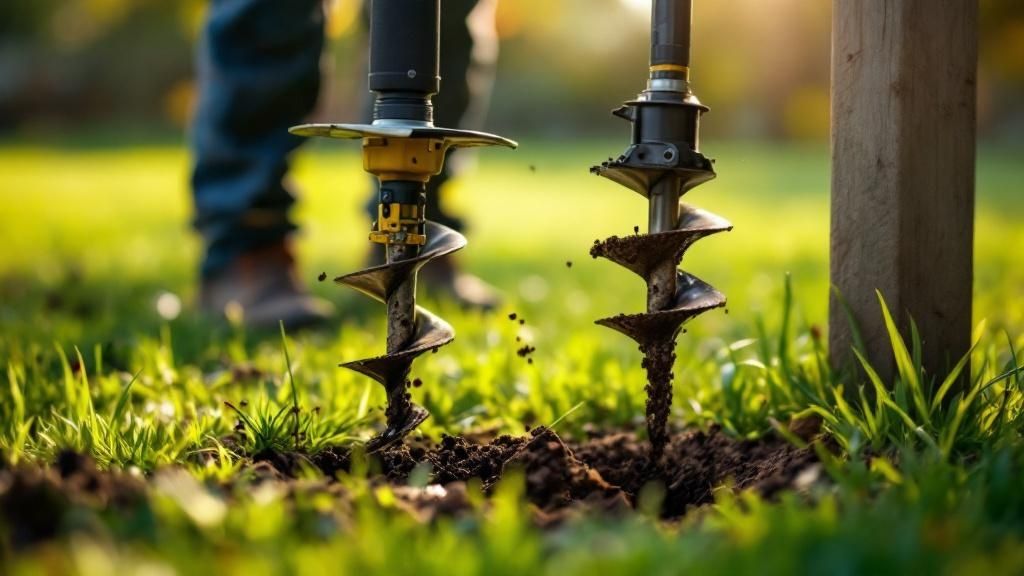
- Post-Hole Digger or Auger: Necessary for creating clean, deep holes for your posts.
- Level (4-foot): Crucial for getting posts perfectly plumb and rails straight.
- String Line and Stakes: The best way to guarantee a perfectly straight fence line.
- Drill or Impact Driver: For securely driving screws for rails and pickets.
- Circular Saw or Miter Saw: For making clean, precise cuts.
- Wheelbarrow: For mixing and hauling concrete.
- Tape Measure, Hammer, and Safety Glasses.
Our team at Truitt & White is always here to help you select the best supplies for your project.
How to Set Fence Posts for a Rock-Solid Foundation
The strength and longevity of your picket fence depend on setting the posts correctly. A properly set post creates a foundation that can stand up to the Bay Area's shifting soils and damp weather. Taking your time here will prevent the leaning fences you see around the neighborhood.
Digging and Preparing Post Holes
First, dig the post holes. In the clay soil common in Berkeley and Oakland, proper depth is non-negotiable for a stable fence. Aim for a hole diameter of 8 to 12 inches to allow room for a solid concrete footing.
A good rule of thumb is to bury one-third of the post’s total length. For a 4-foot-tall picket fence, use 6-foot posts, which means your holes should be at least 2 feet deep.
Pro Tip: Always set your corner and end posts first. Secure them, ensure they are perfectly plumb, and then run your string line between them. This guarantees every post in between will fall into a clean, professional line.
Pouring Concrete for Maximum Stability
With your holes dug, it’s time to lock the posts in place. We recommend using a quick-setting concrete mix. This infographic highlights the key steps for setting your posts correctly.
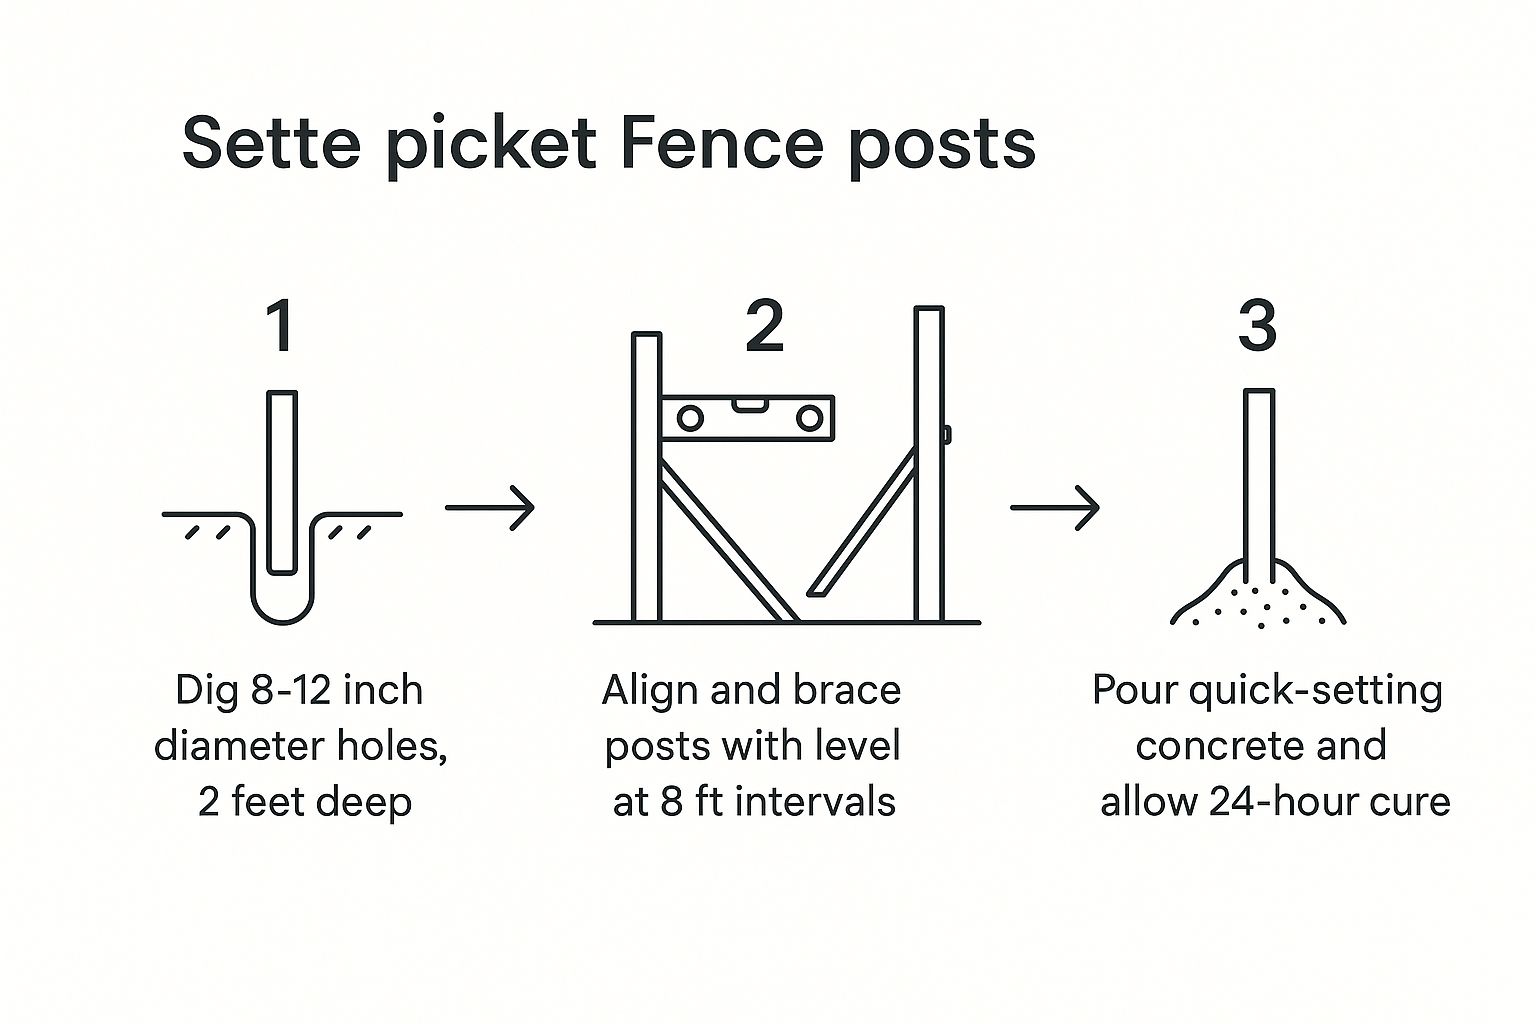
Caption: This diagram shows the key steps for a solid fence foundation: digging deep, aligning with a string line, and setting posts in concrete.
Before you pour, use a 4-foot level to check that each post is plumb (perfectly vertical). Check two adjacent sides, then use scrap wood to brace the post.
For a rock-solid pour, follow these steps:
- Add Gravel for Drainage: Shovel 4-6 inches of gravel into the bottom of the hole. This critical step allows water to drain away from the post's base, preventing rot.
- Mix and Pour the Concrete: Mix the concrete according to the bag's instructions. Pour it into the hole, leaving a couple of inches at the top.
- Work Out Air Pockets: Use a stick to poke the wet concrete a few times. This removes air pockets and ensures the footing is dense and solid.
- Slope the Top: Use a small trowel to shape the concrete surface so it slopes away from the post, shedding rainwater.
Let the concrete cure for at least 24-48 hours before attaching rails. The principles for a solid foundation are universal in outdoor building; learn more in our Bay Area deck building guide.
Attaching Rails and Pickets Like a Pro
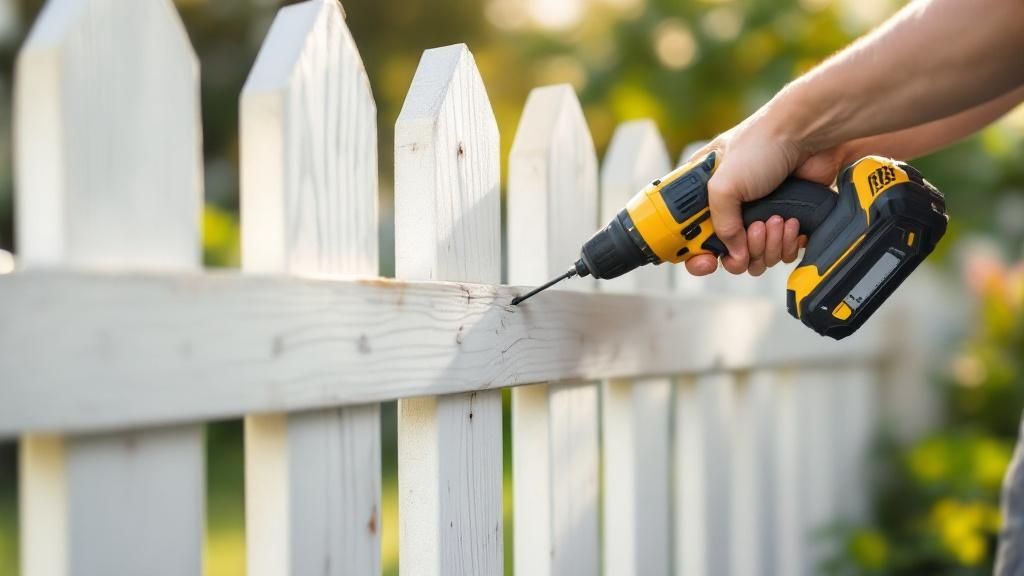
Caption: Precise installation of rails and pickets brings the classic picket fence design to life.
Once your posts are set, you can start building the fence frame. The horizontal rails are the backbone that will support all the pickets. Most picket fences have a top and bottom rail, but taller fences may need a third middle rail for extra stability.
Installing the Horizontal Rails
First, measure the distance between two posts and cut each rail individually for a snug fit. A circular saw or miter saw will give you a straight, precise cut. The simplest and strongest attachment method is using galvanized fence brackets.
- Mark Your Rail Height: A good rule is to place the bottom rail 6-8 inches off the ground and the top rail 6-8 inches from the planned picket tops.
- Attach Brackets to Posts: Screw the galvanized brackets into the posts on your marked lines.
- Set the Rails: Place your pre-cut rails into the brackets and secure them with screws.
Pro Tip: Use screws instead of nails for attaching rails and pickets. Screws provide a much stronger hold and won't back out as the wood expands and contracts with the Bay Area's temperature swings.
Achieving Perfect Picket Spacing
Consistent picket spacing creates that classic, orderly charm. The secret is to use a simple spacer jig. Cut a scrap piece of wood to the exact width you want between your pickets, typically 2 to 3 inches.
Start by attaching the first picket, using a level to ensure it's perfectly plumb. Place your spacer block against its edge, position the next picket against the spacer, and fasten it. Repeat this process—picket, spacer, picket—for flawless spacing every time.
Finishing and Protecting Your New Fence
The final touches are about more than just looks—they are a critical shield against the Bay Area's sun, fog, and rain. A quality finish protects your investment, extending the life of the wood. This last step in installing a picket fence locks in all your hard work.
Choosing Between Paint and Stain
Deciding whether to paint or stain your fence impacts both its appearance and maintenance needs.
- Exterior Paint: Paint creates a thick, protective film on top of the wood. It offers excellent defense against UV rays and moisture, with endless color options. The trade-off is that paint can chip or peel and will eventually need repainting.
- Exterior Stain: Stain penetrates the wood fibers instead of sitting on the surface. It highlights the natural grain of woods like redwood and cedar while sealing out moisture. An oil-based, semi-transparent stain with UV inhibitors is an excellent choice for the Bay Area.
For more ideas, see our guide on the top 5 reasons to paint your home’s exterior this spring.
Adding Post Caps and Gates
Finishing your fence isn't just about the pickets and rails. These final details make a huge difference in function and durability.
Pro Tip: Don't skip the post caps. The end grain at the top of a post soaks up rainwater, leading to premature rot. Sealing it with a decorative post cap is an easy and effective way to protect your fence's foundation.
Installing the gate is the last step. Choose high-quality, corrosion-resistant hardware—like galvanized or stainless steel hinges and latches—that won't rust in the damp Bay Area air.
Frequently Asked Questions About Installing a Picket Fence
1. Do I need a permit to build a picket fence in the Bay Area?
In many Bay Area cities like Berkeley and Oakland, you often don't need a permit if the fence is below a certain height—usually under 4 feet in the front yard and 6 feet in the back. However, rules vary by city, so always call your local planning department to confirm before you start building.
2. What is the best wood for a picket fence in Northern California?
Redwood and Cedar are the best choices for the Bay Area's climate. Their natural oils provide excellent resistance to moisture, rot, and insects, which helps extend the life of your fence and reduces long-term maintenance.
3. How deep should my fence post holes be?
A reliable rule is to bury at least one-third of the post's total length. For a standard 4-foot high fence, use 6-foot posts and set them at least 2 feet deep in concrete. This ensures a stable foundation that resists leaning.
4. What is the ideal spacing between pickets?
For a classic look, the space between pickets should be equal to the width of the pickets themselves, typically between 2 to 3 inches. Using a spare picket or a custom-cut wood block as a spacer jig is a simple way to ensure consistent spacing.
5. Should I paint or stain my new wood fence?
Both protect the wood, but staining is often recommended for high-quality woods like redwood or cedar because it enhances the natural grain. Choose a high-quality exterior stain with UV protection to prevent the sun from turning the wood gray and to seal out moisture. A well-maintained fence can significantly increase your home's value, a topic we explore in our guide to home renovations that boost value when you sell.
Ready to get your project off the ground or still have a few questions about installing a picket fence? The experts at Truitt & White have the premium lumber, hardware, and know-how you need. Visit our Berkeley showroom for expert advice.


