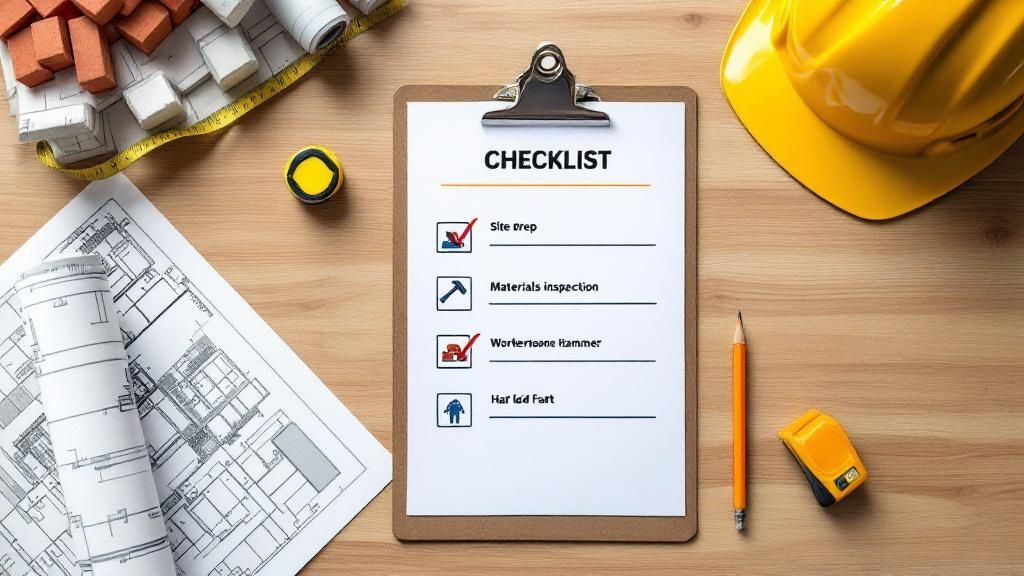
In the competitive and highly regulated Bay Area construction market, success hinges on more than just meeting deadlines and budgets. It demands an unwavering commitment to quality. For builders, contractors, and architects in Berkeley, Oakland, and across the region, a robust quality assurance (QA) process is the backbone of any successful project. It prevents costly rework, ensures compliance with strict California building codes, and protects your reputation.
According to the National Association of Home Builders (NAHB), warranty and callback expenses can significantly erode profits, making proactive quality control a critical investment. This guide provides a comprehensive construction quality assurance checklist designed specifically for the unique challenges of building in Northern California. Implementing such a plan often involves specialized tools, like a comprehensive valve inspection checklist, to ensure all components meet regulatory standards and performance expectations.
From foundation integrity to final finishes, we will outline the essential checkpoints that separate standard projects from exceptional ones. At Truitt & White, we've supported Bay Area professionals for nearly 80 years by providing not just premium materials, but the expertise to use them correctly. Consider this checklist your roadmap to building with confidence and delivering superior results.
1. Foundation and Structural Integrity Inspection
A building is only as strong as its foundation. This initial inspection phase is arguably the most critical step in any construction quality assurance checklist, as errors here can compromise the entire structure. It involves a comprehensive verification of the foundation system, load-bearing elements, and all structural components against engineering plans and local building codes, including seismic requirements unique to the Bay Area. Neglecting this step can lead to catastrophic failures, costly remediation, and significant safety risks.
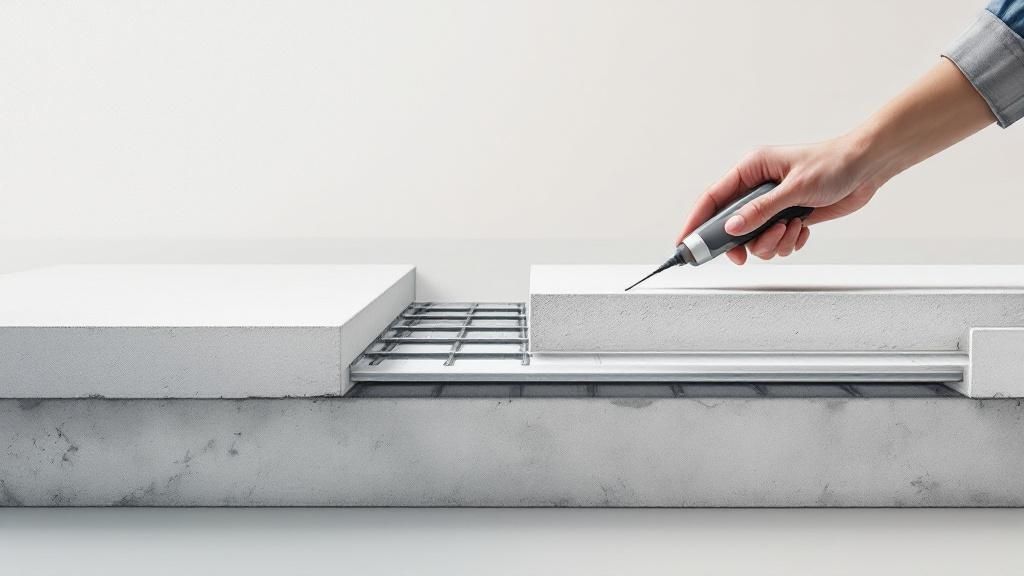
The process validates that the structure can safely support all anticipated loads throughout its lifespan. As history shows, from the settling of San Francisco's Millennium Tower to the tragic FIU bridge collapse, overlooking foundational and structural QA can have devastating consequences.
Key Inspection Points for Bay Area Projects
This checkpoint isn't a single event but a series of verifications. Key areas of focus include:
- Soil and Site Conditions: Confirming that soil compaction and ground preparation meet the geotechnical report's specifications, which is crucial for building on the varied terrains found from Berkeley to San Francisco.
- Rebar and Reinforcement: Verifying the size, spacing, grade, and placement of rebar and other steel reinforcements within the formwork to meet seismic code standards.
- Concrete Quality: Checking the concrete mix design, slump tests before pouring, and taking cylinder samples for compressive strength testing to ensure durability.
- Structural Connections: Inspecting all welds, bolts, and connections between beams, columns, and other load-bearing members to ensure they adhere to design specifications.
- Framing and Sheathing: Ensuring that all structural wood, like beams and joists, is properly graded, sized, and installed. For insights on material quality, you can explore the standards for quality lumber to understand what to look for.
Actionable Tips for Implementation
To properly execute this step, integrate these best practices into your workflow:
- Phased Inspections: Don't wait until the foundation is complete. Conduct checks before pouring concrete (pre-pour), during the pour, and after curing.
- Engage Certified Professionals: For complex structures in seismic zones like the Bay Area, use a third-party, licensed structural engineer for inspections. Their specialized expertise is invaluable.
- Meticulous Documentation: Document every inspection with high-resolution photos, precise measurements, and detailed notes. This creates an auditable trail of compliance.
- Monitor Environmental Factors: Log ambient temperature and weather conditions during concrete curing, as these factors significantly impact its final strength.
2. Material Testing and Compliance Verification
The quality of a structure is directly tied to the quality of its components. Material testing and compliance verification is a systematic process of ensuring every material, from structural steel to the last finishing nail, meets project specifications, industry standards, and California building codes. This checkpoint acts as a crucial filter, preventing substandard or incorrect materials from being integrated into the build, which could otherwise compromise safety, durability, and performance.

This step in a construction quality assurance checklist is non-negotiable for specialized projects. For instance, hospital construction in Oakland demands materials with specific fire-resistance ratings, while coastal Bay Area homes require corrosion-resistant hardware and windows tested for wind-driven rain. Verifying these properties before installation prevents costly rework and ensures the building will perform as designed under critical conditions.
Key Inspection Points for Material Quality
This verification process covers all materials delivered to the site. The primary goal is to confirm that what was specified is what was delivered and that it meets all performance criteria.
- Supplier Documentation Review: Scrutinizing mill certificates for steel, batch reports for concrete, and spec sheets for manufactured products to confirm they match the approved submittals.
- On-Site Visual and Physical Inspection: Checking materials upon delivery for any signs of damage, defects, or inconsistencies. This includes looking for cracks in lumber, corrosion on steel, or improper storage.
- Sample Testing: Taking representative samples from material batches for laboratory testing. This is common for concrete (strength tests), soil (compaction tests), and structural steel (tensile tests).
- Compliance with Standards: Ensuring all materials meet the requirements set by bodies like ASTM International (American Society for Testing and Materials) and are appropriate for the project's specific needs. To better understand the importance of sourcing the right products, explore how to select contractor-durable materials.
Actionable Tips for Implementation
To effectively manage material quality, a proactive and organized approach is essential.
- Establish a Testing Schedule: Integrate material testing milestones into the overall project schedule. This ensures that tests are conducted well before the materials are needed for installation.
- Use Accredited Laboratories: Always partner with an independent, accredited third-party testing laboratory for material analysis. This guarantees unbiased and accurate results.
- Maintain a Material Traceability Log: Keep meticulous records that link every material to its supplier, purchase order, delivery date, test results, and final location in the structure.
- Implement a Tagging System: Use a clear "pass/fail" or "approved for use" tagging system on-site. This visually separates tested and approved materials from those awaiting verification or that have been rejected, preventing accidental use.
3. Electrical Systems Safety and Code Compliance
Faulty electrical work is a leading cause of construction delays, failed inspections, and, most critically, property damage and life-threatening fires. This step in the construction quality assurance checklist involves a comprehensive inspection of all electrical installations, from wiring and grounding to safety devices. It ensures every component complies with the National Electrical Code (NEC), local Bay Area amendments, and the project's specific engineering designs.
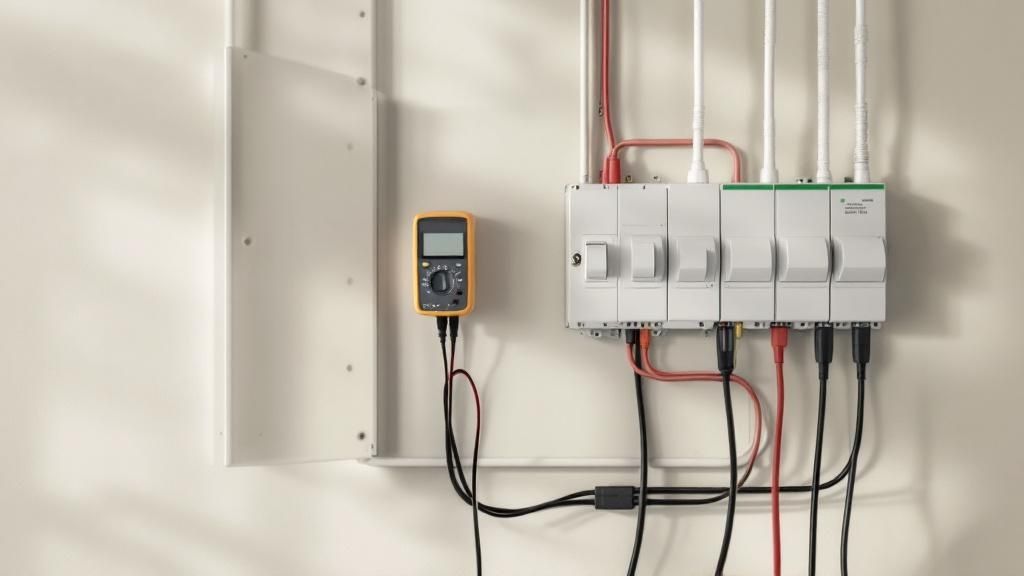
This process is not just about flipping a switch to see if lights turn on; it's a deep verification of system capacity, safety, and long-term reliability. From data centers in Silicon Valley requiring redundant power to historic Berkeley homes needing careful retrofits, neglecting electrical QA can lead to system failures, operational downtime, and significant safety hazards. Proper verification is essential for protecting both the structure and its occupants.
Key Electrical Inspection Points
Effective electrical QA is performed in multiple phases to catch issues before they are concealed. Key areas of focus include:
- Rough-In Wiring and Conduit: Verifying that wire gauges match circuit breaker ratings, conduit is properly supported, and junction boxes are correctly installed and accessible before drywall is put up.
- Grounding and Bonding: Confirming the integrity of the grounding electrode system and ensuring all metallic components, such as gas lines and water pipes, are properly bonded to prevent electrical shock.
- Panel and Circuit Labeling: Ensuring every circuit in the electrical panel is clearly, accurately, and permanently labeled. A crucial element of this is a thorough electrical panel inspection to ensure compliance and ongoing safety.
- Device and Fixture Installation: Checking that all outlets, switches, and fixtures are installed securely, wired correctly, and meet the specified ratings for their intended locations (e.g., GFCI protection in wet areas).
- Safety System Functionality: Testing all safety devices, including arc-fault circuit interrupters (AFCIs) and ground-fault circuit interrupters (GFCIs), to confirm they are operational.
Actionable Tips for Implementation
To execute electrical QA correctly, integrate these best practices into your project plan:
- Stage-Gate Inspections: Mandate separate inspections for the rough-in stage (before insulation and drywall) and the final stage (after all devices are installed). This prevents costly rework.
- Use Thermal Imaging: After the system is energized, use a thermal imaging camera to scan panels, connections, and transformers. This helps proactively identify hot spots caused by loose connections or overloading.
- Create a Detailed Labeling Standard: Don't just write "Plugs" on a breaker. Implement a clear labeling protocol, such as "Kitchen Counter Outlets – West Wall," to simplify future maintenance and troubleshooting.
- Verify Voltage and Polarity: Use a multimeter at every outlet and connection point to verify correct voltage levels and polarity, ensuring devices will function properly and safely.
4. Plumbing and Water System Integrity Testing
A building's plumbing system is its circulatory network, and failures can lead to extensive water damage, health hazards, and costly operational disruptions. This checkpoint on the construction quality assurance checklist focuses on the thorough testing of all water supply, drainage, and fixture installations to guarantee they are leak-free, functional, and compliant with all relevant codes. It's a critical step that moves beyond a simple visual check to actively verify system performance under real-world pressure.
Neglecting rigorous plumbing QA can result in slow leaks behind walls that cause mold and structural rot or catastrophic failures that flood entire floors. For complex facilities in the Bay Area, or in green buildings with rainwater harvesting systems popular in eco-conscious communities, the stakes are even higher, demanding absolute precision and proven integrity.
Key Plumbing System Inspection Points
This phase requires a systematic approach to validate every component of the plumbing network. Key areas of focus include:
- Pressure Testing: Applying sustained air or water pressure to supply lines (potable water, hydronic heating) to confirm there are no leaks at joints, fittings, or along pipe lengths.
- Drain, Waste, and Vent (DWV) System Testing: Filling the DWV system with water to a specific level (e.g., a 10-foot head) and observing for any drop in level, which indicates a leak.
- Fixture and Appliance Functionality: Testing every fixture, from faucets and toilets to water heaters and dishwashers, to ensure proper flow, drainage, and temperature control.
- Pipe Support and Slope: Verifying that all piping is properly anchored and supported to prevent sagging and that drainage lines have the correct slope for gravity-fed flow, as specified by the International Plumbing Code (IPC).
Actionable Tips for Implementation
To ensure a robust and reliable plumbing system, integrate these best practices into your QA process:
- Test in Phases: Conduct "rough-in" tests on plumbing lines before drywall is installed. This makes identifying and repairing leaks significantly easier and less expensive.
- Use Modern Diagnostic Tools: Employ hydrostatic test pumps for accurate pressure testing and use sewer video inspection cameras to examine drain lines for blockages, cracks, or improper connections before final acceptance.
- Document Everything: Meticulously record all test parameters, including the pressure applied, test duration, and pass/fail results for each section of the system. This documentation is vital for sign-offs and future maintenance.
- Verify Cross-Connection Prevention: Ensure that backflow prevention devices are correctly installed where required to protect the potable water supply from contamination, a critical safety and compliance check.
5. HVAC System Performance and Air Quality Verification
A modern building's comfort, health, and operational efficiency are heavily reliant on its heating, ventilation, and air conditioning (HVAC) system. This quality assurance checkpoint moves beyond simple installation sign-off to a detailed verification of system performance and its impact on indoor air quality. It ensures the HVAC system operates as designed, meets California's strict Title 24 energy efficiency targets, and provides a healthy environment for occupants, especially important given Bay Area concerns about wildfire smoke.
This verification is critical for specialized environments like hospitals, LEED-certified buildings, and clean room facilities, where precise climate and air purity control are non-negotiable. As organizations like ASHRAE have demonstrated, proper system balancing and commissioning are essential for long-term performance and preventing costly operational issues.
Key HVAC and Air Quality Inspection Points
This phase requires a technical approach, often involving specialized tools and certified technicians. Key areas of focus include:
- Airflow and Balancing: Measuring airflow at diffusers, grilles, and registers to confirm it matches the design specifications. This process, known as Test, Adjust, and Balance (TAB), ensures conditioned air is distributed correctly.
- System Controls and Calibration: Verifying that thermostats, sensors, dampers, and valves are correctly calibrated and functioning to maintain setpoints accurately.
- Energy Efficiency Verification: Testing the system under various load conditions to confirm it meets its specified energy efficiency ratings (SEER, EER) and complies with California Energy Commission standards.
- Ductwork Integrity: Performing duct leakage tests to identify and seal any breaches. Leaky ducts can account for significant energy loss—up to 30% according to Energy Star—and pull pollutants into the air supply.
- Filtration and Air Quality: Confirming the correct MERV-rated filters are installed and that the system achieves the specified air exchange rates, which is crucial for removing contaminants. For a deeper understanding of proactive design, you can explore how to design for air quality from the project's outset.
Actionable Tips for Implementation
To ensure your HVAC system performs optimally from day one, integrate these best practices into your construction quality assurance checklist:
- Schedule Post-Cleanup Testing: Conduct all performance testing after the majority of construction dust and debris have been cleaned from the site to prevent clogging new components.
- Use Certified TAB Specialists: Engage professionals certified by bodies like the National Environmental Balancing Bureau (NEBB) or the Associated Air Balance Council (AABC) for testing.
- Simulate Real-World Conditions: Test the system's performance under partial and full load conditions to ensure it operates efficiently across its entire range.
- Document a Performance Baseline: Meticulously record all initial performance data, including airflow rates, temperature splits, and static pressures. This baseline is invaluable for future maintenance.
6. Waterproofing and Moisture Control Assessment
Water intrusion is a formidable threat to a building's longevity, especially in the damp winters of the Bay Area. This assessment focuses on the comprehensive evaluation of the building envelope, ensuring all waterproofing systems, moisture barriers, and drainage solutions are installed correctly to prevent water damage. A failure in this area can lead to mold growth, material degradation, and costly, invasive repairs long after project completion.
This part of the construction quality assurance checklist verifies that the structure is sealed against the elements. From leaking underground parking garages in San Francisco to moisture-damaged condominiums in Oakland, the consequences of poor waterproofing are severe, impacting both the building's value and its occupants' health. Proper assessment is a non-negotiable step for creating a durable and resilient structure.
Key Inspection Points for Moisture Control
Effective moisture control requires a multi-layered approach. Key areas for verification include:
- Foundation and Below-Grade Systems: Inspecting the application of waterproofing membranes, damp-proofing coatings, and perimeter drainage systems to meet manufacturer specifications.
- Exterior Wall Assemblies: Verifying the correct installation of weather-resistive barriers (WRBs), flashing around windows and doors, and control joints. Every lap, seam, and penetration must be perfectly sealed.
- Roofing Systems: Checking membrane installation, seam integrity, flashing details at parapets and penetrations, and proper slope for positive drainage.
- Balconies and Decks: Ensuring proper sloping, membrane application, and integration with the primary building envelope to prevent water from pooling or seeping into the structure below.
Actionable Tips for Implementation
To ensure a watertight building envelope, integrate these practices into your quality assurance process:
- Pre-Covering Testing: Conduct flood tests or electronic leak detection on all horizontal waterproofing systems (roofs, balconies) before installing finished surfaces like tiles or pavers.
- Focus on Transitions: Pay extra attention to transitions between different materials and systems, such as where a wall meets the foundation or a window penetrates the wall assembly. These are the most common points of failure.
- Use Multiple Testing Methods: Combine visual inspections with functional tests. For example, follow a visual check of a window flashing installation with AAMA 502 field water penetration testing for comprehensive assurance.
- Maintain Photographic Records: Document every stage of the waterproofing installation, especially at critical details and connections. These photos provide an invaluable record of proper installation.
7. Fire Safety Systems and Life Safety Compliance
A building can be structurally sound, but without verified life safety systems, it remains fundamentally unsafe for occupants. This critical stage of a construction quality assurance checklist involves the comprehensive inspection, testing, and commissioning of all active and passive fire protection systems. It ensures the building not only meets but exceeds the stringent requirements set by fire codes and life safety standards, safeguarding both people and property.
This process validates that in an emergency, systems like alarms, sprinklers, and emergency lighting will function as designed, facilitating safe egress and enabling an effective response from emergency services. As mandated by authorities like the National Fire Protection Association (NFPA) and the International Code Council (ICC), failing to properly install and test these systems can lead to project delays, failed inspections, and severe legal liabilities.
Key Fire Safety Inspection Points
This is a multi-faceted checkpoint that requires collaboration with certified specialists. Key verification areas include:
- Fire Alarm and Detection Systems: Verifying that all smoke detectors, heat sensors, pull stations, and notification appliances (horns, strobes) are correctly installed, wired, and fully operational.
- Automatic Sprinkler Systems: Inspecting sprinkler head placement, pipe sizing, and system pressure. This includes checking for proper fire department connections (FDCs) and ensuring the system is free of obstructions.
- Egress and Emergency Lighting: Testing all emergency lights and illuminated exit signs to confirm they activate instantly upon power failure and remain lit for the required duration.
- Passive Fire Protection: Inspecting fire-rated walls, doors, and fire-stopping materials in wall and floor penetrations to ensure they meet their specified fire-resistance ratings. For details on proper installation best practices, you can review expert guidance on installation and maintenance for building components.
Actionable Tips for Implementation
To effectively manage fire and life safety compliance, integrate these steps into your quality assurance plan:
- Coordinate with Authorities: Involve the local fire marshal or Authority Having Jurisdiction (AHJ) early in the process. Schedule witnessed testing with them to ensure acceptance and sign-off.
- Test Under Emergency Conditions: Don't just test systems on normal power. Simulate a power outage to verify that all life safety equipment, including fire alarms and emergency lighting, transitions seamlessly to backup power.
- Comprehensive System Integration Testing: Ensure all systems work together. For instance, confirm that activating a smoke detector correctly triggers the fire alarm, closes fire doors, and notifies the monitoring service.
- Document All Training: Beyond system checks, document that building management and initial occupants have been trained on emergency procedures and the location of safety equipment. This documentation is often a final requirement for occupancy.
8. Final Walkthrough and Punch List Documentation
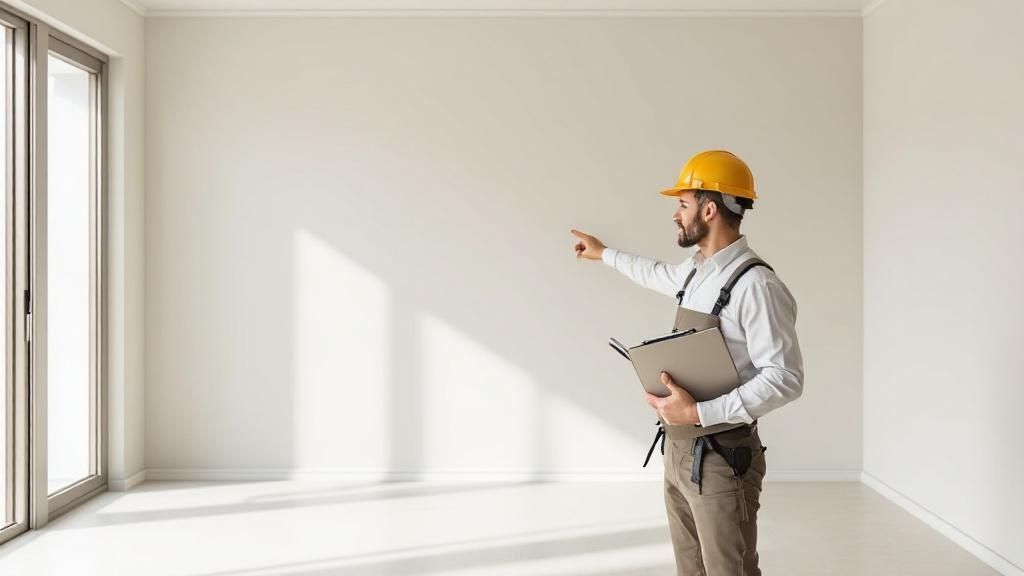
The final walkthrough is the last line of defense in a construction quality assurance checklist before project handover. This systematic inspection is designed to identify and formally document any deficiencies, incomplete work, or items requiring correction, collectively known as the "punch list." This comprehensive review ensures all work meets contractual obligations, client expectations, and the highest quality standards before the project is considered complete and ready for occupancy.
This process bridges the gap between construction completion and client acceptance. Whether it's a commercial office building in downtown San Francisco requiring coordination with incoming tenants or a residential home in Berkeley where the future homeowner is inspecting their new space, the punch list process is a critical tool for ensuring final satisfaction and a professional finish.
Key Inspection Points for Project Closeout
This checkpoint goes beyond a simple visual scan; it is a meticulous, room-by-room, system-by-system audit. Key areas of focus include:
- Finishes and Aesthetics: Checking for scuffs on walls, paint inconsistencies, proper tile grout application, and ensuring all fixtures are installed correctly and without damage.
- Mechanical, Electrical, and Plumbing (MEP) Systems: Verifying that all outlets, switches, lights, plumbing fixtures, and HVAC units are fully functional and installed according to plans.
- Doors, Windows, and Hardware: Ensuring all doors and windows open, close, and lock smoothly. All hardware, from handles to hinges, should be secure and operate as intended.
- Exterior and Site Work: Inspecting landscaping, paving, exterior cladding, and drainage to confirm all work is complete and meets design specifications.
- Specialty Equipment and Fixtures: Confirming the proper installation and functionality of all appliances, custom cabinetry, and any other specialized project components.
Actionable Tips for Implementation
To execute a successful final walkthrough and manage the punch list effectively, integrate these best practices:
- Use Standardized Checklists: Create and use a detailed, standardized checklist for every walkthrough to ensure no area is overlooked. Consistency is key.
- Involve Key Stakeholders: Include the client, architect, and relevant subcontractors in the walkthrough. This collaborative approach minimizes disputes and clarifies expectations.
- Prioritize and Categorize Items: Group punch list items by priority (e.g., safety, operational, cosmetic) and by the trade responsible for the fix. Address safety-related issues immediately.
- Leverage Technology: To effectively manage and resolve issues identified during these inspections, considering leveraging a dedicated defect tracking system can significantly streamline the punch list process. For more tips on managing client expectations, learn about delivering customer service excellence for builders.
8-Point Construction QA Checklist Comparison
| Inspection Type | Implementation Complexity 🔄 | Resource Requirements ⚡ | Expected Outcomes 📊 | Ideal Use Cases 💡 | Key Advantages ⭐ |
|---|---|---|---|---|---|
| Foundation and Structural Integrity Inspection | High – specialized equipment and expertise required | High – non-destructive testing and possible destructive testing | Prevents structural failures, ensures stability | Critical infrastructure, high-rise buildings | Ensures long-term safety, reduces costly repairs |
| Material Testing and Compliance Verification | Moderate – lab and field testing coordination | Moderate to High – testing labs and supplier management | Assures material quality and compliance | Large projects with diverse materials | Prevents premature failure, maintains warranty |
| Electrical Systems Safety and Code Compliance | High – requires licensed electricians and specialized testing | High – electrical test devices and expertise | Prevents fires, ensures electrical reliability | Residential, industrial, data centers | Enhances safety, meets code and insurance requirements |
| Plumbing and Water System Integrity Testing | Moderate – access to water and phased testing needed | Moderate – pressure testing and inspection tools | Prevents leaks, ensures proper drainage | Hospitals, high-rises, green buildings | Maintains water quality, reduces damage risk |
| HVAC System Performance and Air Quality Verification | High – specialized devices and multiple testing visits | Moderate to High – airflow and quality testing tools | Improves comfort, energy efficiency | LEED buildings, hospitals, clean rooms | Enhances health, reduces energy usage |
| Waterproofing and Moisture Control Assessment | Moderate to High – weather-dependent and sometimes invasive | Moderate – moisture detection and testing equipment | Prevents water damage and mold growth | Envelopes of condos, parking garages, museums | Maintains structural integrity, improves energy efficiency |
| Fire Safety Systems and Life Safety Compliance | High – coordination with fire authorities and detailed testing | High – fire system devices and testing coordination | Protects life, ensures code compliance | Offices, healthcare, schools | Reduces liability, prevents property loss |
| Final Walkthrough and Punch List Documentation | Moderate – systematic, time-intensive | Low to Moderate – documentation tools and manpower | Ensures contract compliance, facilitates closeout | All construction projects | Improves client satisfaction, clear warranty documentation |
Partnering for Quality: Your Next Steps with Truitt & White
Navigating the complexities of a construction project, from foundation integrity to the final punch list, requires a systematic and disciplined approach. The comprehensive construction quality assurance checklist detailed in this guide is more than a procedural document; it is a framework for operational excellence. It transforms the abstract goal of "quality" into a series of tangible, verifiable, and repeatable actions that protect your reputation, your client's investment, and the safety of end-users. By diligently verifying materials, inspecting workmanship at every phase, and maintaining meticulous documentation, you move beyond simply meeting Bay Area building codes. You begin to consistently deliver projects that embody durability, precision, and lasting value.
This commitment to quality is a proactive strategy, not a reactive one. It mitigates the risk of costly rework, prevents schedule delays, and builds a powerful foundation of client trust. The checklist items, from moisture control assessments to fire safety system verification, are individual threads in a larger tapestry of professional responsibility. When woven together, they create a finished product that stands as a testament to your skill and dedication. Mastering this process is what separates a good contractor from a great one.
Key Takeaways for Building with Confidence
To truly integrate quality assurance into your workflow, focus on these core principles:
- Proactive Planning Over Reactive Fixes: True quality assurance begins during pre-construction, with the careful selection of materials and partners. Don't wait for an inspector to flag an issue; prevent it from happening in the first place by using compliant, high-performance products from a trusted lumberyard near Oakland.
- Documentation is Your Best Defense: Meticulous records, from material compliance certificates to punch list sign-offs, are your proof of diligence. They are invaluable for resolving disputes, streamlining handovers, and protecting your business from liability.
- Empower Your Team: Quality is a shared responsibility. Ensure every team member and subcontractor understands the standards outlined in your construction quality assurance checklist. This creates a site-wide culture of accountability and excellence.
- The Right Materials Matter: Your project is only as strong as its weakest component. Partnering with a supplier who understands the specific demands of Bay Area climates and codes ensures that every product, from framing lumber to high-performance windows, contributes positively to the project's integrity.
Embracing a robust quality assurance process is the single most effective way to elevate your work, enhance your professional standing, and ensure every project you complete is a source of pride for you and satisfaction for your client.
Frequently Asked Questions (FAQs)
1. Why is a construction quality assurance checklist so important for Bay Area projects?
A QA checklist is crucial in the Bay Area due to strict local building codes (including seismic and energy regulations), diverse microclimates, and high client expectations. It ensures compliance, prevents costly rework, and helps manage projects in a competitive market like Berkeley or Oakland.
2. What is the difference between Quality Assurance (QA) and Quality Control (QC)?
QA is a proactive process focused on planning and procedures to prevent defects, like creating this checklist and sourcing quality Berkeley building materials. QC is a reactive process focused on inspecting and identifying defects in the finished work, such as a final walkthrough.
3. How often should inspections be performed during a project?
Inspections should be performed at critical milestones before work is covered up. Key phases include pre-foundation pour, after framing, before drywall (for MEP rough-in), and before final finishes, concluding with a final punch list walkthrough.
4. What are the most common points of failure this checklist helps prevent?
The most common and costly failures include water intrusion from improper waterproofing, structural issues from incorrect rebar placement or concrete mix, and electrical hazards from faulty wiring. This checklist addresses all these critical areas proactively.
5. How can I get help choosing the right materials for my project?
Partnering with a knowledgeable local supplier is key. Experts at a full-service lumberyard like Truitt & White can advise on the best materials for the Bay Area's climate and building codes, from high-performance windows and doors to durable lumber.
Ready to build with materials that meet the highest standards of your quality assurance checklist? Partner with Truitt & White to source the premium lumber, windows, doors, and building supplies that Bay Area professionals have trusted for nearly 80 years. Visit our Berkeley showroom to consult with our experts and ensure your next project is built for excellence from the ground up.

