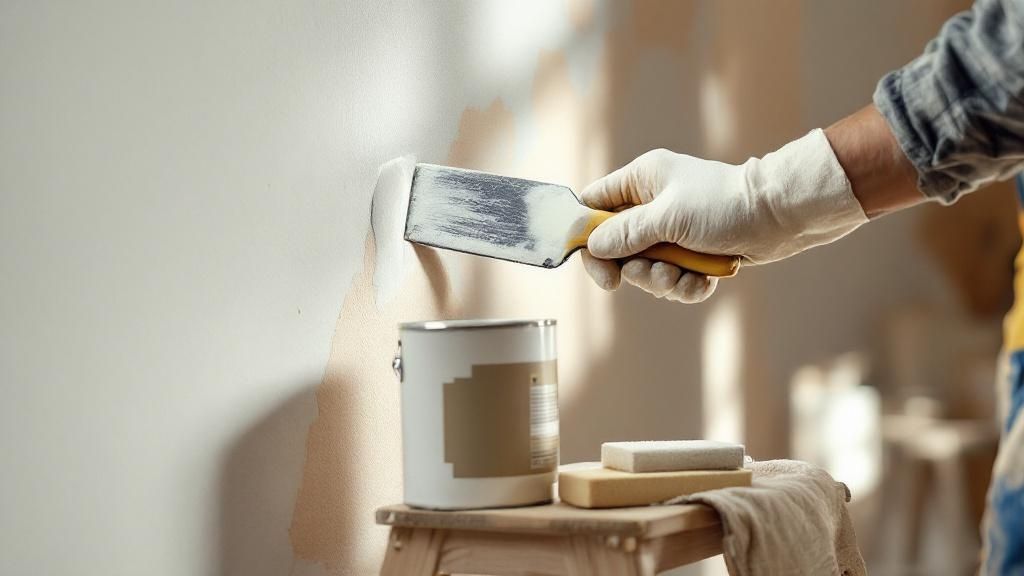
Anyone who has tried to cut corners on a paint job knows the truth. The secret to a stunning, long-lasting finish is not in the paint can—it is in the prep work. Knowing how to prep walls for painting is the critical first step that professional painters from Berkeley to San Francisco swear by.
Getting this foundation right makes your new paint stick properly, look incredible, and last for years.
Why Great Painting Starts Before the First Brushstroke
Skipping prep is the number one reason DIY paint jobs fail. This is a classic mistake, and it becomes painfully obvious in Bay Area homes where beautiful natural light highlights every single wall imperfection.
Think of wall prep as the most important investment in your project's outcome. It’s the only way to avoid common headaches like peeling, bubbling, and an uneven, blotchy finish.
A professional-looking result is all in the details. Spending time on preparation now saves you from frustrating, time-consuming touch-ups later and ensures that beautiful color you picked out looks exactly how you imagined.
This careful work creates the perfect canvas for your paint. By taking the time to properly clean, repair, and smooth the surface, you guarantee the best possible adhesion and a flawless, uniform look. The effort you put into prep is what separates an amateur attempt from a durable, high-quality finish.
For expert advice and all the right materials for your next project, come see us at our Berkeley showroom.
Assembling Your Wall Prep Toolkit
Walking into a hardware store without a plan can be overwhelming. As pros in Berkeley and Oakland know, showing up with a clear checklist is the secret to avoiding frustrating mid-project supply runs. It is not just about grabbing brushes and rollers; it is about having the right gear on hand to guarantee a smooth finish.
Your project’s success hinges on matching materials to the job. For instance, the spackling you’d use for modern drywall will not work for the lath-and-plaster walls common in older San Francisco homes. Plaster needs a more flexible compound that can handle subtle shifts without cracking.
Core Tools for Every Project
No matter what, a few items are absolutely non-negotiable for interior paint prep. These are the workhorses that will handle the bulk of cleaning and patching you will face.
- Putty Knife and Scrapers: A flexible 2-inch putty knife is best for filling nail holes. For smoothing larger patches, you’ll want a rigid 6-inch taping knife.
- Sanding Equipment: A simple sanding sponge is fine for small touch-ups. But if you're prepping a whole room, a pole sander is a must—it creates a perfectly even surface without straining your back.
- Cleaning Supplies: We recommend Trisodium Phosphate (TSP) substitute. It’s a powerful degreaser that cuts through grime and oils that prevent paint adhesion. You’ll also need a couple of buckets, sponges, and plenty of clean rags.
For homes here in the coastal Bay Area, moisture is always a concern. I highly recommend adding a mold-resistant primer to your list, especially for bathrooms, kitchens, or any room that feels damp.
Materials Specific to Your Walls
The state of your walls will tell you exactly which repair materials to buy. A brand-new sheet of drywall might just need a lightweight spackle. A wall that has seen better days, however, could require a heavy-duty, fiber-reinforced joint compound to get it back in shape.
Thinking through these details is just as critical as picking the perfect paint color. It's similar to the care needed when choosing energy-efficient windows—the right choice makes all the difference for your home's performance and longevity.
Here's a quick checklist to make your shopping trip a breeze.
Wall Prep Essentials Checklist
| Category | Essential Item | Pro Tip |
|---|---|---|
| Cleaning | TSP Substitute & Buckets | Mix one bucket for cleaning and one for rinsing to avoid spreading dirt. |
| Repair | Spackling or Joint Compound | Choose a lightweight, sandable spackle for small holes and a stronger compound for larger cracks. |
| Tools | Putty Knife & Taping Knife | A flexible blade for small fills, a rigid one for spreading compound smoothly over larger areas. |
| Sanding | Sanding Sponges & Pole Sander | Use a medium-grit (120-150) sponge for patches and fine-grit (180-220) for the final once-over. |
| Priming | High-Quality Primer | Tint your primer slightly toward your final paint color to improve coverage. |
| Protection | Painter's Tape & Drop Cloths | Use high-quality tape for sharp lines and canvas drop cloths—they're less slippery than plastic. |
With this complete toolkit ready, you can move seamlessly from one step to the next, turning a potentially messy job into a streamlined, professional process.
Creating a Clean and Sound Surface
You can buy the best paint in the world, but it simply will not stick to a dirty or damaged wall. The first real hands-on phase of any professional project is creating a perfectly clean and structurally sound surface. This step is essential if you want a lasting finish.
Before you even think about washing or patching, protect your workspace. Getting your furniture and floors covered in dust and paint drips is a surefire way to turn a simple job into a major headache. Make sure you lay down some effective dust covers before any work begins.
Washing and Degreasing Your Walls
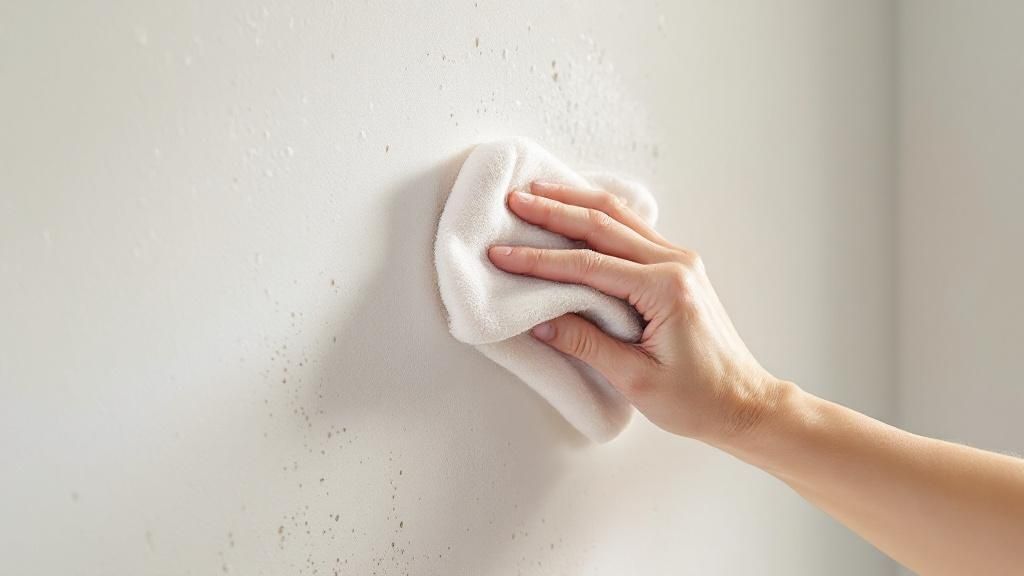
Your walls might look clean, but they collect a thin layer of dust, kitchen grease, and general grime over time. This buildup will ruin your paint's ability to adhere properly. The most effective way to cut through it is a good wash with a Trisodium Phosphate (TSP) substitute.
Get two buckets: one for your cleaning solution and another with clean water for rinsing. To avoid ugly, streaky drip marks, always work from the bottom of the wall up. Wash a manageable section, then go back over it with a clean, damp sponge to rinse thoroughly.
Repairing Imperfections for a Smooth Canvas
Once the walls are completely dry, it's time to fix any imperfections. Even the tiniest dings or old nail holes will stick out under a fresh coat of paint, especially in the bright light common in many Bay Area homes.
For small cracks and holes, a bit of spackle and the right technique will make them vanish.
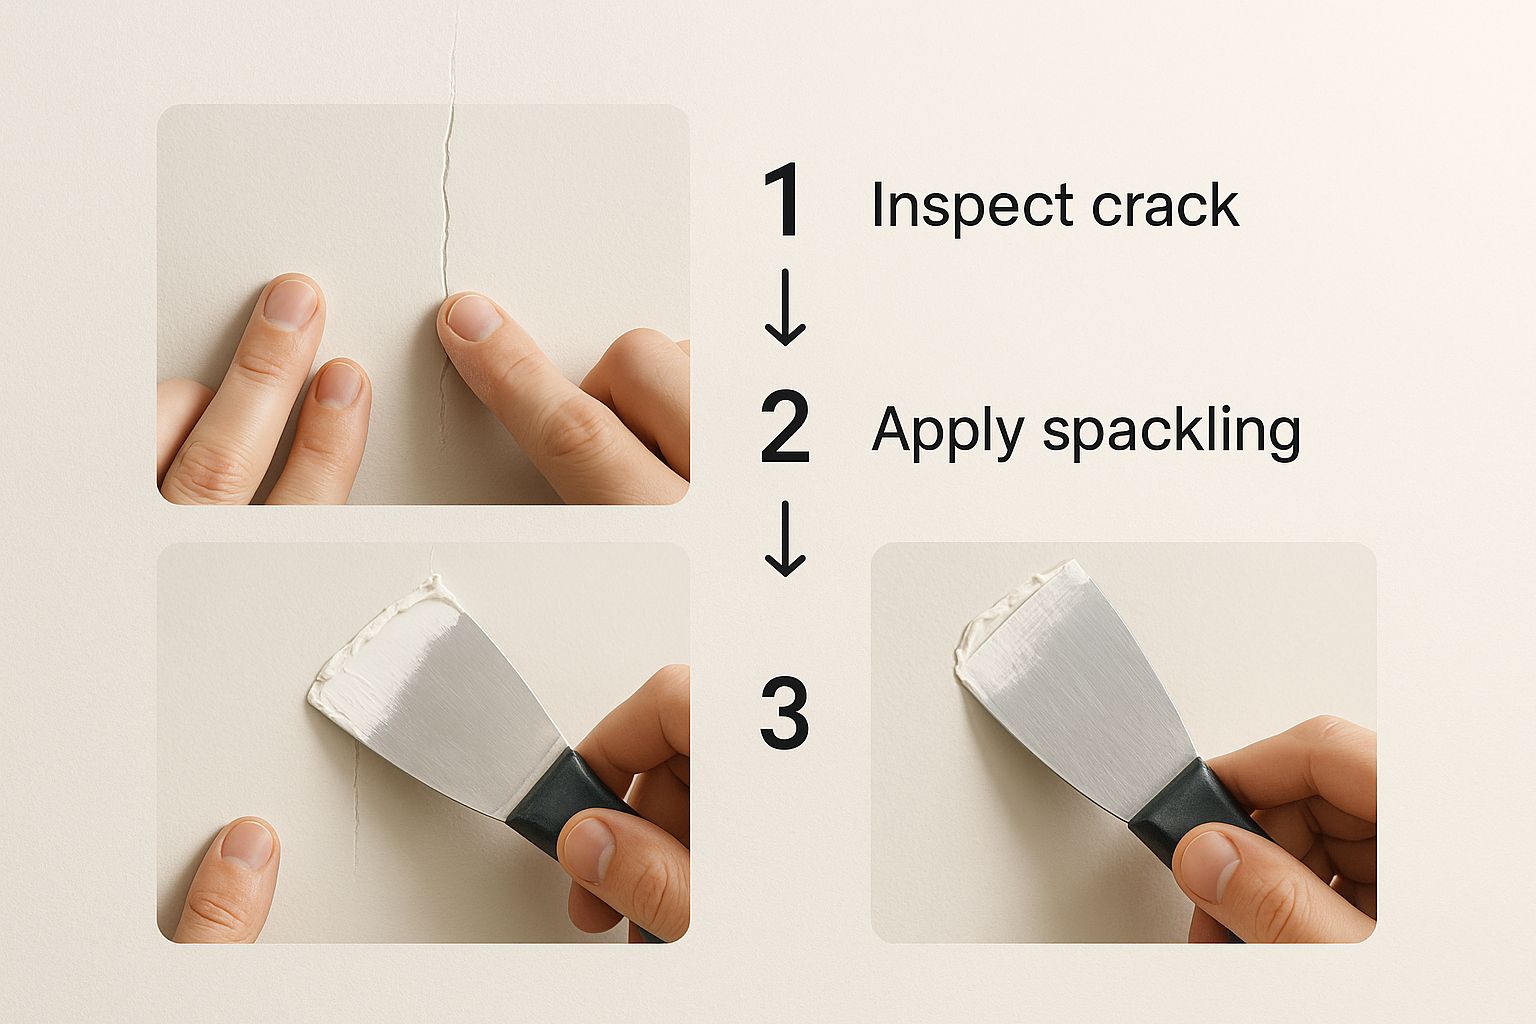
The goal is to get the repair perfectly flush with the surrounding wall so it becomes invisible after you sand and paint.
According to the Paint Quality Institute, up to 80% of all paint failures are caused by inadequate surface preparation. Taking the time to patch every hole and crack is what separates a DIY job from a professional one. In fact, a sound surface is the starting point for any quality construction, which you can learn more about in our guide on how to frame a wall.
Pro Tip: For hairline cracks, especially in older Berkeley or San Francisco homes with plaster walls, use a flexible, paintable caulk. It has enough give to move with the wall and will keep that pesky crack from reappearing down the road.
Sanding and Priming for a Flawless Finish
With your walls clean and patches dry, it is time to create that perfect canvas for your new paint. This is where the pro-level work happens, and it involves two steps you cannot skip: sanding and priming. Getting this right is the secret to a smooth, durable finish.
Sanding is not just for smoothing over patched areas; you should do the entire wall. Even a surface that looks perfectly fine has tiny imperfections that a fresh coat of paint will highlight. A quick scuff-sand over the old paint also creates an ideal texture, giving the new primer and paint something to grip.
Achieving a Seamless Surface
When you’re dealing with newly patched spots, the goal is to feather the edges so they blend invisibly into the rest of the wall. Grab a sanding sponge or some fine-grit sandpaper (around 180-220 grit is perfect) and use gentle, circular motions. Starting from the outside edge of the patch and working your way in helps prevent creating a noticeable ridge.
After sanding, you’ll have a fine layer of dust coating everything. You must get rid of all of it.
- Start with a shop vacuum and a brush attachment to suck up the majority of the dust.
- Follow that up by wiping down every square inch of the wall with a damp cloth or a tack cloth.
This ensures no gritty bits get trapped under your primer, which would ruin the smooth finish. This same level of prep work is also one of the top reasons to paint your home's exterior this spring.
Choosing and Applying the Right Primer
Primer is the unsung hero of any paint job. It seals the wall, ensures your color goes on evenly without blotches, and stops old stains from bleeding through.
For most projects in Berkeley or Oakland homes, a high-quality latex primer will do the trick. But some situations call for a specialist:
- Stain-Blocking Primer: A must-have for covering old water spots, smoke damage, or permanent marker.
- Bonding Primer: This is what you need for painting over glossy or slick surfaces where new paint would otherwise peel right off.
According to the National Association of Home Builders (NAHB), using a quality primer can improve the top coat's appearance and durability. Modern low-VOC, mold-resistant, and stain-blocking primers are now standard for most professional painters.
Primer isn't just a base coat; it's about performance. It ensures the beautiful color you picked out looks just as rich and true on the wall as it did on the paint chip. Do not skip it.
Nailing the Final Details Like a Pro
You're on the home stretch. These final steps are what separate a decent paint job from a truly professional one. Getting these finishing touches right is how you get that sharp, clean result that makes all the prep work worth it.
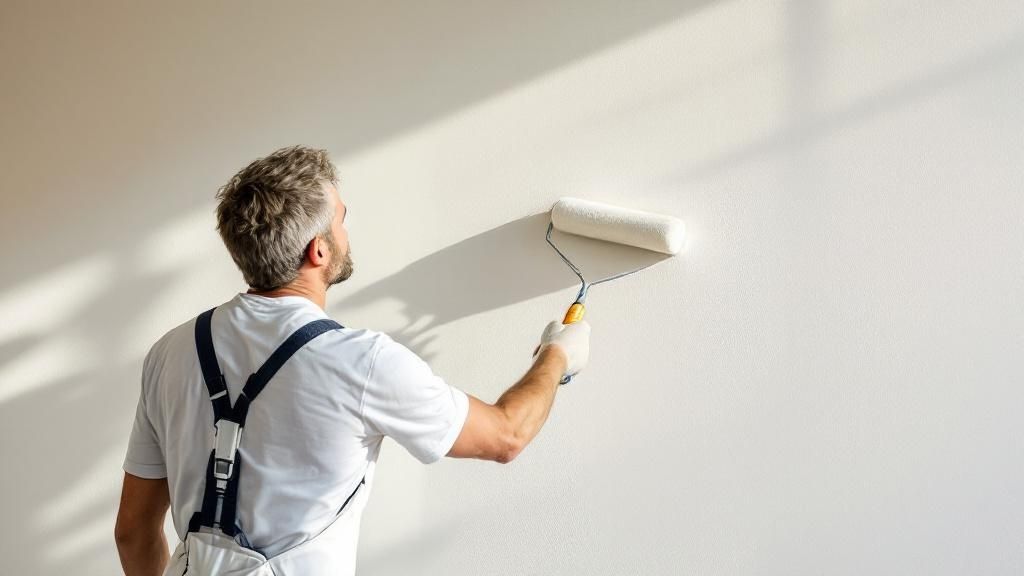
Achieving Crisp, Clean Lines
High-quality painter's tape is the secret weapon for getting perfectly crisp lines along trim, ceilings, and windows. Do not just stick it on; press it down firmly with a putty knife to create a solid seal. This is what keeps paint from bleeding underneath.
When it is time to pull the tape, timing is everything. You'll want to pull it off at a 45-degree angle while the last coat of paint is still a bit wet. If you wait until the paint is fully cured, you risk pulling up chunks of your new paint along with the tape.
Before you open a can of paint, there's one last, critical step: dealing with leftover sanding dust. Wiping everything down with a tack cloth or a slightly damp sponge is non-negotiable. This simple action ensures no tiny, gritty particles get trapped in your paint and ruin that smooth finish.
These meticulous final details elevate your work from DIY to professional quality. If a large project feels overwhelming, it's always smart to know how to choose a contractor who can handle the job with the right expertise.
Frequently Asked Questions About Prepping Walls
Getting the small details right is what separates an okay paint job from a great one. Here are answers to some of the most common questions we hear from homeowners and contractors in the Bay Area.
Do I really need to wash my walls if they look clean?
Yes, absolutely. Walls collect invisible dust, grime, and oils from cooking that prevent paint from sticking properly. A quick wash with a TSP substitute is a small effort that prevents peeling later and gives your paint job a solid foundation.
What is the difference between spackle and joint compound?
Spackle is best for minor fixes like nail holes and small dings because it dries quickly with little shrinkage. Joint compound (or mud) is for larger repairs like taping drywall seams or filling bigger gouges, as it provides a stronger patch but takes longer to cure.
How long should I let primer dry before painting?
Patience pays off here. Most latex primers feel dry in about an hour, but you should wait at least 3-4 hours for them to cure properly before painting. If you are using an oil-based primer, give it a full 24 hours. Always check the manufacturer's instructions on the can.
Can I just use a paint-and-primer-in-one product?
All-in-one products can save time if you're painting over a similar, light color on a wall that is already in excellent shape. However, for covering dark colors, tough stains, or priming fresh drywall, a separate, dedicated primer is the only way to guarantee a professional, durable finish.
What is the best way to deal with hairline cracks?
For thin cracks common in older Berkeley or Oakland homes, a flexible, paintable caulk is perfect. Apply a thin bead into the crack and smooth it flush with your finger. The caulk's flexibility allows for slight movement in the house without the crack reappearing.
For all the professional-grade materials and expert advice you need to get the job done right, visit the team at Truitt & White. Our experts are ready to help you at our Berkeley showroom.


