Preventing wood rot comes down to one crucial factor: controlling moisture. If you can keep your wood dry, you've already won half the battle. This guide will show you how.
By choosing the right materials, ensuring proper water drainage, and using protective finishes, you can shield your projects from decay. Being proactive is the best way to avoid costly repairs down the road, especially in the Bay Area's damp climate.
Understanding Wood Rot in the Bay Area Climate
Wood rot is a quiet but serious threat to properties across the Bay Area. Our unique climate, with its coastal fog and heavy winter rains, creates the perfect environment for fungus to grow. This decay can turn solid wood into a soft, crumbling mess, threatening the safety of homes from San Francisco to Oakland.
For builders, contractors, and homeowners in our region, knowing how to stop wood rot is essential for protecting your investment. The fight against rot is really a fight against water. The process begins when wood stays wet for too long, creating a welcoming home for fungi.
Key Factors Driving Wood Decay
You will almost always find wood rot in the same kinds of places. It is not random; it is predictable.
- Persistent Moisture: Think about areas that never seem to dry out. This includes decks under heavy tree cover or windows that were not flashed correctly.
- Poor Ventilation: When air cannot circulate, like in a stuffy crawl space, humidity gets trapped. This moisture sits against the wood and encourages rot.
- Direct Ground Contact: Any wood touching damp soil, such as a fence post or siding, will soak up moisture like a sponge.
This is why some parts of a house are more vulnerable than others. Fungi are opportunistic, and any breakdown in moisture control is an open invitation. According to industry research, once wood moisture content climbs above 20%, the risk of fungal growth skyrockets. You can get a more technical look at how moisture impacts wood in this detailed overview on craftycedar.com.
The single most effective way to stop wood rot is to build in a way that keeps wood dry from day one. This means careful flashing, proper grading to direct water away from the foundation, and choosing the right materials for the job.
By understanding what causes rot, builders and homeowners can use smart strategies to ensure their projects are built to last. A little prevention upfront saves a world of headaches later.
Identifying High-Risk Areas for Wood Decay
Before you can stop wood rot, you have to know where it likes to hide. I have seen it time and again in Bay Area homes. Certain spots are magnets for the moisture that wood-decaying fungi love.
Getting ahead of the problem with regular inspections in these zones is the only way to catch rot before it becomes a major structural issue. Think of it as a routine check-up for your home. Knowing which areas are prone to moisture helps you focus your energy where it matters most.
Areas Demanding Close Attention
Some parts of a house are built in a way that traps moisture or leaves wood exposed. Based on my experience, these are the first places you should look during any inspection.
- Window and Door Sills: These areas are hit with rain, coastal fog, and morning dew. They are known for trapping water, especially if sealant or paint starts to fail. Our window inspection checklist is a great resource to guide you.
- Deck Components: Ledger boards, joists, and posts are constant trouble spots. This is especially true for any wood in direct contact with soil or concrete.
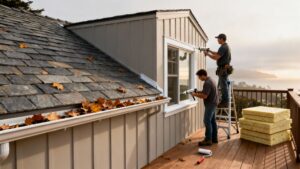
- Roof Eaves and Fascia: Clogged gutters are the main cause of problems here. When water spills over, it soaks the fascia boards and rafter tails, creating the perfect damp environment for decay.
It is also crucial to keep an eye on your roof. Learning how to find a roof leak before it's too late is a skill every homeowner should have. Even a tiny drip can lead to widespread rot in the framing below.
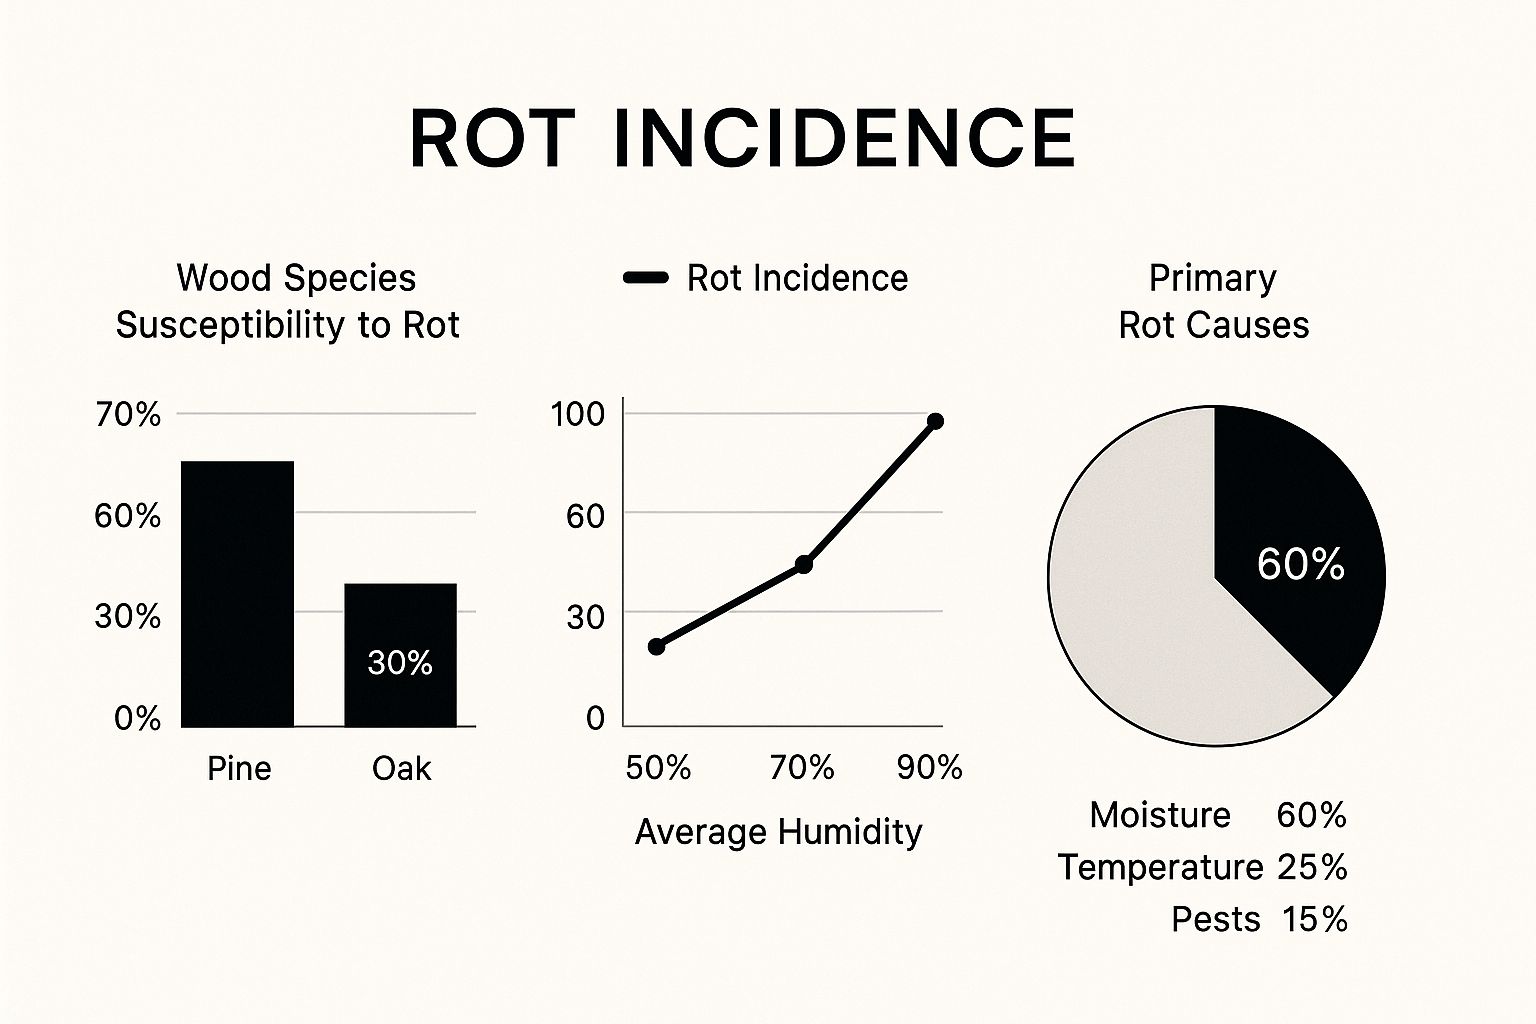
This data drives the point home: moisture is the enemy. Water management is not just one tool in your prevention toolkit; it is the most important one.
Common Wood Rot Hotspots in Bay Area Homes
To help you focus your inspections, here is a quick table of the most common trouble spots I see in homes around Berkeley, Oakland, and San Francisco.
| Area | Primary Cause of Moisture | Early Warning Signs |
|---|---|---|
| Window & Door Sills | Failed caulk, cracked paint, constant exposure to rain/fog. | Peeling paint, soft spots, discoloration at corners. |
| Deck Ledger & Joists | Improper flashing, splash-back from the ground, poor drainage. | Spongy feel, visible fungal growth, dark water stains. |
| Roof Eaves & Fascia | Clogged gutters overflowing, ice dams in colder spots. | Sagging gutters, peeling paint on fascia, dark streaks. |
| Siding Near Ground | Direct contact with soil, splash-back from rain. | Swollen or warped boards, darkening at the base. |
| Crawl Spaces | Poor ventilation, ground moisture, plumbing leaks. | Musty smell, visible mold on joists, damp insulation. |
Keeping an eye on these specific areas will put you miles ahead in the fight against wood rot.
Ground-Level and Foundation Vulnerabilities
The area where the structure meets the ground is another battlefront. You are dealing with constant dampness from the soil and, often, not enough ventilation.
Here's a fundamental rule I always share with clients: maintain at least six inches of clearance between the bottom of your wood siding and the ground. That simple gap is one of the best ways to stop siding from wicking moisture right out of the soil.
Do not forget to check the crawl space, either. Older homes in places like Berkeley and Oakland often have poorly ventilated crawl spaces that trap damp air. This increases humidity and encourages fungus to grow on floor joists and subflooring. Adding a vapor barrier and improving ventilation can make a huge difference.
Choosing Rot-Resistant Building Materials
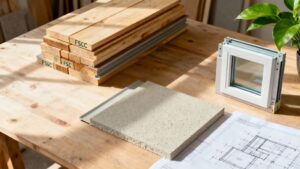
Your first line of defense against wood rot happens right at the lumberyard, like here at Truitt & White. Picking the right materials from the start can add decades to the life of any structure, especially with the persistent moisture we see around the Bay Area. It is all about matching the material to its environment.
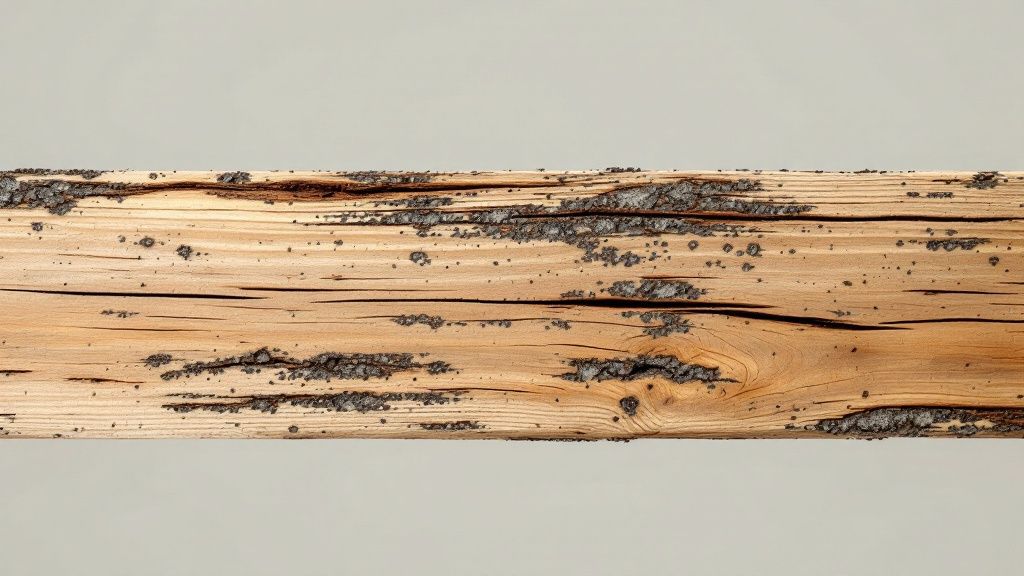
For visible parts of a project like decks, fences, or siding on a classic Berkeley home, you cannot go wrong with naturally durable woods. Think redwood and cedar. These woods have built-in protection with natural oils and tannins that fend off decay and insects.
Understanding Treated and Engineered Options
For the unseen parts of a structure battling moisture, like deck joists or sill plates, pressure-treated lumber is your best bet. This wood has been infused with preservatives like Copper Azole (CA) to shield it from fungal decay.
There are different treatment levels, so be sure to choose one rated for ground contact if the wood will touch the soil. It is a small detail that makes a big difference.
Beyond solid wood, there are other materials worth considering. Contractors and remodelers often use composite materials for specific jobs. If you're curious about alternatives, our guide on what is engineered wood breaks it all down.
Choosing the right material isn't just about grabbing any treated board. It's about matching the wood and treatment level to the specific application for maximum protection.
For windows in high-moisture areas, you might even consider non-wood options. A good comparison of UPVC and aluminum windows can shed light on the durability of alternatives. Selecting the right materials upfront is the single most important step to stop wood rot before it starts.
Smart Construction and Design Practices
Any great builder in the Bay Area will tell you the best way to stop wood rot is to design moisture out of the system from day one. It is all about proactive construction. This means building a defense against the elements right from the start.
It begins from the ground up with smart, simple choices that manage water before it ever becomes a problem.
This starts with ensuring the building site has positive drainage. Grade the soil so rainwater naturally flows away from the foundation instead of pooling against it. This single step is fundamental to protecting the entire structure.
Creating Separation from Moisture
Wood touching damp soil is a fast track to decay. To get ahead of this, there are a few foundational rules we always follow on our job sites.
- Maintain Clearance: Wood siding should always be at least six inches above the finished grade. That gap prevents rain from splashing back up and stops moisture from migrating out of the soil.
- Isolate Posts and Columns: When building decks, never set wood posts directly into the ground or concrete. Use galvanized metal post bases that elevate the wood, keeping the end grain dry.
These basic principles are essential for a long-lasting structure. For a deeper dive into building moisture-resistant frames, our guide on how to frame a wall is a great resource.
Designing for Water Management
Moving up from the foundation, smart design choices can drastically cut down a building’s exposure to moisture. Generous roof overhangs do more than add architectural character. They shield the walls and windows from the brunt of the Bay Area’s wet winters.
The most vulnerable points on any building are the penetrations—windows, doors, and vents. Meticulous flashing in these areas is absolutely critical for creating a waterproof barrier.
Think of properly installed flashing as a tiny gutter system for your walls. It catches and directs water away from the sensitive wood framing hidden beneath the surface. Skipping or rushing the flashing is one of the most common shortcuts that leads to expensive wood rot repairs.
Applying Protective Wood Treatments and Finishes
Even the most rot-resistant wood needs a reliable shield against the Bay Area’s moisture. Protective treatments and finishes are the final, crucial layer of defense. They seal the wood from the coastal fog and winter rains that define our climate.
Choosing the right coating is key to creating a durable barrier against decay. It is like giving your project a high-performance raincoat. Different materials need different types of protection.
Selecting the Right Protective Coating
Your main choices fall into two camps: penetrating finishes and film-forming finishes.
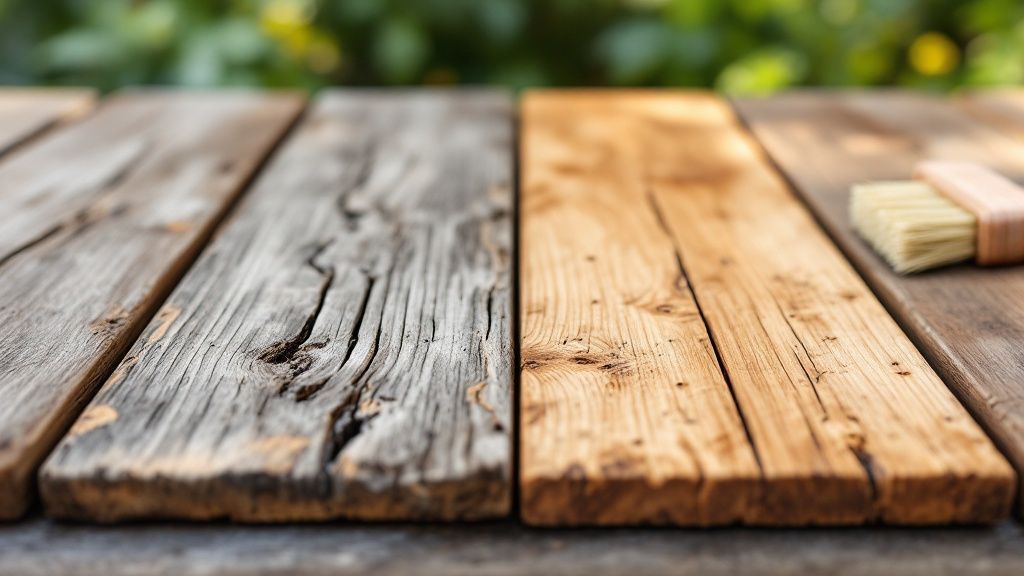
Penetrating oil stains are perfect for woods like redwood or cedar, especially when you want to highlight the natural grain. These oils soak deep into the wood fibers and repel water. They do not create a surface layer that can peel or crack over time.
High-performance exterior paints, on the other hand, create a durable, protective film over the wood. This is an excellent choice for siding and trim. For a look at what our pro builders use, check out our paint and stain spotlight for top-tier recommendations.
A critical step that gets overlooked is surface prep. It doesn't matter how good the paint is if it's applied to a dirty or damp surface. Always make sure the wood is clean, dry, and properly primed before you apply the first coat.
Leveraging Chemical Wood Preservatives
For an even higher level of protection, chemical wood preservatives are a game-changer. These treatments can dramatically extend the life of your lumber.
For example, copper-based preservatives like Copper Azole (CA) can add 15-40 years to the longevity of wood in tough spots like fence posts. As you can learn more about wood decay fungi, these treatments work by making the wood inedible to the organisms that cause rot.
Water-repellent preservatives containing borates are another fantastic option. They offer excellent fungal protection with lower toxicity. This makes them a smart choice for projects near living spaces.
By layering these treatments with a quality topcoat, you are building a robust defense system that will stand up to the Bay Area elements for years.
Creating a Long-Term Maintenance Plan
Let's be honest: preventing wood rot is not a one-time job. It is an ongoing commitment. A proactive maintenance routine is the only way to protect a property’s value, especially with the Bay Area’s damp climate.
The trick is to make the upkeep feel manageable. Break it down into small, consistent tasks.

Think of it as a yearly check-up for your building. If you dedicate just a weekend each year to a simple checklist, you will spot potential issues long before they become expensive repairs. It is a smart investment in the safety and longevity of your home or project.
Your Annual Rot Prevention Checklist
A simple, effective annual plan keeps maintenance from feeling like a chore. I recommend focusing on these core tasks to protect the most vulnerable areas.
- Clean Gutters and Downspouts: This is a non-negotiable task every fall. Clogged gutters overflow, soaking fascia boards and siding.
- Trim Landscaping: Keep shrubs and trees trimmed back at least one foot from the siding. This simple step promotes airflow and helps wood surfaces dry out after it rains.
- Inspect Caulking and Sealants: Walk around the property and look closely at the seals around every window and door. If you see cracked caulk, you have found a path for water to get inside the walls.
Catching a small issue, like a failed bead of caulk around a window, can prevent thousands of dollars in hidden water damage and rot repair down the road.
For a more detailed schedule, our guide on September home maintenance tasks offers a great seasonal breakdown to keep you on track. Sticking to a simple plan makes all the difference.
Your Questions About Wood Rot, Answered
Over the years, we've heard just about every question there is when it comes to protecting wood in the Bay Area. Here are some of the most common ones we get from builders, contractors, and homeowners alike.
How Often Should I Be Looking for Wood Rot?
It’s smart to give your home a thorough once-over at least once a year. A great time to do this is in the late spring, right after the rainy season has wrapped up.
Pay extra close attention to the usual suspects: window sills, deck footings, fascia boards, and really any wood that’s close to the ground. These are the spots where moisture loves to hang out.
Is Pressure-Treated Wood Really Rot-Proof?
While it’s incredibly resistant, no wood is completely immune to rot forever. Think of pressure-treated lumber as giving you a massive head start. It provides fantastic, long-term protection, especially for anything touching the ground.
But to get the most out of it, you still need to follow best practices. That means proper installation, ensuring good drainage, and keeping an eye on it over time.
Can I Just Repair Wood That Has a Little Rot?
Sometimes, yes. If the damage is just on the surface, you can often scrape out the soft, decayed material, treat it with a wood hardener, and then fill the gap with a good epoxy filler.
However, if the rot has gone deep and is affecting the wood's structural integrity, that's a different story. In those cases, complete replacement is the only safe bet. You don't want to compromise on strength.
What's the Best Wood for a Deck in Oakland or Berkeley?
For the parts of a deck you see and walk on—the decking and railings—you can't go wrong with redwood and cedar. They’re classic choices around here for good reason: they look great and are naturally resistant to rot and insects.
For the deck's hidden foundation—the joists and posts holding everything up—pressure-treated lumber is the industry standard. It gives you the strong, long-lasting substructure you need.
Does a Good Coat of Paint Stop Wood Rot?
A high-quality exterior paint job is one of your best lines of defense. It creates a protective shell that is very effective at blocking moisture.
The key word there is quality. If the paint starts to crack or peel, water can sneak in behind it. Once moisture gets trapped between the paint and the wood, it can actually speed up the rotting process. This makes proper prep, application, and regular maintenance absolutely critical.
For a deeper dive into selecting the right rot-resistant materials for your next Bay Area project, the team at Truitt & White has the expertise you need. Visit our Berkeley showroom for expert advice and let's talk about your project.


