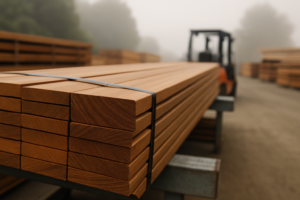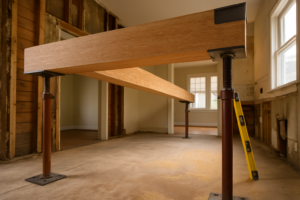
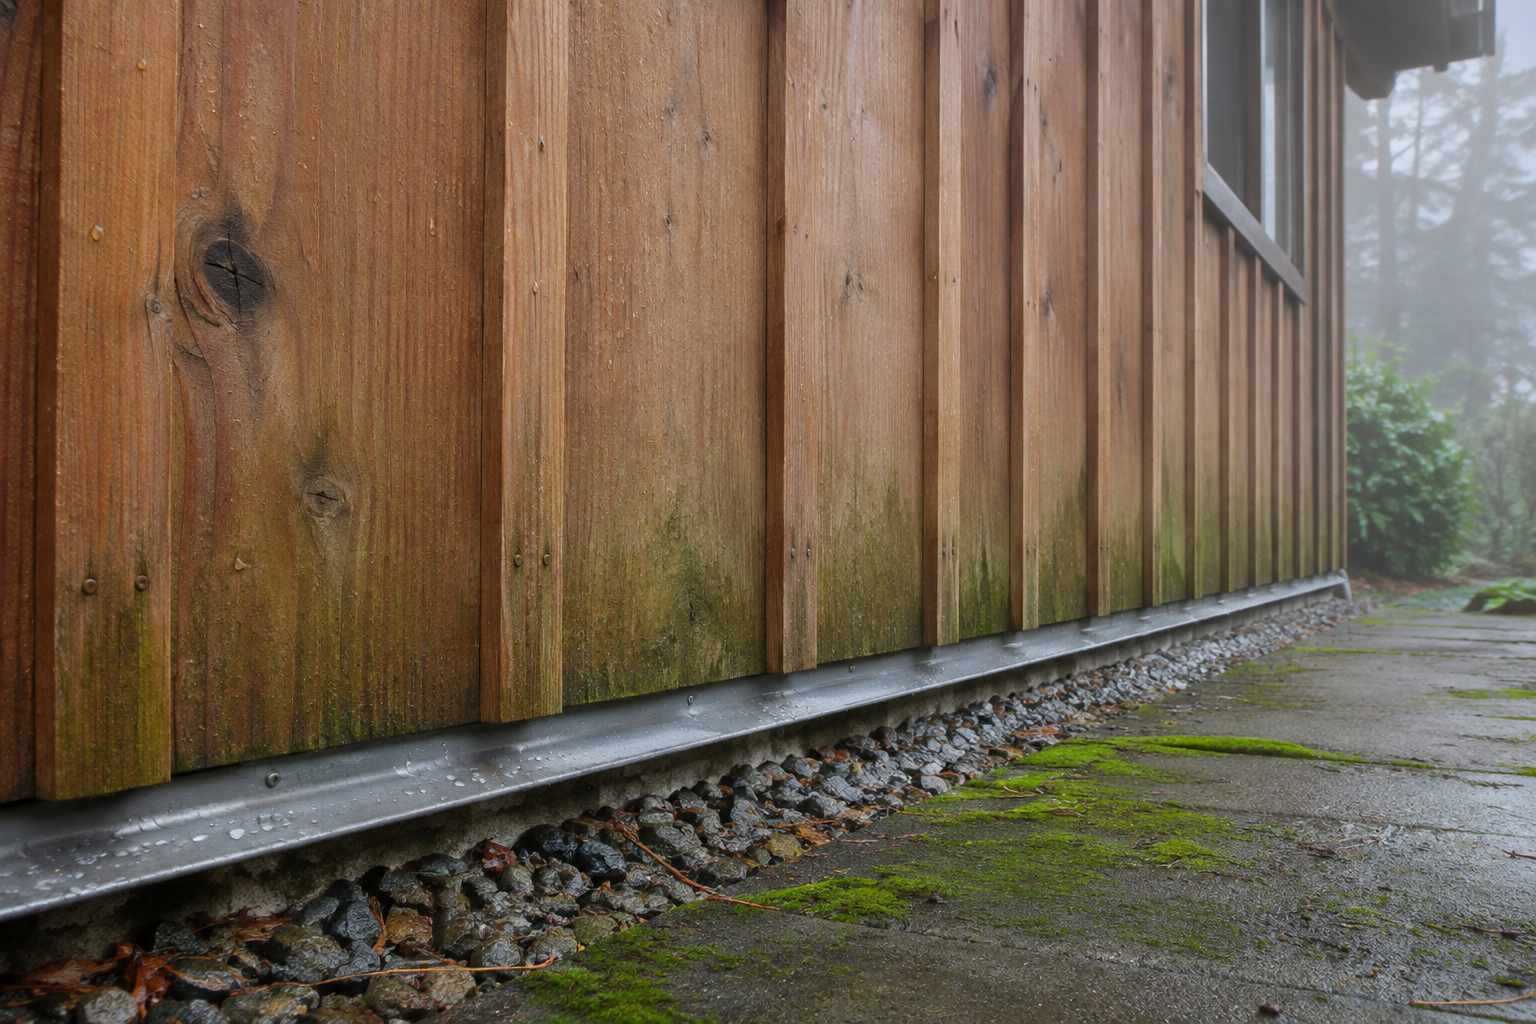
Direct Answer: Board and batten siding works here, but it fails at the batten edges, the fastener line, and the bottom cuts. Detailing those three spots matters more than which species you pick.
You saw a board and batten wall on a remodel a few blocks over, liked the look, and now you want to know whether it holds up here. Fair question. The pattern is simple to draw and simple to misbuild.
Here is our position after decades of selling siding into Berkeley, Oakland, and San Francisco jobs: the species you choose matters less than three details. Those are the batten edges, the fastener line, and the bottom cut. Get those right and cedar, redwood, or fiber cement can all work. Get them wrong and the best material on the yard will still look tired in six years.
Below we walk through what the marine layer actually does to a vertical wall, how exposure should drive the material call, and the one finishing step people skip almost every time.
What the Marine Layer Does to a Board and Batten Wall
The same marine layer that parks over the Monterey coast pushes up through the Bay and sits on West Berkeley, Albany, and the Oakland flats most mornings. On a north or west facing wall, that means a surface that does not fully dry until early afternoon, and some days not at all.
Vertical cladding handles that differently than lap siding. Water running down a lap wall crosses each joint and sheds. Water on a board and batten wall runs along the joint, straight down the seam where the batten meets the board, and keeps running until it finds an end.
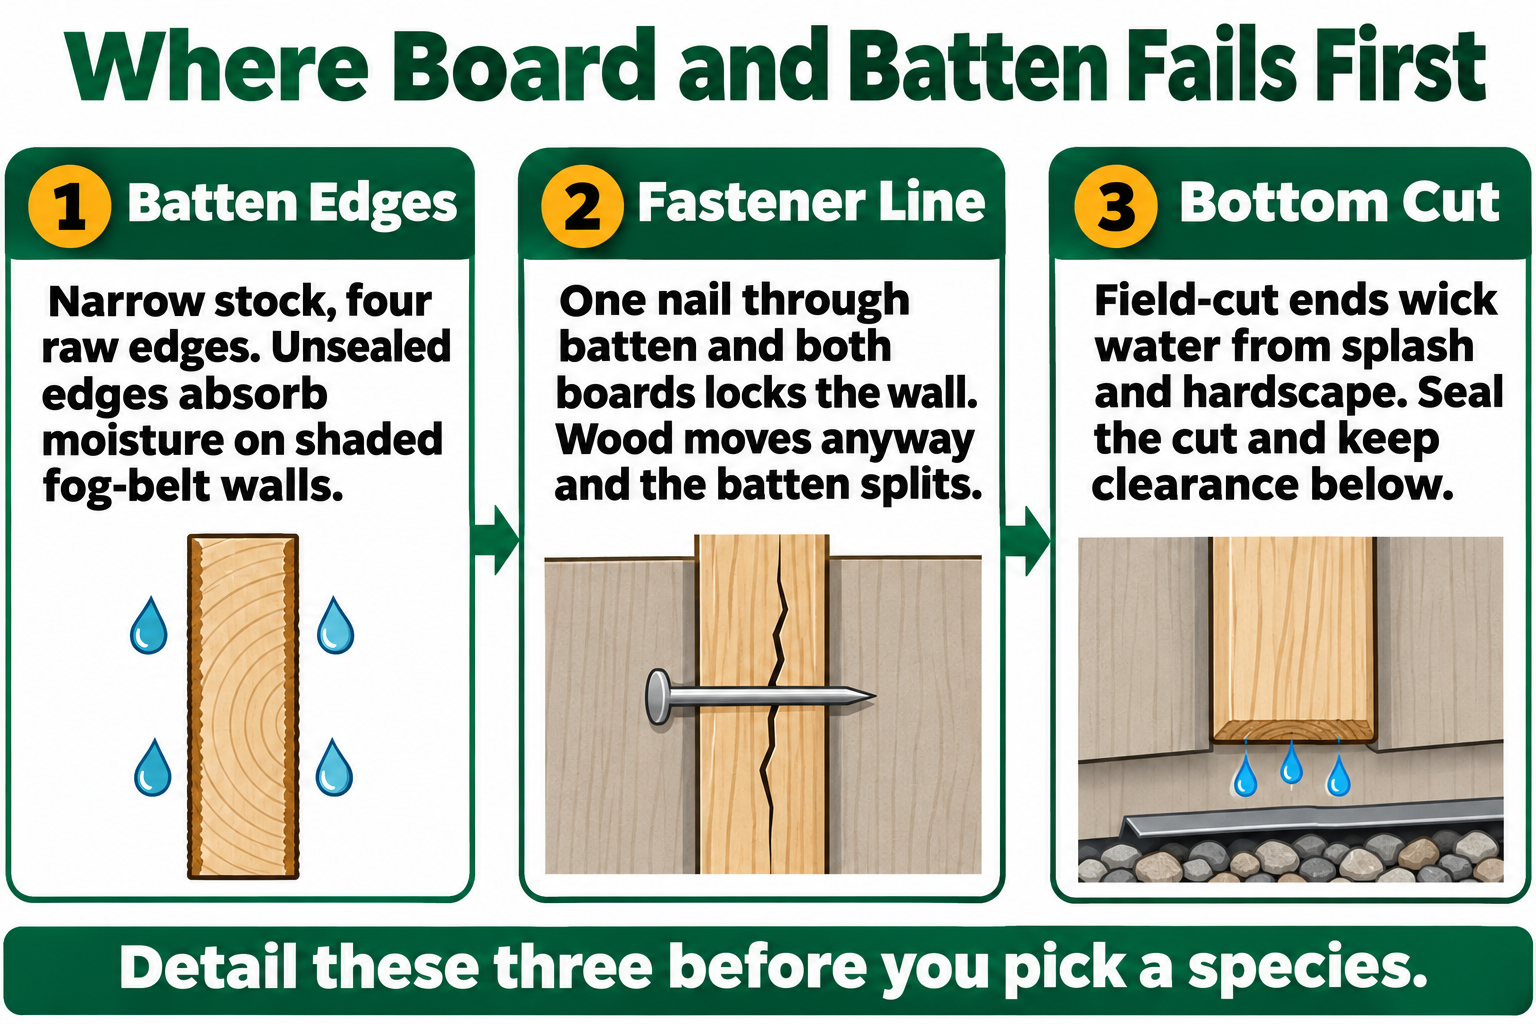
That changes where the damage shows up. In the field, the first signs are almost always in the same three places:
- Batten edges. A batten is narrow, so it has a lot of edge and end grain compared to face area. Edges that were never sealed drink first.
- The fastener line. Nails driven through both the batten and both boards underneath lock the assembly. Wood still moves, so something has to split, and it is usually the batten.
- The bottom cut. Field-cut ends are raw. A square end sitting close to a walkway, a planter, or a deck wicks moisture up into the board for years before anyone notices.
None of that is a reason to avoid the look. It is a reason to spend your attention at the bottom three feet of the wall instead of agonizing over species.
Exposure Should Pick the Material, Not the Trend
We talk to contractors bidding two jobs in the same week, one in the flats and one above the Claremont. Those are five miles apart and they are not the same wall.
A shaded, damp wall in the flats and a south-facing hillside wall that bakes from eleven to six fail in opposite ways. One rots from standing moisture. The other checks, cups, and burns through finish.
So lead with exposure:
- Shaded, fog-exposed walls. Dimensional stability and drying matter most. Fiber cement is predictable here and does not feed anything. If you want wood, vertical grain stock and generous finish on every face buy you years.
- Sun-exposed hillside walls. Movement and finish failure drive the outcome. Expect to re-coat sooner, and plan for a finish schedule rather than hoping one coat lasts.
- Coastal-facing and wind-driven rain walls. Water gets pushed sideways into the joint. Backing, flashing, and a drainage gap carry more weight than the cladding itself.
Cedar, redwood, and fiber cement are the realistic field of choices in this market, and each one is right somewhere. We go deeper on that tradeoff in our guide to picking siding for the fog belt or the hillside.
If you want to walk the options in person, the moulding, trim, and siding department at the Hearst Avenue yard carries all three.
Exposure, First Failure, and What to Lean Toward
A quick reference for how the same siding behaves on three very different Bay Area walls. Specific product selection still depends on the manufacturer’s instructions for your assembly.
| Wall exposure | What usually goes wrong first | What to lean toward |
|---|---|---|
| Shaded north or west wall, fog belt flats | Soft bottom ends, dark staining along the batten joint | Fiber cement, or vertical grain wood with all faces finished |
| South or west hillside wall, full sun | Finish chalking, cupped boards, split battens at the nail line | Stable stock, wider batten, a finish you plan to maintain |
| Wind-driven rain, exposed west elevation | Water behind the joint, swollen board edges | Drainage gap behind the cladding, careful flashing at every penetration |
| Lower three feet near hardscape or planting | Wicking at the cut end, splash staining | Clearance above grade, drip flashing, sealed field cuts |
Vertical Siding Follows Different Install Rules Than Lap
Plenty of remodelers here have hung hundreds of squares of lap siding and are running their first vertical job. The habits do not transfer cleanly.
What actually changes:
- Backing. Vertical boards need horizontal nailing. That usually means furring or blocking rather than fastening straight to studs, and the furring doubles as your drainage space.
- Fastening. Boards and battens are generally fastened so each piece can move. Driving a single nail through the batten and both board edges is the common error.
- End gaps and clearance. Vertical runs want a defined gap at the bottom so the end can dry and drain, not a tight fit against trim or decking.
- Product rules do not mix. Fiber cement and wood have different fastener spacing, different edge distances, and different clearance requirements. Follow the manufacturer’s instructions for the exact product on your wall.
One more field note. The bottom of a wall and the bottom of a deck fail for the same reason, which is a detail that holds water where nobody looks. Our piece on the details under the deck boards covers the same thinking on the framing side.
The Three Places Board and Batten Gives Out First
Most callbacks on vertical siding trace back to the same three spots. Here they are in order.
Back-Priming Is the Step Almost Everyone Skips
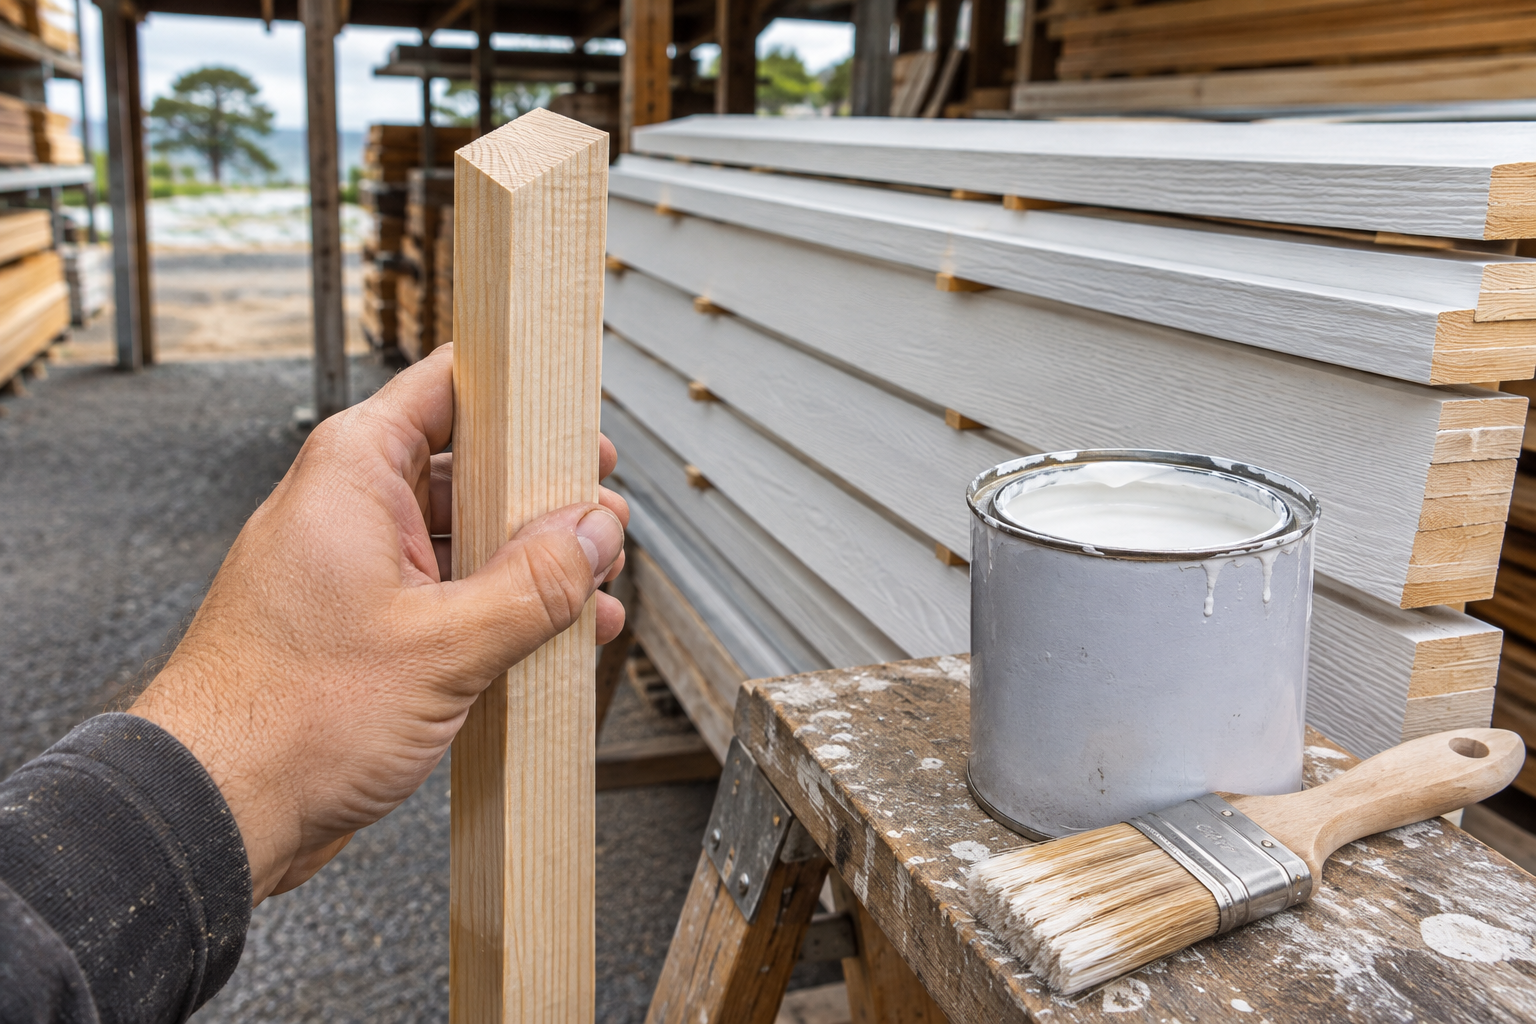
Here is the part that gets argued about and then skipped. Most homeowners plan to paint or stain after the siding is up, which means the back face never gets touched.
On a fog-belt wall, the back of the board dries slower than the front. Sun and wind work on the visible face. The hidden face sits in cool, damp air behind the cladding and holds moisture longer. When only one side is sealed, the board takes on and gives off moisture unevenly, and that is what cups boards and splits battens.
The standard we hold to for doors applies just as well to siding stock: finish every surface, including the edges and both ends. For board and batten specifically:
- Back-prime before installation, not after.
- Seal every field cut on the jobsite, especially the bottom ends.
- Store stock flat, stickered, off the ground, and covered if it is sitting during the wet months.
That last point matters more than it sounds. Material that soaks up moisture in a yard or on a driveway in January and then gets nailed up will move after it is on the wall.
If you are comparing wood against a composite system for the same reason, the same discipline shows up in what a TimberTech AZEK order should include.
Hillside Property? Check Your Fire Zone Before You Commit
If your project is in the Berkeley or Oakland hills, cladding choice may not be entirely yours to make. Berkeley’s EMBER program put a five-foot Zone 0 requirement into effect on January 1, 2026 in the Grizzly Peak and Panoramic mitigation areas, and state rules may reach more hillside parcels over time.
Fire hazard status varies parcel by parcel, so confirm what applies to your address before you order material. Start with Berkeley Fire or your local fire department, and review the City of Berkeley EMBER implementation plan for the mitigation area details.
Frequently Asked Questions About Board and Batten Siding
Does board and batten actually hold up in the fog belt?
Yes, when it is detailed for the climate. The assembly has to drain and dry, which means a gap behind the cladding, sealed cut ends, and clearance above hardscape. Installed tight to the sheathing with unfinished back faces, it will disappoint you no matter which species you buy.
Can I mix fiber cement boards with wood battens?
People ask this because they want the fiber cement field with a wood texture on the batten. It can be done, but the two materials move at different rates and carry different fastening rules, so the joint has to be planned rather than improvised. Check both manufacturers’ instructions before you commit.
How wide should the battens be and how far apart?
Spacing is mostly a design call, and most walls land somewhere between 12 and 24 inches on center. The practical limits come from the board width you can get and the backing you install. Lay out the elevation first so you are not cutting a narrow sliver at the corner.
Do I still need to back-prime pre-finished fiber cement?
Follow the manufacturer’s instructions for that product. Factory-finished fiber cement usually arrives coated, but field cuts still need treatment per the manufacturer, and that is the step that gets skipped on the jobsite.
My house is from the 1920s. Will board and batten look wrong on it?
Not necessarily, though it is worth looking at what the original exterior trim was doing before you change the whole character of the elevation. On older Berkeley and Oakland homes, the corner boards, water table, and head casings do as much work as the field siding. Bring us a sample of the existing profile if you want to match the trim.
Planning a Board and Batten Wall?
Board and batten rewards planning at the bottom of the wall and the edges of the batten, and the right material depends on whether your project sits in the flats or on a sun-exposed slope. Our lumberyard team at 642 Hearst Avenue in Berkeley can walk you through cedar, redwood, and fiber cement options and talk through what your elevation is up against. The Lumberyard and Hardware line is 510-841-0511, or you can browse the siding and trim categories at truittandwhite.com.