
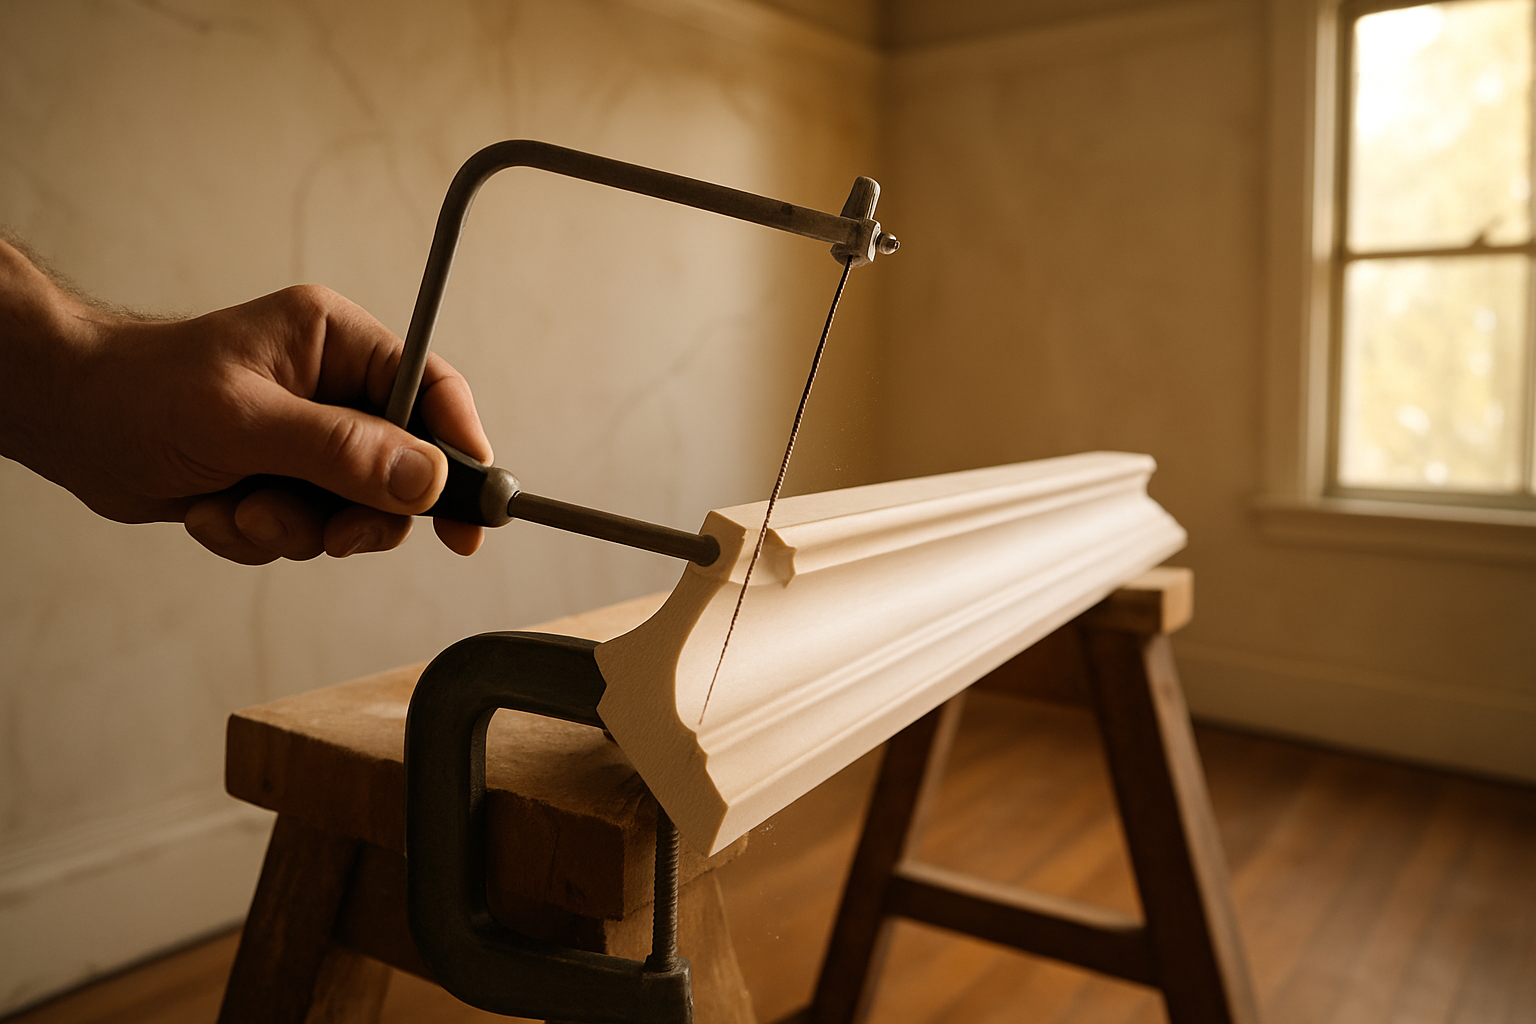
Direct Answer: Stop cutting perfect 45s. In an old house, cope inside corners, measure real outside-corner angles with a bevel gauge, and scribe to wavy plaster instead of assuming anything is square.
You cut two clean 45 degree miters. You hold them up in the corner of a 1920s bungalow, and the joint gapes open a quarter inch at the top. Your saw is fine. Your math is fine.
The corner is the problem. Berkeley’s median home was built around 1944, and roughly 46 percent of the housing stock predates 1940, which means plaster walls that have settled, bowed, and drifted out of plumb for eighty-plus years.
Crown moulding installation in an old house is not about better mitering. It’s about assuming no corner is 90 degrees and planning every cut around that from the start. Here’s the sequence we walk contractors and homeowners through at the yard.
Step 1: Set Your Spring Angle and Never Change It
This is where most first-timers lose the job before the first cut. Crown does not sit flat against the wall. It sits at an angle to both the wall and the ceiling, and that angle is the spring angle.
Most profiles are either 38/52 or 45/45. Check the stock you bought, because the two are not interchangeable and your saw settings change with them.
The piece has to sit against the saw fence in the exact same orientation for every single cut. If it shifts even slightly between cuts, your angles stop repeating and the joints stop closing.
- Cut it nested, upside down and backwards: the edge that meets the ceiling rests against the fence, the edge that meets the wall sits flat on the saw table
- Mark the top edge on every piece with a pencil before you carry it to the saw
- Screw a fence block or shop-made jig to your saw so the stock lands at the same spring angle every time
- Write the miter and bevel settings on a scrap and leave it on the saw, so you can rebuild the setup after lunch
One setup, one orientation, all day. That single habit fixes more gapping joints than any technique in this guide.
Step 2: Cope Every Inside Corner
A double miter only works if the corner is truly 90 degrees. In a pre-war East Bay house, it almost never is, so the joint opens at the top or the bottom and caulk has to carry the whole thing.
A coped joint solves it. One piece runs into the corner square, and the mating piece has its back removed so the face profile rides over the top of it. It flexes with an out-of-square corner, and it stays tight when the house moves again next winter.
The real order of operations:
1. Install the first piece butted square into the corner, wall to wall
2. On the mating piece, cut an inside 45 degree miter to expose the profile line along the face
3. Follow that line with a coping saw, holding a back-cut of roughly 5 to 10 degrees so only the front edge touches
4. Clean up the curves and tight spots with a round file and a rasp
5. Test the fit against a scrap offcut of the same stock, not against the installed piece
Before you touch a 16 foot length, cut a matched pair of short test blocks from the same run. Practice the cope on those. Ten minutes of test blocks is cheaper than a ruined long piece, especially when the profile is a special order.
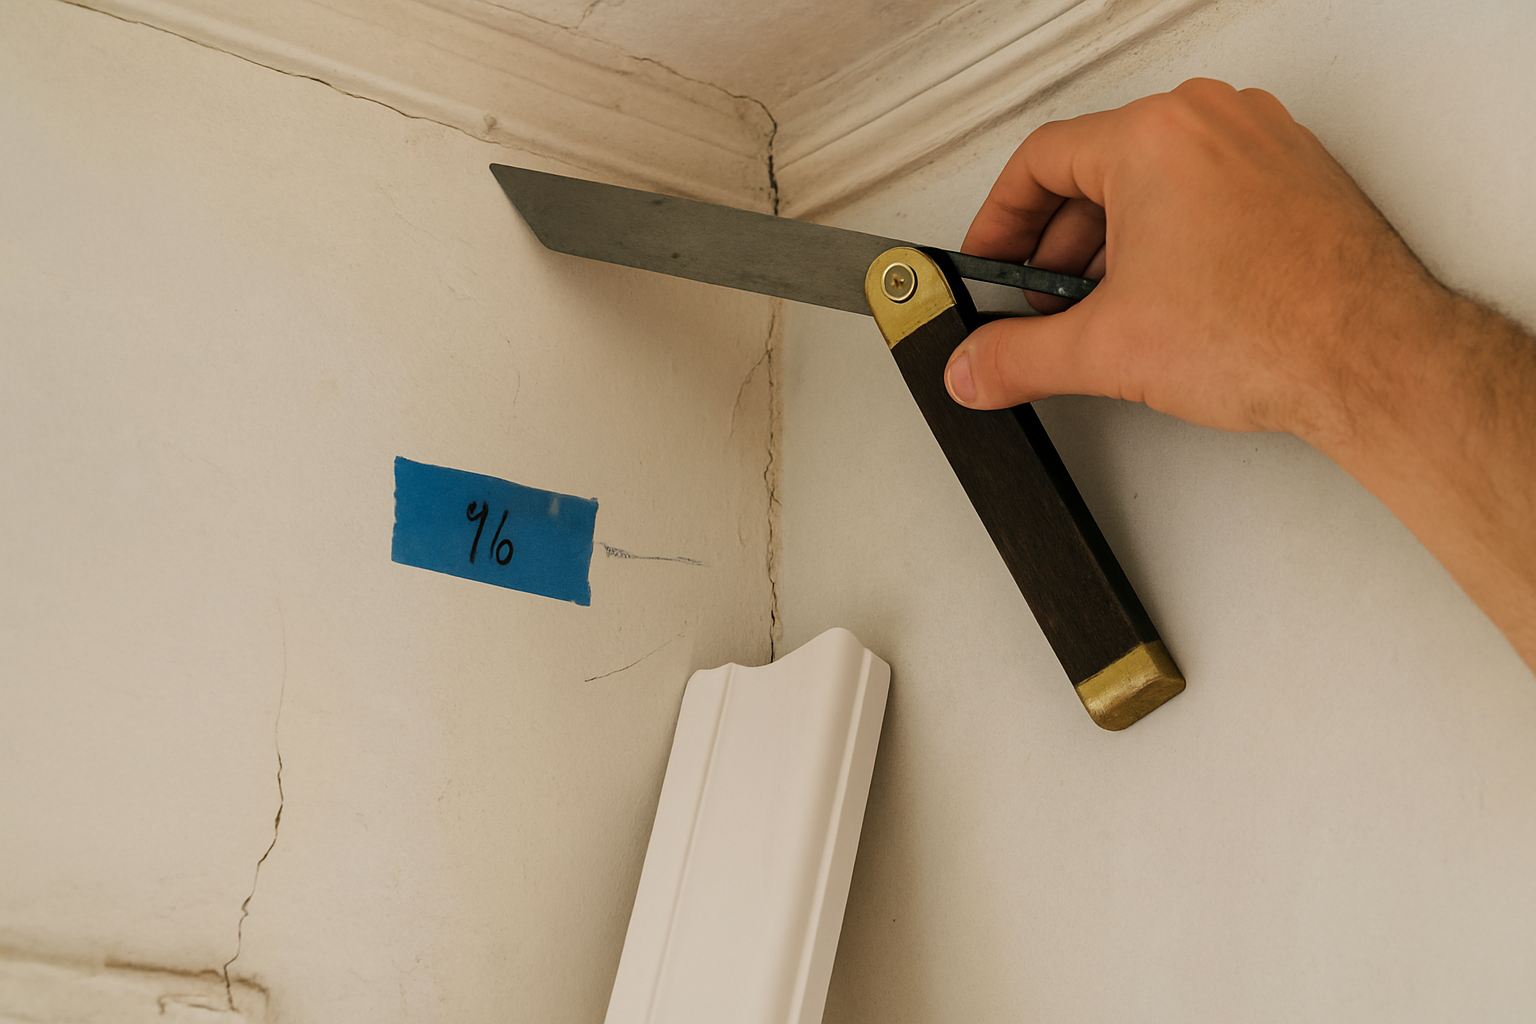
Step 3: Find the Real Angle on Outside Corners
Outside corners cannot be coped. You have to miter them, which means you have to know the actual angle instead of guessing.
Set a bevel gauge or a digital angle finder into the corner and read the real number. In old Berkeley and Oakland houses, corners commonly land somewhere between 88 and 93 degrees rather than a clean 90.
Then do the math and split it:
- Measured corner reads 92 degrees, so each piece gets a 46 degree cut
- Measured corner reads 88 degrees, so each piece gets 44 degrees
- Add a half degree of back-bevel to each cut so the front edges close tight and any gap hides behind the joint
Glue the miter, pin it from both directions, and the seam disappears. Check the angle at every outside corner in the room. Two corners in the same hallway will often read differently, and assuming they match is how you end up recutting.
Step 4: Read the Ceiling and Find Something to Nail Into
Old plaster ceilings are not flat. Run a long straightedge or a string line along the ceiling before you cut anything and mark the bellies and dips with a pencil.
Where the plaster wanders, you have two moves. Shim the crown out where the ceiling dips, or scribe the top edge and plane it to follow the wave. A slow sag over eight feet is easy to bury. A sharp hump needs to be scribed or it will telegraph.
The other old-house trap is nailing. Lath and plaster will not hold a finish nail on its own. The nail punches through, feels tight for a day, then the trim drifts off the wall.
- Find the top plate and nail the upper edge into framing, not plaster
- Hit studs for the lower edge, and mark them on the floor before you start
- Add triangular blocking in the corner of the wall and ceiling on long runs so the crown has continuous backing
- Use construction adhesive along with the nails on heavier or built-up profiles
This is the same discipline that makes framing and blocking worth planning up front on any old-house remodel, including the material lists we see on ADU and addition projects in Berkeley and Oakland.
Choosing Trim Stock for Bay Area Interiors
Material choice is a buying decision you make before any cutting starts, and the fog belt matters more than most national guides admit. Here is how the common paint-grade options behave in East Bay houses.
| Material | How it handles damp, unheated rooms | Best use |
|---|---|---|
| Paint-grade poplar | Stable and forgiving, takes a scribe and a cope cleanly | Long runs, detailed profiles, rooms that swing in humidity |
| Finger-jointed primed pine | Good if kept sealed on all faces, joints can show through paint over time | Straight painted runs where budget matters |
| MDF | Swells at cut ends and edges if it gets damp, hard to cope cleanly | Heated, dry interior rooms only |
| Clear vertical grain fir or redwood | Very stable, machines well, holds a crisp profile | Stain-grade work and matching original Craftsman trim |
Why MDF and the Marine Layer Do Not Get Along
MDF cuts smooth and paints beautifully, and in a conditioned living room it does fine. Put it in an uninsulated upper floor, an attic conversion, or a bathroom in a fog belt house and it starts working against you.
The marine layer can hold indoor humidity high for weeks at a stretch in West Berkeley and along the Oakland flats. MDF drinks that moisture at the cut ends, swells, and pushes the paint film apart at exactly the joints you worked hardest on.
Coping MDF is also unpleasant. The fibers crumble instead of shearing, so the fine edge of the profile chips off and the joint never closes the way poplar does.
And think about the room below and around the work. If you already deal with damp air moving up from below, that is worth sorting out before you install trim. Our notes on moisture in crawl spaces and garages cover the source side of that problem.
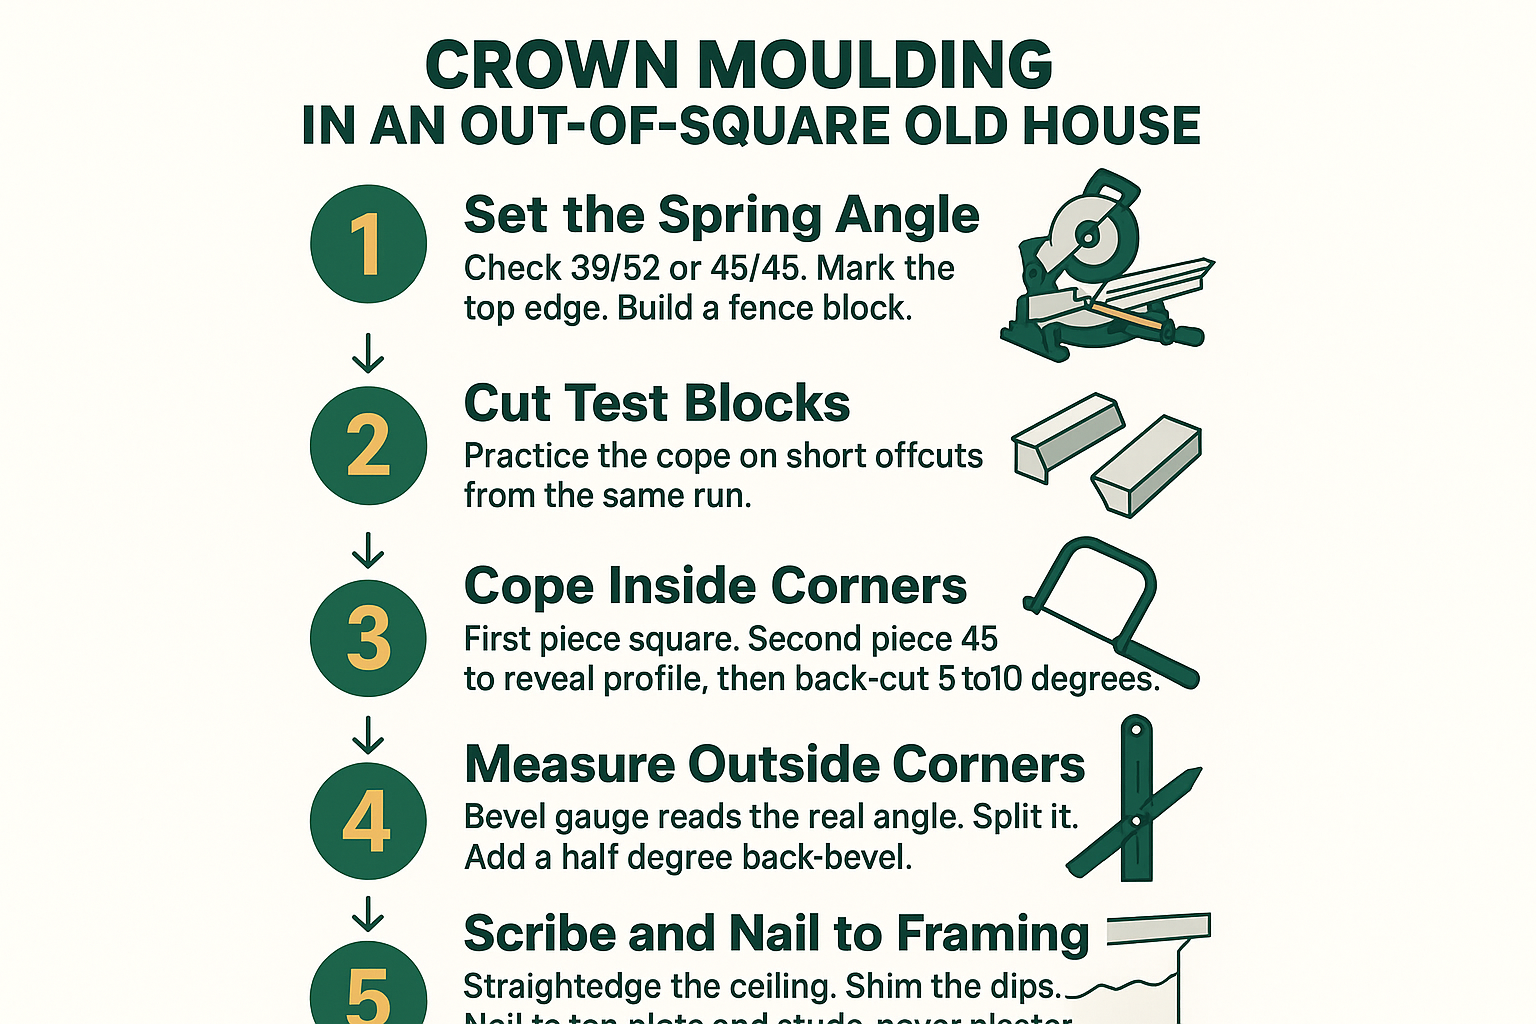
The Five-Step Sequence at a Glance
Print this or keep it on your phone. It is the order the job actually goes in, not the order most tutorials teach it.
Order Once: What to Put on the List
November through February is interior work season in the Bay Area for a reason. Rain shuts down exterior work and trim becomes the natural indoor project, which also means profile availability and lead times are worth checking before the crew is on site.
Buy long and buy a little extra. A long wall run in one piece always beats a scarf joint you have to fight.
- Longer stock than your longest wall, so runs go up in a single piece
- Extra length for practice coping cuts, at least a few feet per profile
- Paintable caulk and a good filler for the plaster gaps you cannot scribe out
- Construction adhesive for outside miters and heavy profiles
- Finish nails matched to the profile weight, since a built-up crown needs far more holding power than a light 3 inch cove
When a scarf joint is unavoidable, put it over a stud or solid blocking at roughly 45 degrees, with the overlapping piece facing the main sightline. A 45 degree scarf closes as the wood moves. A butt joint opens.
If you are matching an existing profile, the Wood Moulding and Millwork Producers Association maintains the standard profile numbering that most stock trim follows, which helps narrow down what you are actually looking at.
When the Original Profile Does Not Exist Anymore
Patching one run in a 1920s Craftsman is a different problem than trimming a whole room. That crown was often run on a local shaper eighty years ago, and nothing on a shelf today matches it.
A custom millshop can run new stock from a physical sample, which is a capability most yards in the area do not have in house. Bring a clean offcut, six inches is plenty, and the profile can be duplicated.
One customer put it this way in a review: “I received excellent customer service from Thom who collected the details of what I needed and then from Terrence who reproduced the additional trim pieces exactly from the sample I provided.”
Sample and profile questions get handled in person at the Hearst Avenue yard, not over email. There is more detail on that process in our piece on matching original trim profiles in a 1920s Berkeley home.
Frequently Asked Questions About Crown Moulding in Old Houses
Can I just caulk the gaps instead of coping?
For a hairline, yes. For a quarter inch, no. Caulk shrinks and cracks, and in an old house that moves seasonally, a caulked double miter will show a line again within a year or two. Coping takes longer once and holds.
How do I know if my crown is 38/52 or 45/45?
Hold a short offcut in the corner the way it will install, then set a bevel gauge or a framing square against the flats on the back. The two flat landing surfaces tell you the angle. If you are buying new stock, the spec is listed with the profile, so ask before you leave the yard.
What if the ceiling slopes or the wall leans out at the top?
Very common in hillside houses that have settled. Scribe the top edge of the crown to follow the ceiling, and let the bottom edge run a consistent line, since the eye reads the bottom line as level. Where the wall leans badly, shim behind the lower edge to keep the spring angle constant so your cuts still fit.
Is winter a bad time to install interior trim in the Bay Area?
It’s the best time, which is why yards get busy with trim orders from November through February. Just let the material acclimate in the room for a few days before cutting, especially if the house has been closed up and damp.
Do I need a permit to install crown moulding in Berkeley?
Cosmetic trim work on its own generally does not trigger a permit, but Berkeley requires permits for most construction and repair work, so if the crown is part of a larger remodel touching framing, electrical, or walls, check with the city’s permit service center first.
Planning a Trim Run This Winter?
If you are working through profiles, stock lengths, or a sample you need matched, the trim and moulding staff at the Hearst Avenue yard in Berkeley can talk it through with you in person. Bring an offcut and a rough footage count. The Lumberyard and Hardware line is 510-841-0511, and product details are at truittandwhite.com.