Direct Answer: Install kiln-dried western red cedar tongue-and-groove boards on all interior surfaces, leave the wood unfinished, and allow for slight airflow at the door to prevent moisture buildup.
Most people who want to line a closet with cedar are thinking about fragrance and moths. That is a reasonable starting point, but it is only half the story. The aromatic oils in cedar do their real work through surface area and air contact, which means the way you install the wood matters just as much as the wood itself.
A cedar closet done halfway, meaning one wall covered, green boards nailed up without acclimating, or a coat of polyurethane applied at the end, will smell nice for about six months and then fade out entirely. Done right, it holds up for years and actually protects the clothes stored inside.
This guide walks through the full process: picking the right boards at the yard, letting them acclimate to your home, covering the right surfaces, and keeping the finish off the wood. If you have already read Does Cedar Actually Keep Moths Out?, you know why cedar works. This is the how.
Step 1: Choose the Right Cedar at the Yard
Western red cedar is the standard for closet lining. It has the highest concentration of aromatic oils among common cedar species, and it machines cleanly into the tongue-and-groove profiles used for interior applications. Other species can look similar, but western red is what you want for this job.
For thickness, most closet lining projects use 3/8-inch or 1/2-inch tongue-and-groove panels. Thinner boards are lighter and easier to handle solo, but 1/2-inch holds up better over time in a space that may occasionally get bumped by hangers, shoe boxes, and storage bins.
Grade selection is where a lot of buyers go wrong. Knotty cedar looks rustic and costs less, but in a low-humidity enclosed space like a closet interior, those knots can crack or pop as the wood dries out. Clear or tight-knot grades are a better call for this application. The staff at the Hearst Avenue yard can walk you through what is in stock and help you compare pre-milled T&G panels against rough-cut options if budget is a factor.
One quick note: kiln-dried boards are what you want. Green or partially dried lumber will continue to shrink after installation, opening gaps between boards that undercut both the look and the effectiveness of the lining.
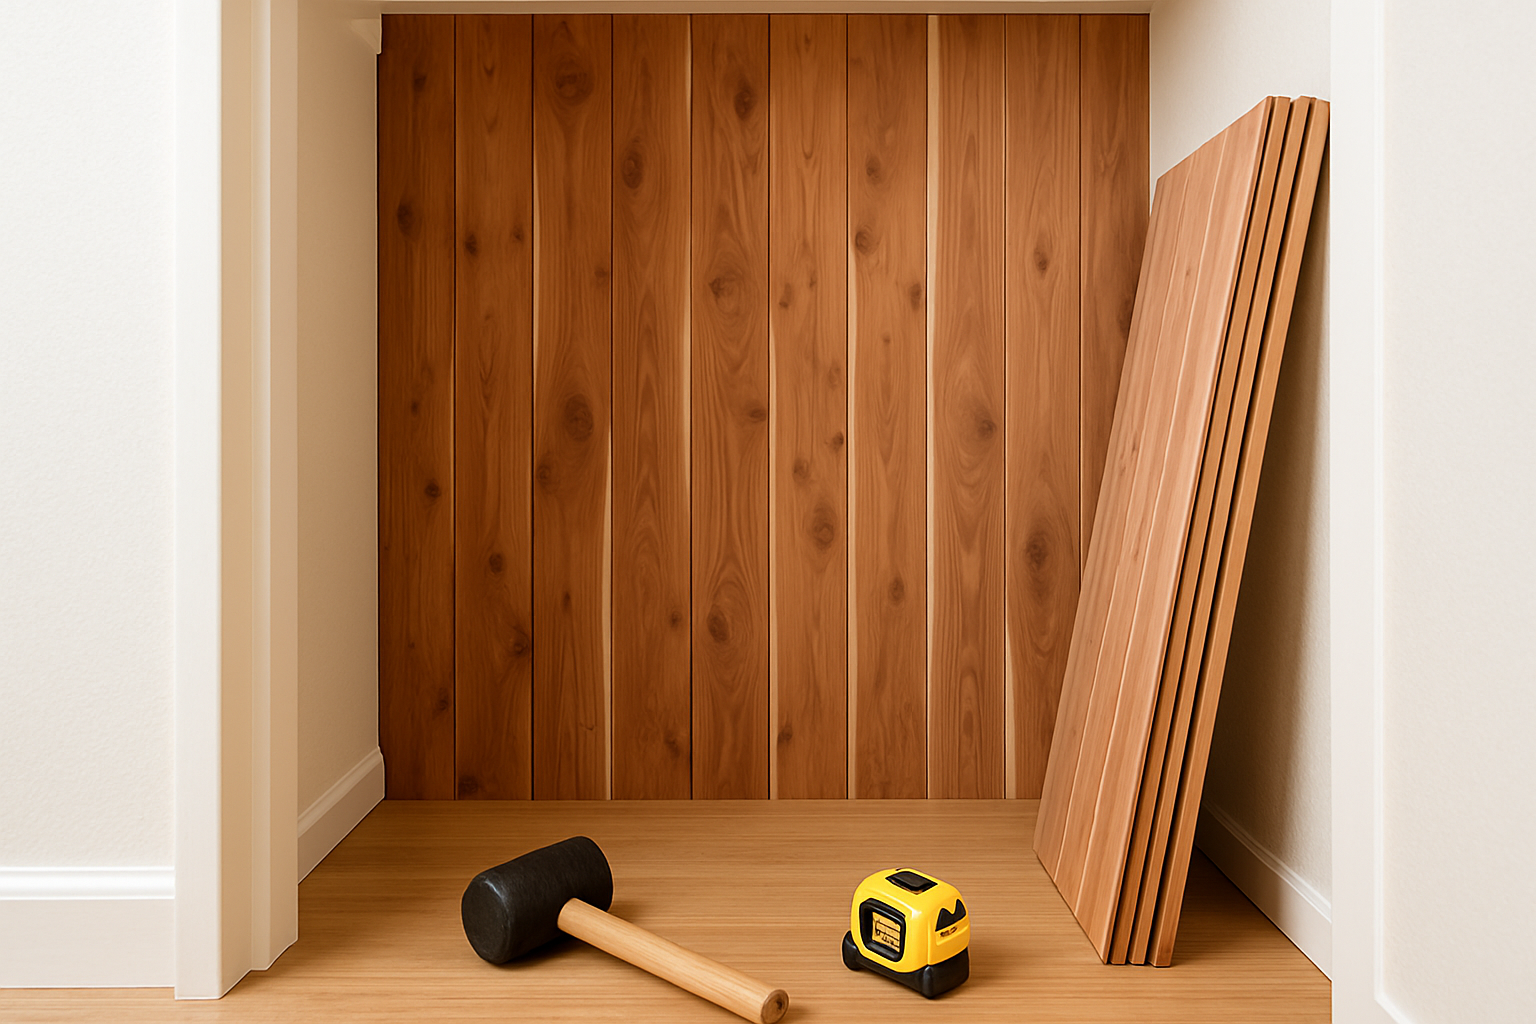
Step 2: Acclimate the Wood Before You Install Anything
This is the step most DIY projects skip, and it is the one that causes visible gaps six months later.
Wood moves with moisture. When you bring cedar boards from a lumber yard into your home, the wood starts adjusting to the humidity level of its new environment. If you install before that adjustment happens, the boards will continue to shrink or swell in place, and in a tight tongue-and-groove application, that movement shows.
Acclimation in practice means stacking the boards loosely inside the room, with small spacers between them to allow air to circulate, and leaving them there for at least three to five days. In the Bay Area, where indoor humidity can swing significantly between foggy winter months and dry late-summer stretches, a full week is a safer target.
The goal is to let the boards reach a moisture content close to the ambient conditions of the space. You do not need a meter to do this reasonably well; you just need patience. Rushing this step to save a weekend is the most common reason cedar closet installations develop gaps that should not be there.
The UC Davis Wood Products Extension notes that proper pre-installation conditioning is one of the most reliable ways to reduce dimensional movement after solid wood goes up on a wall.
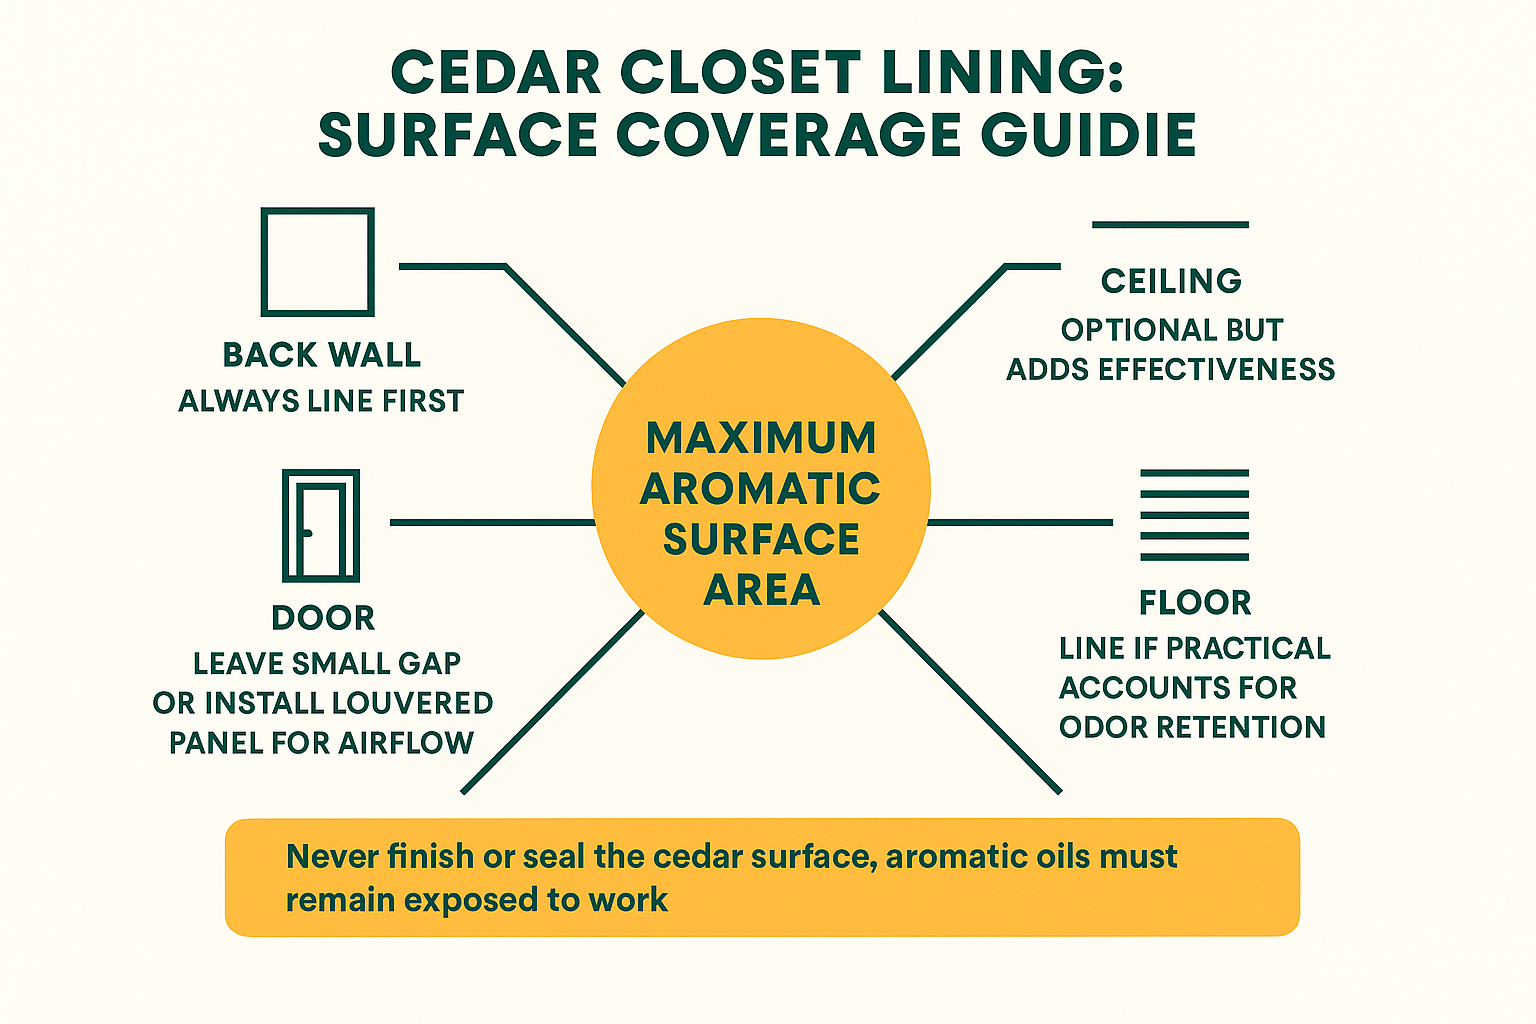
Cedar Closet Lining: What Goes Where
This layout shows which surfaces to cover and why full coverage outperforms partial lining.
Step 3: Cover as Many Surfaces as You Can
Cedar works by releasing aromatic oils into the air inside the closet. The more exposed cedar surface you have, the stronger and more sustained that effect will be. A single wall is better than nothing, but it is not a cedar closet, it is a cedar accent.
For a real installation, line:
- The back wall first, as your anchor surface
- Both side walls, running boards the full height of the space
- The ceiling, if the closet is small enough that coverage is practical
- The floor, if you are comfortable with a raised wood surface and the door clearance allows it
The order does not have to be exact, but working back-to-front and floor-to-ceiling tends to make the fit-and-trim work easier at the end.
On airflow: a tightly sealed closet can actually trap humidity, which works against you. Bay Area fog seasons push indoor humidity higher than most people expect, and a closed cedar closet with no ventilation becomes a moisture box. Leave a small gap at the bottom of the door, or install a louvered panel in the door itself. Either approach lets the air cycle gently without compromising the enclosed feel of the space.
Cedar Board Options at a Glance
Here is a quick comparison of the main variables to sort out before you buy your boards.
| Variable | Better Option | Why It Matters |
|---|---|---|
| Species | Western red cedar | Highest aromatic oil content of common closet cedar species |
| Thickness | 1/2-inch T&G | Holds up better long-term in enclosed spaces with occasional contact |
| Grade | Clear or tight-knot | Knotty grades can crack and pop in low-humidity closet environments |
| Moisture condition | Kiln-dried | Green lumber continues to shrink after installation, opening board gaps |
| Surface treatment | None, leave unfinished | Sealing the wood locks in the oils and kills the moth-deterring effect |
Step 4: Install the Boards
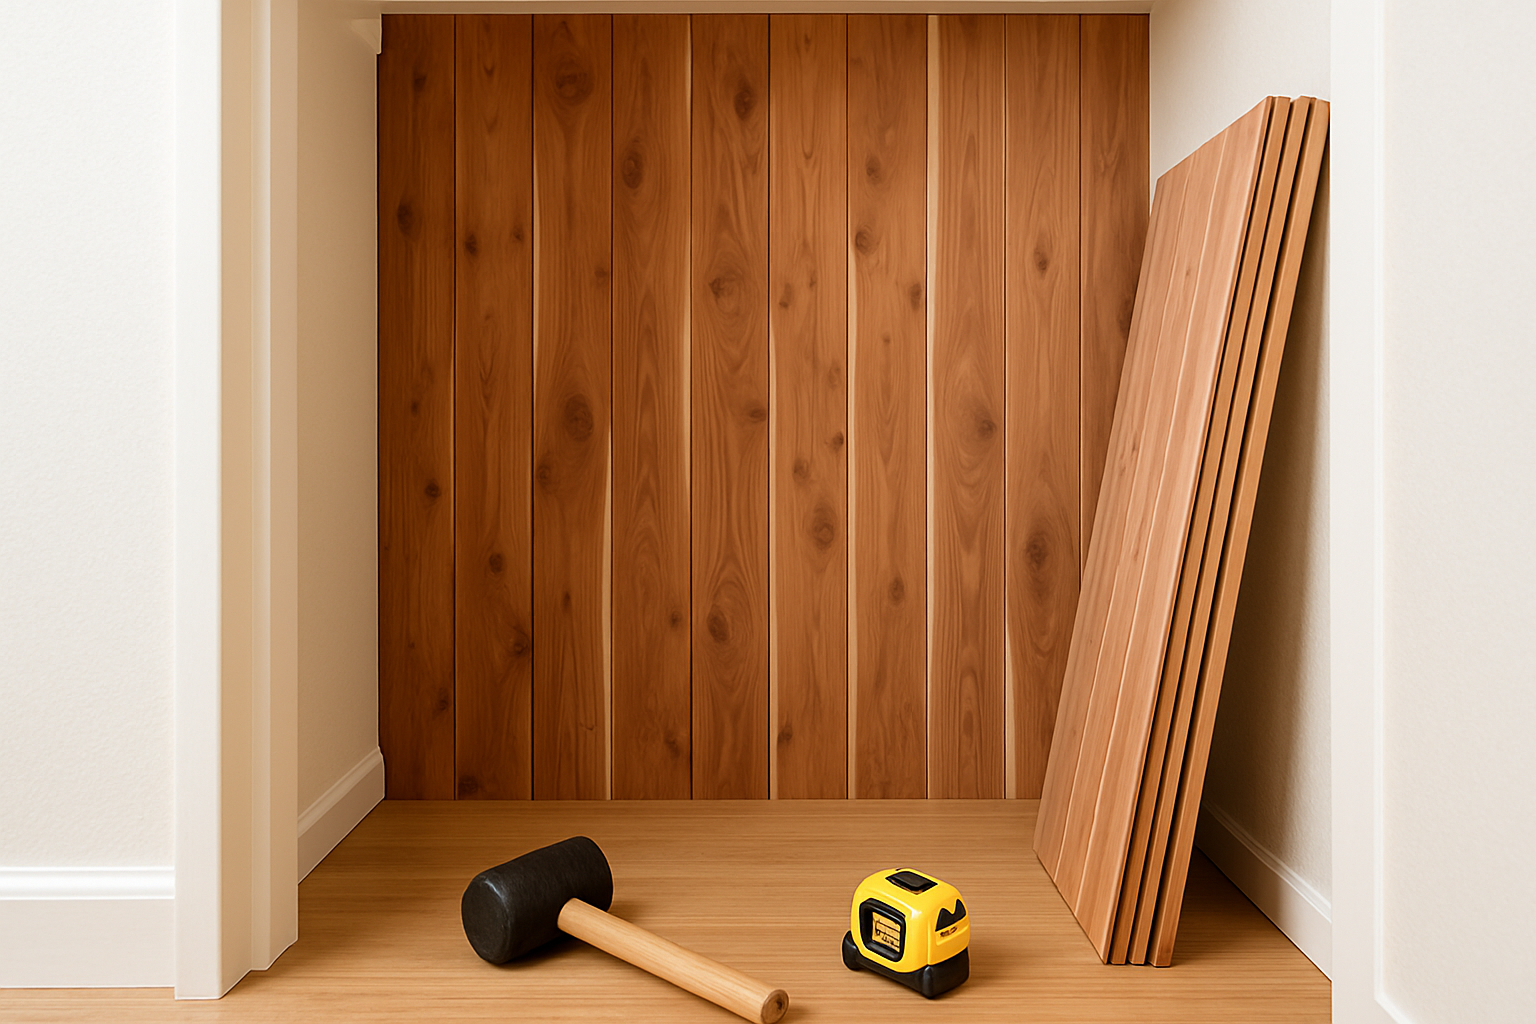
Cedar tongue-and-groove installs the same way as most interior paneling. Start with a level reference line at the bottom of the wall, and work your way up, engaging the tongue of each new board into the groove of the one below.
A few things that save rework:
- Face-nail the bottom course where it will be covered by baseboard, then blind-nail through the tongue on subsequent courses to keep fastener heads hidden
- Use finish nails or a pneumatic nailer sized for your panel thickness, typically 1-inch or 1-1/4-inch nails for 3/8-inch boards, slightly longer for 1/2-inch
- Leave a 1/8-inch gap at the floor and ceiling to allow for any remaining seasonal movement
- Cut boards with a fine-tooth blade to keep the cedar edges clean, a rough cut tears the grain and looks unfinished even under trim
For corners, a tight miter holds up better than a butt joint over time. If you are lining a reach-in closet with a single rod, the whole job can go up in a Saturday. A walk-in with multiple surfaces is a two-day project for most people working alone.
Step 5: Leave the Wood Unfinished, and Keep It That Way
This is where the most well-intentioned projects go sideways. Cedar looks beautiful fresh off the saw, and the instinct to protect it with a finish coat is understandable. But applying stain, varnish, polyurethane, or any sealer to cedar closet lining defeats the entire purpose of the project.
The aromatic compounds that give cedar its scent and its moth-deterring properties live in the unfinished, exposed surface of the heartwood. Sealing that surface locks those oils in. The wood still smells like cedar when you crack the can and brush it on, but within weeks the sealed surface stops releasing anything into the air.
Leave it raw. If the scent fades after a few years, that is normal, and the fix is simple: lightly sand the surface with 120- or 150-grit sandpaper to expose fresh heartwood underneath. The fragrance comes back, and you avoid the cost and mess of refinishing. This is one of the genuine advantages cedar has over other closet solutions, it is maintenance you can do yourself in an afternoon.
If you want to understand more about how cedar performs against pests and what the science behind it actually says, the Does Cedar Actually Keep Moths Out? post covers that in detail.
Frequently Asked Questions About Cedar Closet Lining Installation
How much cedar do I need to buy for a standard closet?
Measure the square footage of every wall surface you plan to cover, add 10-15% for cuts and waste, and that is your starting number. For a typical reach-in closet running about 6 feet wide by 8 feet tall on three walls, most people need somewhere in the range of 150-180 square feet of T&G paneling. The staff at the Hearst Avenue yard can help you calculate board coverage based on the actual panel width you choose.
Can I line just one wall and still get the cedar effect?
You will get some fragrance, but the moth-deterring effect depends on aromatic oil concentration in the air, and that concentration drops significantly when you reduce surface area. Full coverage on at least three walls is the practical minimum for a closet that actually performs. One wall is better than nothing, but it is not the same thing.
Do I need to do anything to the existing drywall before installing cedar?
In most cases, no. Cedar T&G panels go directly over existing drywall with no special prep. Make sure the wall surface is dry and that you are nailing into studs or solid blocking for panels thicker than 3/8 inch. If you are lining a closet in a room with a history of moisture issues, address that problem before the cedar goes up, not after.
How long does the cedar scent last?
In a well-installed, unfinished cedar closet, the scent is typically noticeable for three to five years before it starts to fade. Light sanding with fine-grit paper refreshes the surface and brings it back. How quickly the scent fades depends on how often the closet is opened, the humidity levels in the space, and whether the wood was ever finished or sealed.
Does cedar closet lining work on a finished or painted surface?
If you are asking whether you can install cedar over painted drywall, yes. If you are asking whether you should paint or seal the cedar itself, no. The installation substrate does not matter; the cedar surface finish absolutely does.
Is cedar closet lining a good DIY project, or should I hire a carpenter?
A reach-in closet is a reasonable first carpentry project for someone comfortable with a miter saw and a pneumatic nailer. A large walk-in with multiple corners, a ceiling, and floor lining is more involved. The boards themselves are light and forgiving to work with. The tricky part is getting clean corner miters and maintaining level courses across a long run.
Ready to Pick Out Your Cedar Boards?
If you want to see the T&G cedar we stock, talk through grades, or get a board count estimate for your closet dimensions, stop by the lumber yard at 642 Hearst Avenue in Berkeley. The staff there have helped contractors and homeowners across the Bay Area with exactly this kind of project, and they can point you to the right panels for your budget and the look you want. You can also call the yard directly at 510-841-0511, or browse what is available at truittandwhite.com.