When building outdoors in the Bay Area, you're in a constant battle with the elements. Moisture, pests, and fungus are always looking for a way in. That’s where treated lumber comes in—it’s your first line of defense.
Simply put, treated lumber is regular wood that has been infused with special preservatives. This process gives it a powerful shield against its natural enemies. Think of it as a permanent, heavy-duty raincoat for your building materials, essential for enduring our famously damp climate from San Francisco to Oakland.
Understanding Treated Lumber and Its Importance
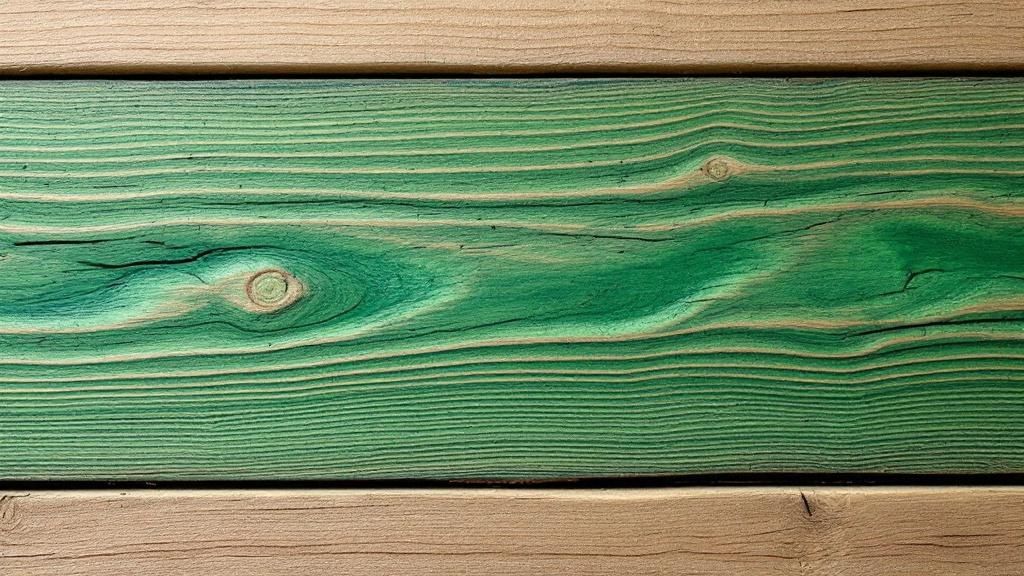
For any builder, contractor, or homeowner in Berkeley and the East Bay, using the right materials is critical. It's the difference between a project that lasts and one that needs replacing in just a few years. When left exposed to moisture and soil, untreated wood starts to break down surprisingly fast.
Treated lumber stops that process cold. It creates a protective barrier that dramatically extends the life of any outdoor structure. This makes it the go-to choice for a whole range of demanding jobs.
- Decks and Patios: Surfaces that must stand up to rain, sun, and constant foot traffic.
- Fences and Retaining Walls: Any structure with direct, long-term contact with the ground.
- Framing and Subfloors: Critical structural supports in damp or poorly ventilated areas like crawl spaces.
This isn't just about picking a stronger piece of wood; it's a long-term investment in the safety and integrity of your work. It's also part of building smarter, more durable structures. To see how these material choices fit into the bigger picture, explore our guide on what is sustainable building.
How Lumber Is Pressure-Treated for Durability
So, how does a standard piece of lumber get transformed into something that can withstand the Bay Area's fog for years? It's not just a coat of paint. The real magic happens through a process called pressure treatment.
Pressure treatment is the industry-gold standard. It forces protective preservatives deep into the core of the wood, creating a shield from the inside out.
First, stacks of lumber are loaded into a massive, sealed container. A powerful vacuum sucks all the air out of the wood's cells. This prepares the wood to soak up the preservative solution.
The Pressure Treatment Process
With the air gone, the cylinder is flooded with a liquid preservative solution. Intense pressure is then applied, forcing those chemicals deep into the wood fibers. Think of a dry sponge being completely saturated under pressure—every part gets infused with protection against rot, fungus, and termites.
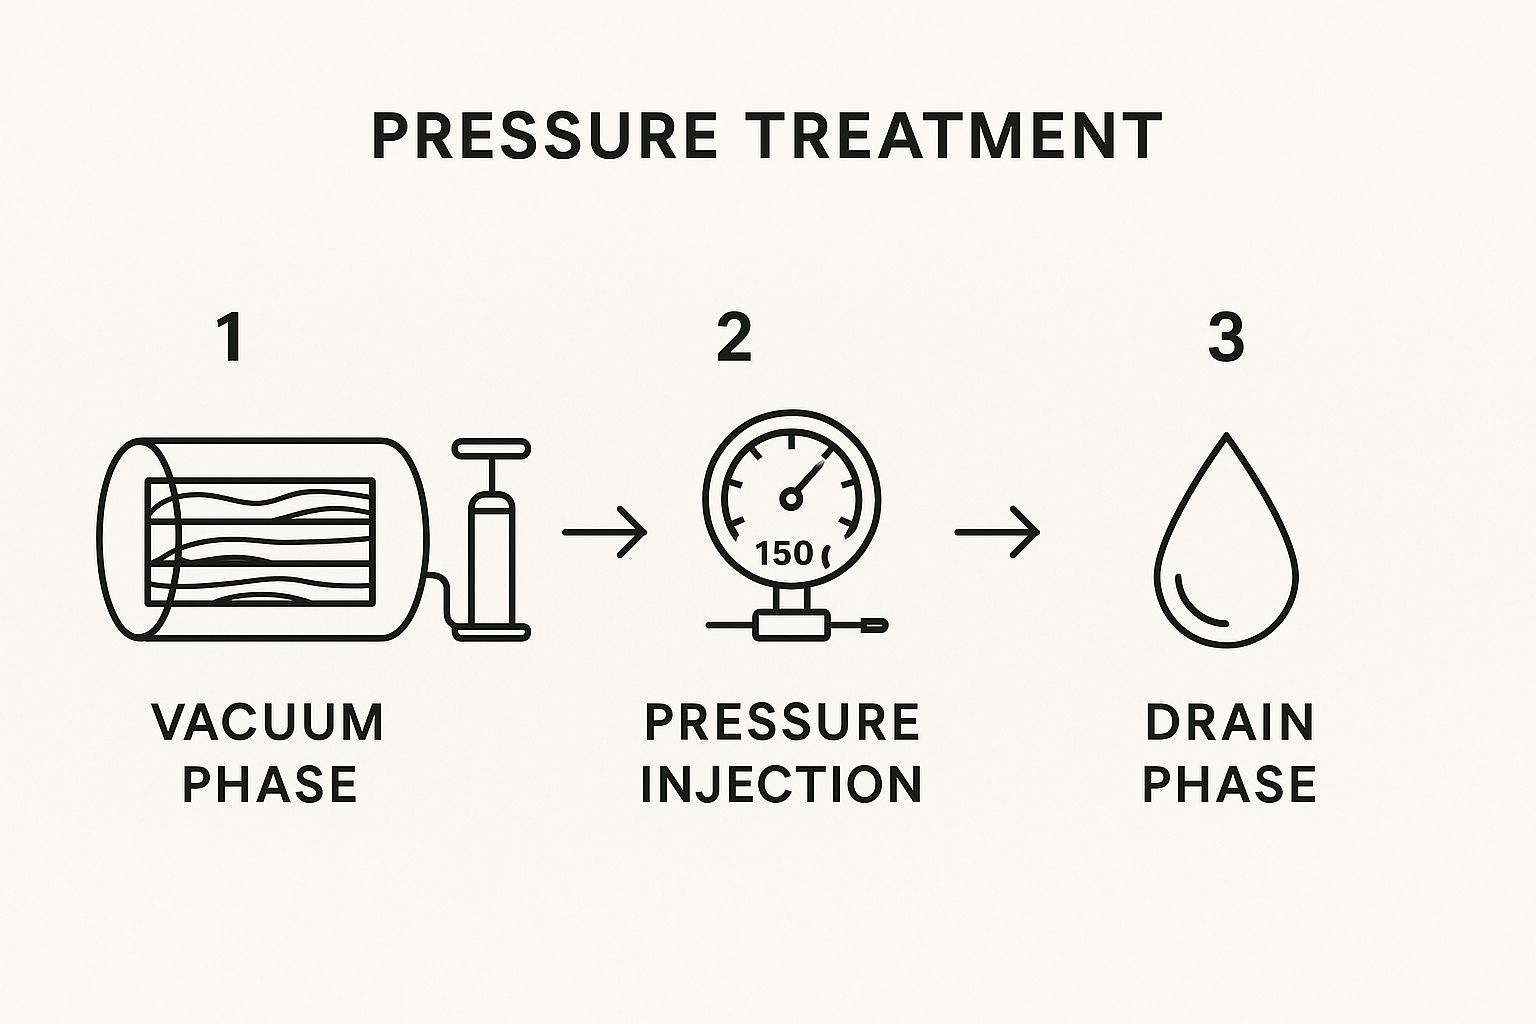
The scale of this operation shows you why this isn't a DIY job. It takes specialized, industrial-grade facilities to get consistent, reliable results.
After the high-pressure phase, the excess solution is drained out, and the lumber is left to dry. Only then is it ready to be shipped to a professional Berkeley building materials supplier like Truitt & White.
A Guide to Different Wood Preservatives
Not all treated lumber gets the same treatment. The specific chemical solution forced into the wood determines its strengths and where it should be used. Picking the right one is crucial for your project’s success and safety, especially with the Bay Area's diverse microclimates.
Thankfully, the industry has moved on from the harsher chemicals of the past. Most modern treated wood relies on effective, water-based solutions. The hero ingredient is usually copper, which is fantastic at warding off fungi and insects.
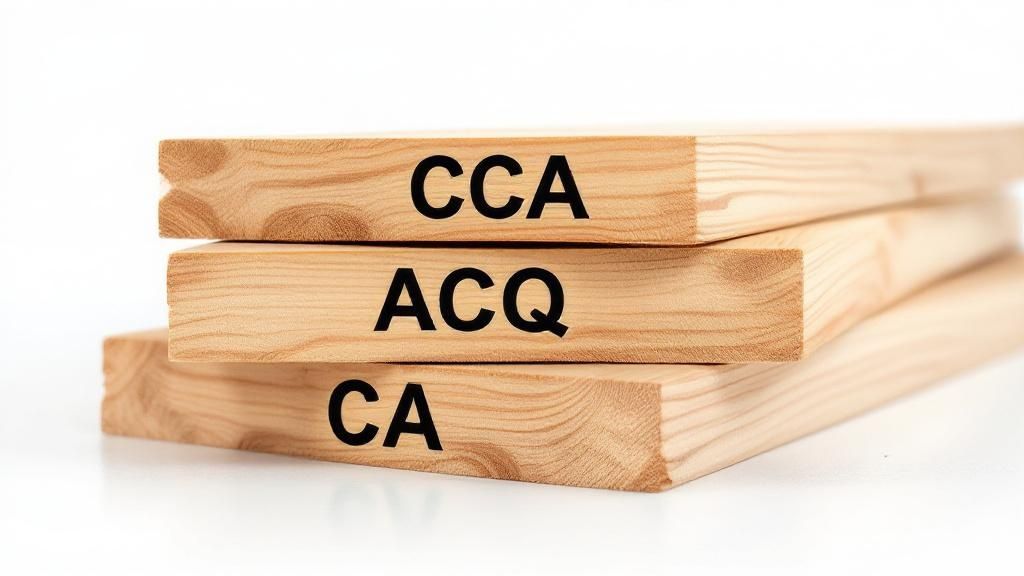
Common Water-Based Treatments for Outdoor Use
For any outdoor project in Berkeley or the surrounding Bay Area—think decks, fences, or retaining walls—you’ll almost certainly be working with one of two primary preservative types.
- Alkaline Copper Quaternary (ACQ): This is a real workhorse in the industry. ACQ combines copper with a quaternary ammonium compound, creating a powerful defense against rot and bugs.
- Copper Azole (CA): Very similar to ACQ in performance, Copper Azole pairs copper with azole compounds. It offers tough, reliable protection and is widely used in residential and commercial construction.
Borate Treatments for Interior Use
There's another player you need to know about, but this one is strictly for indoor use: borate-treated lumber. Borates are incredibly effective against termites and other wood-boring insects. However, they have one major weakness: they dissolve in water.
Because borates are water-soluble, they are completely unsuitable for any application that involves rain or ground contact. You’d never use it for a deck. Instead, borate-treated wood is the perfect choice for interior framing, sill plates, and trusses.
Making the right choice also helps you align with green building standards, a major focus for many Bay Area projects. To learn more about how material choices impact sustainability, find out what is LEED certification in our detailed guide.
Practical Uses for Treated Lumber in Bay Area Projects
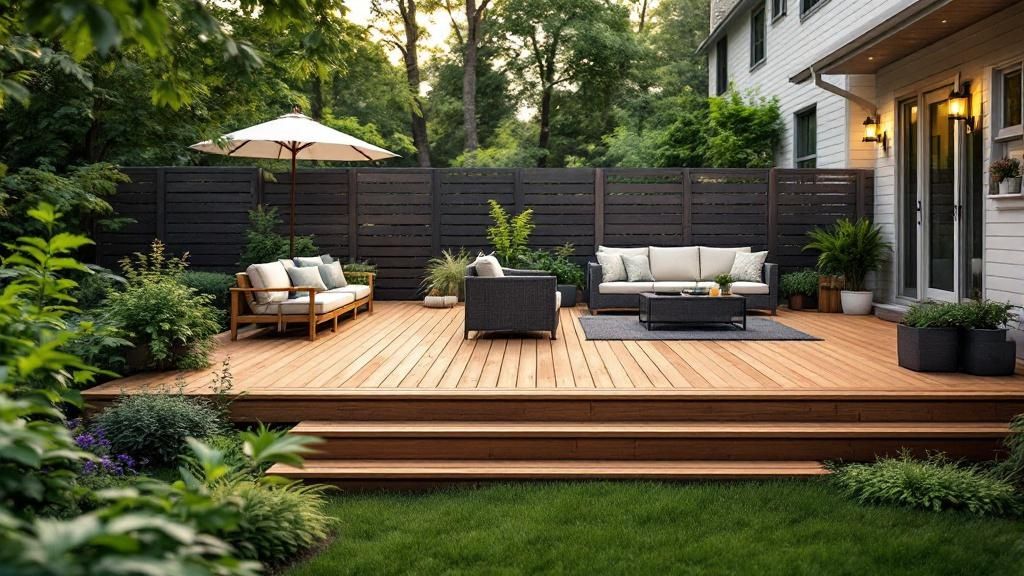
Treated lumber is the unsung hero behind countless structures you see every day. Its ability to fight off moisture and pests makes it the go-to choice for any project that has to stand up to foggy San Francisco mornings or winter rains. It's a staple for any professional building in the region.
The demand for tough outdoor materials is huge. In North America alone, the treated wood market is a billion-dollar industry, and decking makes up over 35% of that, according to market analysis. This shows how essential it is for creating outdoor living spaces that last.
Where to Use Treated Lumber
From hillside properties in Berkeley to backyard renovations across the Bay, treated lumber provides the structural backbone needed to build with confidence. The applications are diverse, but they all share one thing: the need for serious durability.
You'll find it used in all sorts of common Bay Area projects:
- Decks and Patios: It's the standard for the entire substructure—the posts, joists, and beams that hold up the deck.
- Fencing: Absolutely essential for posts set in concrete and for bottom rails that are close to damp ground. For projects like installing a durable garden fence, using the right treated lumber is key.
- Retaining Walls: This is a non-negotiable. When holding back soil, you need wood that won't rot from constant moisture contact.
- Sill Plates and Subfloors: This is the critical wood that connects a house’s frame to its concrete foundation, a job often done in damp crawl spaces.
Matching the Lumber to the Job
Not all treated wood is created equal. It's categorized by how much exposure it can handle, known as the "Use Category" (UC) system. Getting this right is critical for both California building code compliance and the longevity of your work.
For example, a fence post buried in the ground needs a UC4A Ground Contact rating. But the deck boards on top of the joists only need a UC3B Above Ground rating.
Choosing the correct category ensures a project will stand strong for decades. For more on sourcing sustainable materials, check out our guide on finding an eco-friendly lumber supplier in the East Bay.
How to Handle Treated Lumber Safely
Working with treated lumber is a standard part of construction, but the preservatives demand a safety-first approach. Following a few straightforward practices is all it takes to keep your Bay Area job site safe. These aren't just suggestions; they’re essential guidelines.
Proper handling starts with personal protective equipment (PPE). The chemicals and sawdust from treated wood can be irritants, so simple gear is a must.
Essential Safety Practices
Following these steps is non-negotiable for anyone working with this material.
- Wear Gloves: Always handle treated wood with heavy-duty work gloves. This helps you avoid splinters, which can carry preservatives into your skin.
- Use Eye and Respiratory Protection: When cutting or sanding, always wear safety glasses and a proper dust mask to avoid inhaling treated sawdust.
- Work in a Ventilated Area: Whenever possible, make your cuts outdoors. This ensures good airflow and helps disperse sawdust safely.
- Wash Hands Thoroughly: After handling treated lumber—and especially before eating or drinking—wash your hands well with soap and water.
Crucial Reminder: Never burn treated lumber scraps. Burning releases the chemical preservatives into the air as toxic fumes, which is hazardous to your health and the environment.
Proper disposal of your offcuts is also critical. Always check with your local Berkeley or Alameda County waste management for their specific guidelines. For a broader look at job site safety, review our 7-Point Construction Safety Checklist for Bay Area Builders.
How to Choose the Right Treated Lumber
Picking the right treated lumber is a critical final step. The good news is, it's simpler than you might think. Just learn how to read the small tag stapled to the end of each board.
This end tag tells you exactly what kind of preservative was used. More importantly, it shows its Use Category (UC) rating. This code spells out what level of exposure the wood is built to handle.
Decoding the End Tag
For any Bay Area project, from a Berkeley deck to an Oakland fence, understanding just a couple of key ratings will set you up for success.
- UC3B (Above Ground): This is your go-to for materials that get hit with rain but don't touch the dirt. Think deck boards, railings, and fence pickets.
- UC4A (Ground Contact): This is essential for any wood that will be in or touching the soil. We’re talking about fence posts and the support posts holding up your deck.
Matching the UC rating to the job ensures your structure will last. Using a lower-rated board for a high-exposure application is a common—and costly—mistake.
Your choice of lumber grade is also vital. The grade dictates the board's appearance and structural strength. An expert can help you balance aesthetics and load-bearing needs.
Getting these details right is just as important as the quality of the installation itself. If you're working with a professional, knowing these basics will help you in the process of how to choose a contractor.
Frequently Asked Questions About Treated Lumber
Here are answers to some common questions we hear from builders, homeowners, and architects in the Bay Area.
How long does treated lumber last?
Properly installed pressure-treated lumber can easily last for decades—often 20 to 40 years, or even longer. Its actual lifespan depends on the preservative, its Use Category rating, and local conditions like heavy fog or direct sun.
Is treated lumber safe for garden beds?
Yes, modern treated lumber is safe for building raised vegetable garden beds. Research has shown that the amount of copper that might leach into the soil from preservatives like ACQ is minimal and poses no risk to you or your plants. For extra peace of mind, you can line the inside with a plastic barrier.
Should I seal or stain treated lumber?
Absolutely. While the treatment protects the wood from rot and insects, it doesn't prevent weathering from sun and rain. We recommend applying a quality water-repellent sealer or stain every couple of years to maintain its appearance and maximize its lifespan.
When can I paint or stain new treated lumber?
You must wait until the wood is completely dry. This can take anywhere from a few weeks to a few months, depending on how recently it was treated and the weather. A good test is to sprinkle some water on the surface; if it beads up, it's still too wet.
What fasteners are best for treated lumber?
This is critical. The copper in modern preservatives will corrode standard steel screws and nails. You must use fasteners approved for treated wood, such as hot-dip galvanized, stainless steel, or specially coated screws and connectors.
For personalized advice and to find the right treated lumber for your next Bay Area project, the team at Truitt & White is ready to help. Visit our Berkeley showroom for expert advice or contact us today.

